Engine Bay Cleanup
5/28/2009 to 6/20/2009
"What fresh hell is this?" -- Dorothy Parker
 Have
to start somewhere. So I removed the engine pan.
These will take some time cleaning... Have
to start somewhere. So I removed the engine pan.
These will take some time cleaning... |
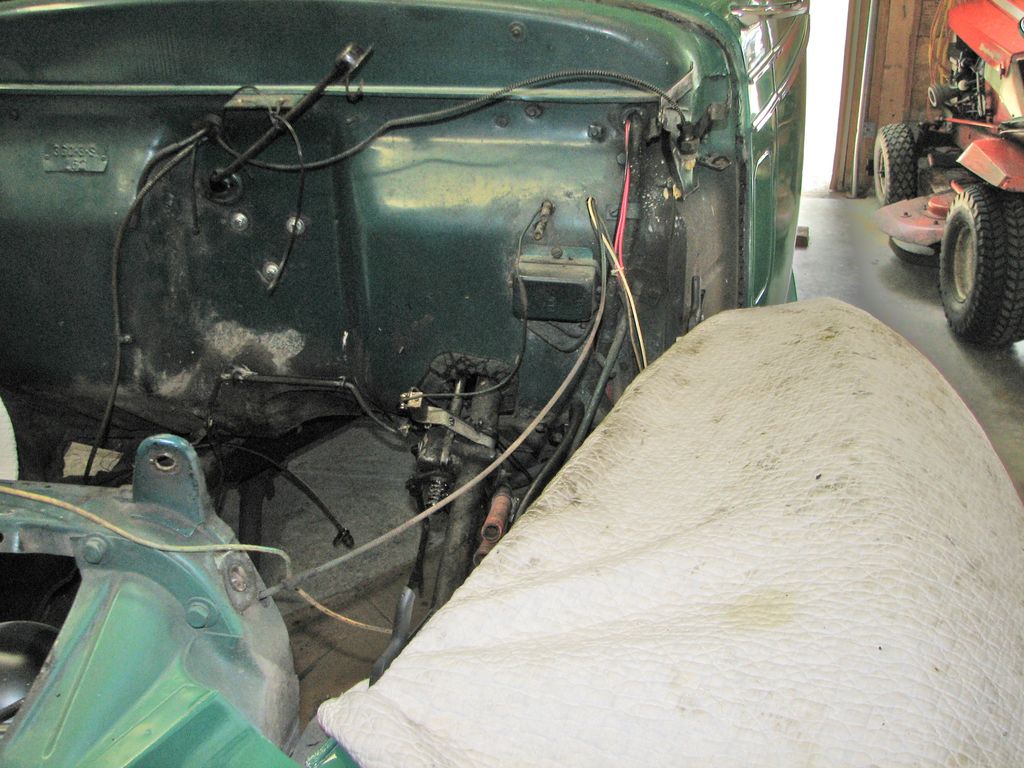  The
side panels come off with two bolts and 4 wing nuts.
This will give me better access to then engine bay and
expose more rusty areas to paint. The only tricky part
was the paint seam between the fender welting and the side
panel. I had to cut it carefully with a razor blade to
prevent chipping. The picture on the left is the
driver's side panel sitting on top of the service manual and
my 1967 Simplicity lawn tractor. Both side panels are
stashed in the trunk for safety. The
side panels come off with two bolts and 4 wing nuts.
This will give me better access to then engine bay and
expose more rusty areas to paint. The only tricky part
was the paint seam between the fender welting and the side
panel. I had to cut it carefully with a razor blade to
prevent chipping. The picture on the left is the
driver's side panel sitting on top of the service manual and
my 1967 Simplicity lawn tractor. Both side panels are
stashed in the trunk for safety. |
|
 The
voltage regulator mounts on the firewall. I labeled
the wires, removed them, then unscrewed the voltage
regulator. I will clean it up and paint it. The
voltage regulator mounts on the firewall. I labeled
the wires, removed them, then unscrewed the voltage
regulator. I will clean it up and paint it. |
|
|
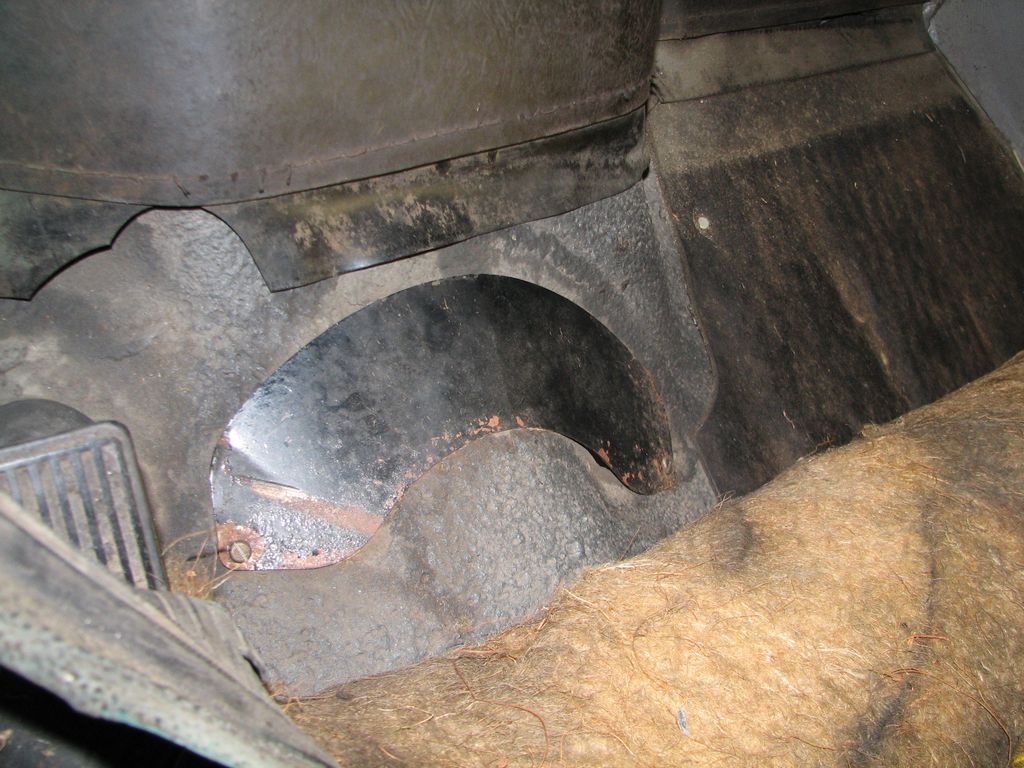 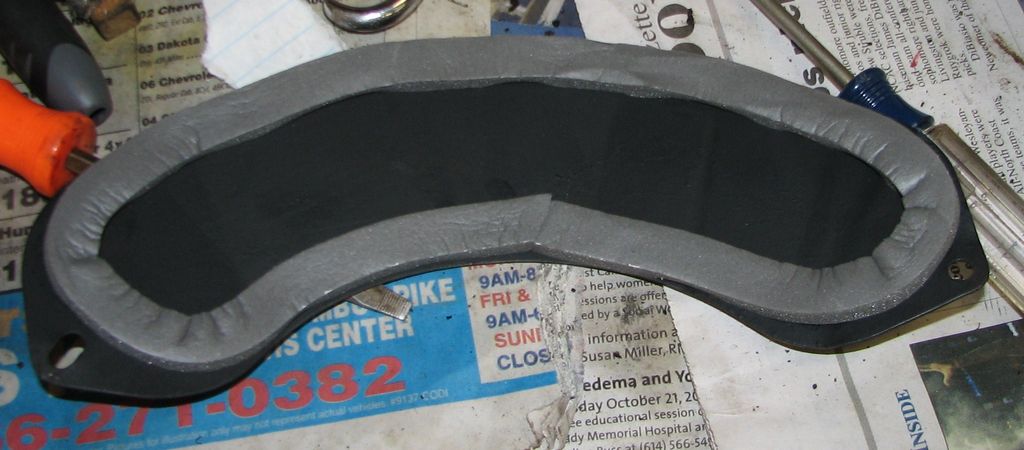 I
removed this transmission tunnel cover. It was bent up
and did not fit very well so I cleaned, shaped, and painted
it. I found a roll of adhesive weather-stripping in
the garage so I used that to make a seal. I
removed this transmission tunnel cover. It was bent up
and did not fit very well so I cleaned, shaped, and painted
it. I found a roll of adhesive weather-stripping in
the garage so I used that to make a seal. |
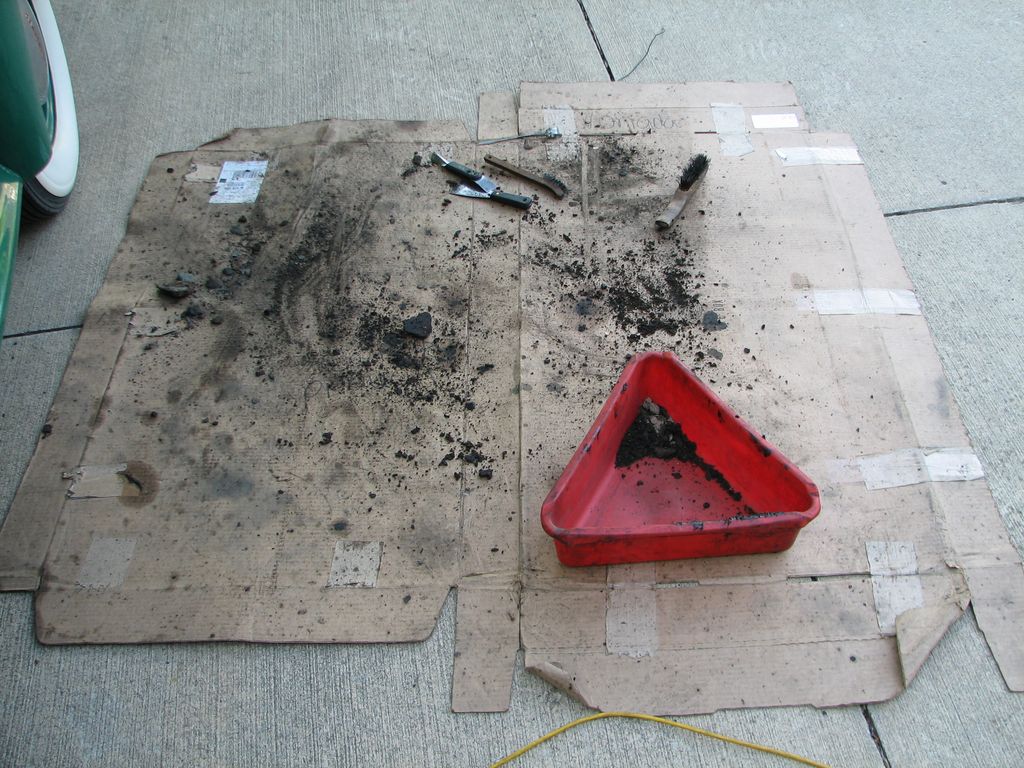 Here
is the result of a scraping session. Lots of gunk. Here
is the result of a scraping session. Lots of gunk. |
  Getting
a little help from the kids and the dog. Getting
a little help from the kids and the dog. |
   Scraped
the worst off, washed with Purple Power, then sanded lightly. Scraped
the worst off, washed with Purple Power, then sanded lightly. |
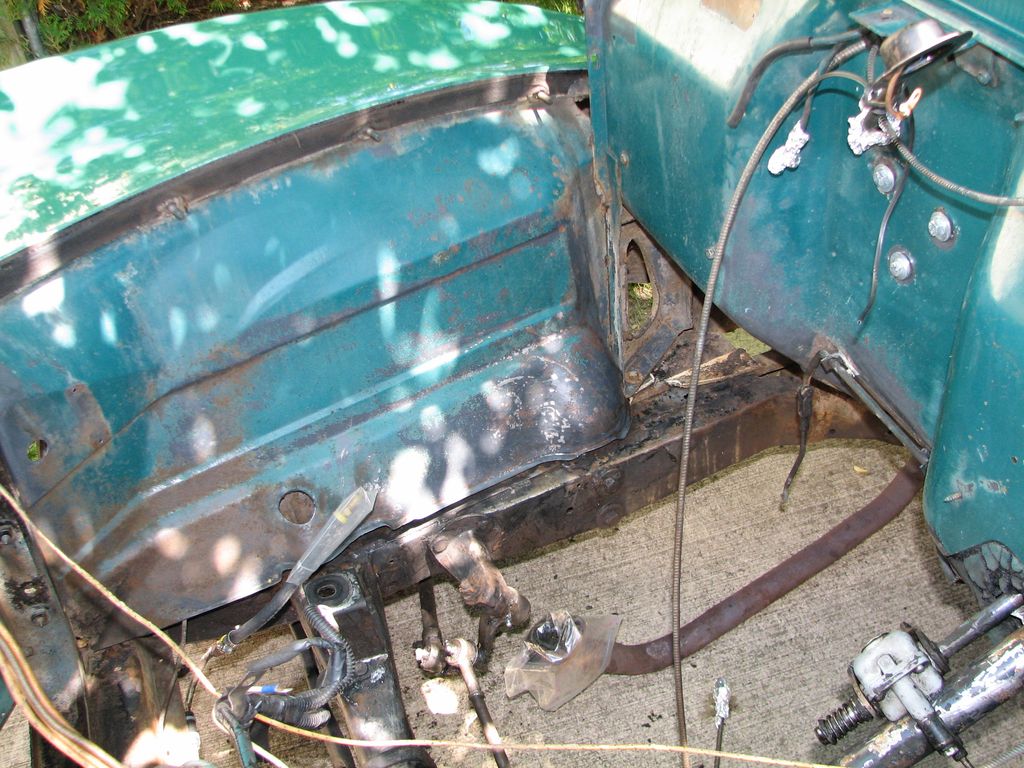
 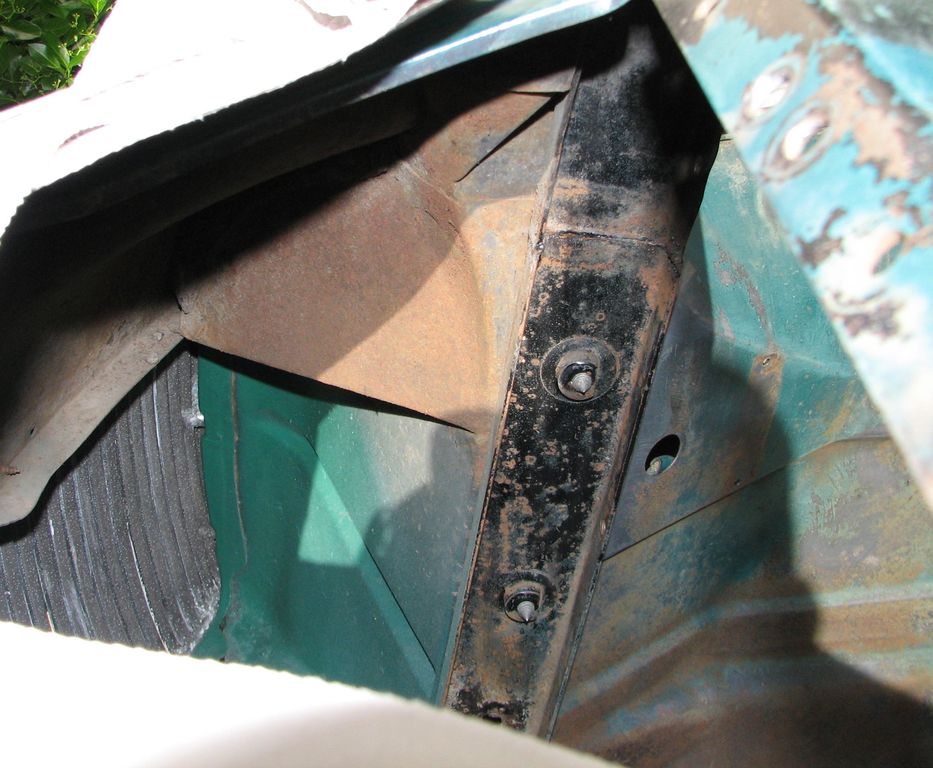 When
the body work was done on the car the area between the grill
and the radiator was not done. The front around
the grills is rusting quite a bit. The area at the top
on in the picture on the right is totally surface-rusted
I am going to do what I can but at some point front clip
sheet metal should come off and the rust fixed. But
for now the cleanup is complete. When
the body work was done on the car the area between the grill
and the radiator was not done. The front around
the grills is rusting quite a bit. The area at the top
on in the picture on the right is totally surface-rusted
I am going to do what I can but at some point front clip
sheet metal should come off and the rust fixed. But
for now the cleanup is complete. |


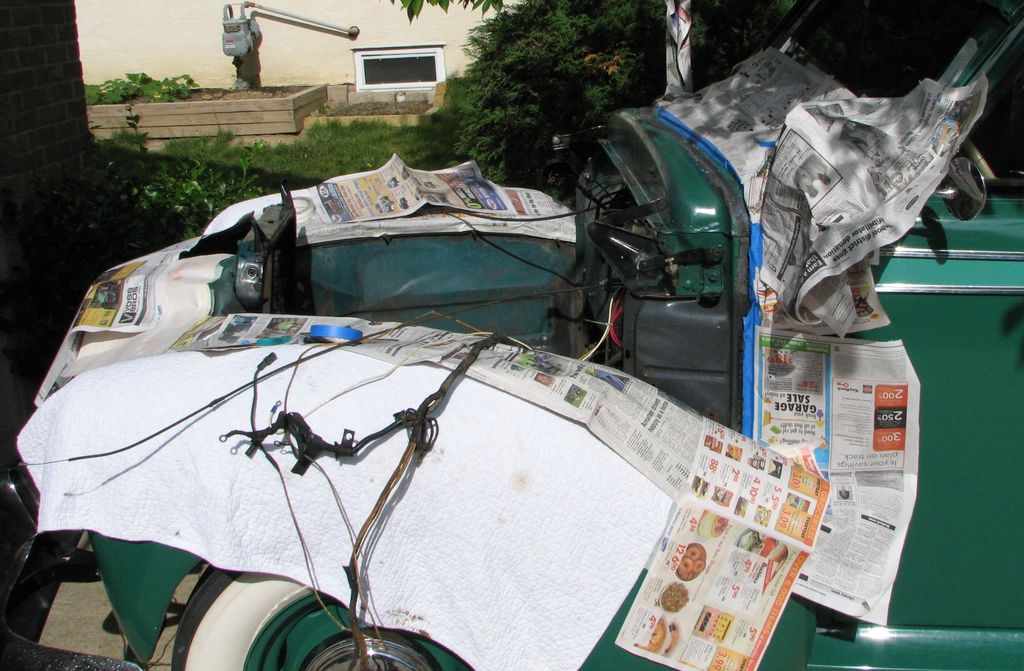 Time
for masking. The first step is to spray a rust converter on the
problem areas. I don't know what it does to paint and I don't want
to find out. So I am masking off everything that might be a
problem. Firewall components like wiring and the steering column
are getting wrapped in tin foil.
Time
for masking. The first step is to spray a rust converter on the
problem areas. I don't know what it does to paint and I don't want
to find out. So I am masking off everything that might be a
problem. Firewall components like wiring and the steering column
are getting wrapped in tin foil. I
am using aerosol
Rust Converter by Eastwood. You spray it in two light coats
and the rust is supposed to turn black. It certainly darkened the
rust up but I am not sure about turning black. Maybe I did not put
enough on?
I
am using aerosol
Rust Converter by Eastwood. You spray it in two light coats
and the rust is supposed to turn black. It certainly darkened the
rust up but I am not sure about turning black. Maybe I did not put
enough on?  The
next step in rust control is a rust encapsulator. I used
this stuff from Eastwood. I just brushed it on with a couple
of disposable brushes. The hardest part was getting the stuff
under the battery tray. It also dries quickly so I had to keep a
sharp eye out for any drips or runs. If it is going to be
top-coated (and it is) I have to do it before 36 hours have passed or I
will have to sand it. Meanwhile I got serious about masking
off the car for spraying.
The
next step in rust control is a rust encapsulator. I used
this stuff from Eastwood. I just brushed it on with a couple
of disposable brushes. The hardest part was getting the stuff
under the battery tray. It also dries quickly so I had to keep a
sharp eye out for any drips or runs. If it is going to be
top-coated (and it is) I have to do it before 36 hours have passed or I
will have to sand it. Meanwhile I got serious about masking
off the car for spraying.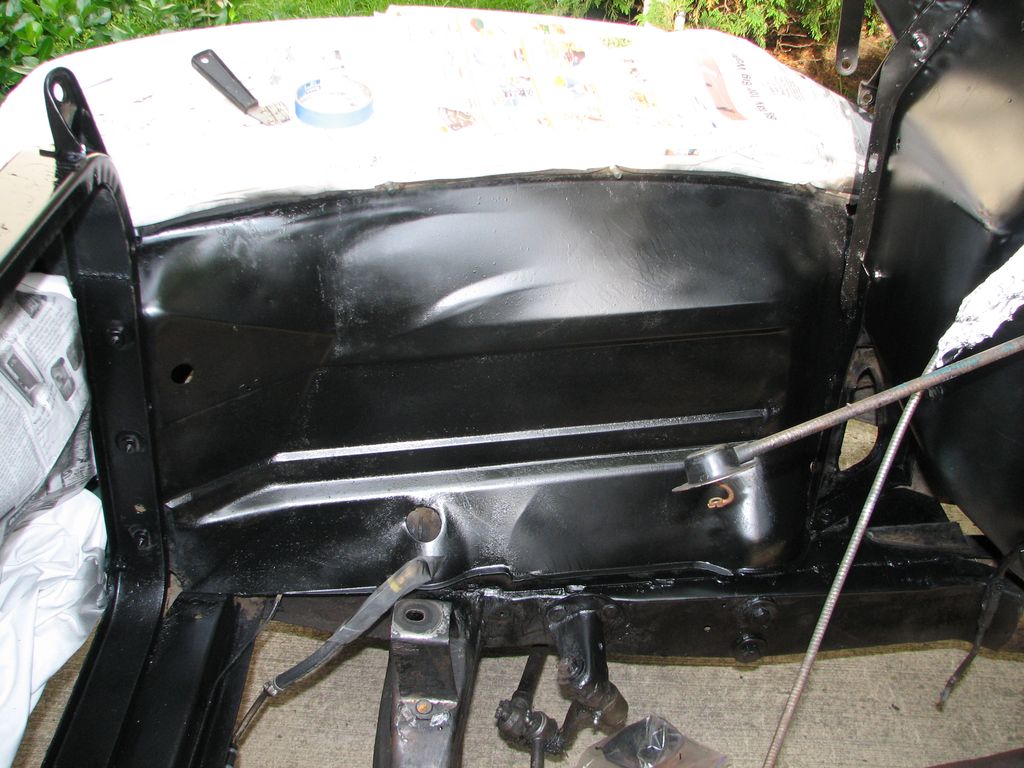
 I
hoped to paint everything at once but I ran out of space to work.
I kept bumping wet paint so I just got the heck out of there to let the
first half dry. I think it looks pretty nice.
I
hoped to paint everything at once but I ran out of space to work.
I kept bumping wet paint so I just got the heck out of there to let the
first half dry. I think it looks pretty nice. After
an overnight drying I sprayed the other half of the engine bay.
This side was much harder due to the wiring harness and more blind
corners and narrow places. I just took my time. Whatever is
left will get brush-painted but I am letting this paint set for a while
first. I have plenty of hardware and small parts to clean and
prep.
After
an overnight drying I sprayed the other half of the engine bay.
This side was much harder due to the wiring harness and more blind
corners and narrow places. I just took my time. Whatever is
left will get brush-painted but I am letting this paint set for a while
first. I have plenty of hardware and small parts to clean and
prep.  The
steering column and front cross-member are painted. I left
the steering box and suspension alone.
The
steering column and front cross-member are painted. I left
the steering box and suspension alone. Cleaning
up the headlight terminal blocks for paint. These are in OK shape
but there is a bit of rust.
Cleaning
up the headlight terminal blocks for paint. These are in OK shape
but there is a bit of rust. These
heater hose tees are worse. The car has two heater cores.
There is a big one under the driver's seat that heats the car then a
smaller one under the dash to defrost the windows. These tees
divide the hot water between the two heater cores. They are pretty
far gone so I wire brushed them well, sprayed them with rust converter,
then essentially dipped them in rust encapsulator. I still
do not have any plans to hook up the heaters so they should hold up just
fine.
These
heater hose tees are worse. The car has two heater cores.
There is a big one under the driver's seat that heats the car then a
smaller one under the dash to defrost the windows. These tees
divide the hot water between the two heater cores. They are pretty
far gone so I wire brushed them well, sprayed them with rust converter,
then essentially dipped them in rust encapsulator. I still
do not have any plans to hook up the heaters so they should hold up just
fine. 
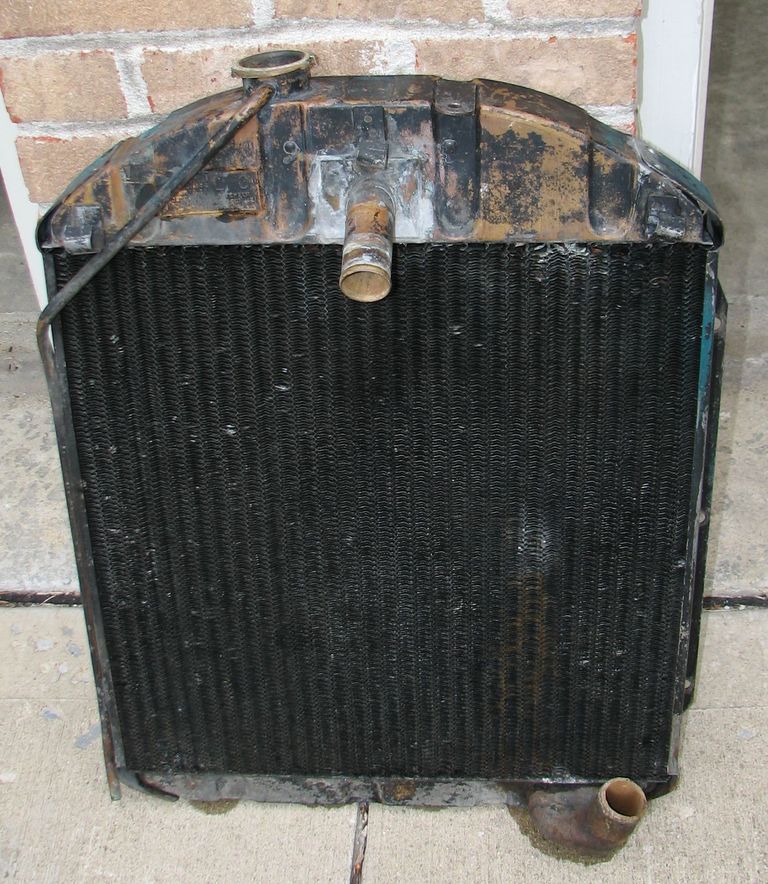 The
last big part to paint is the radiator. Since only the top tank
and the back side are visible that is all I will paint. The
picture on the left shows the radiator before cleaning. I used
some high-test detergent and ended up with the much cleaner radiator on
the right. The bottom outlet is cast iron so I hit that with the
rust encapsulator then painted the visible parts.
The
last big part to paint is the radiator. Since only the top tank
and the back side are visible that is all I will paint. The
picture on the left shows the radiator before cleaning. I used
some high-test detergent and ended up with the much cleaner radiator on
the right. The bottom outlet is cast iron so I hit that with the
rust encapsulator then painted the visible parts.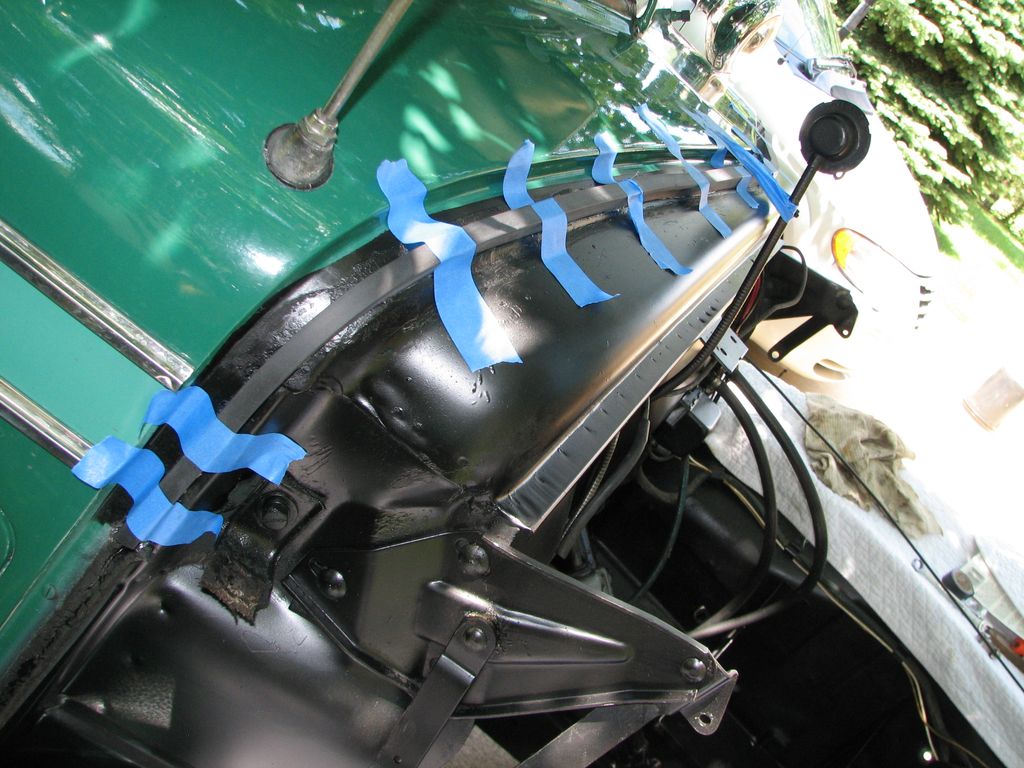 Last
step is to install the new cowl seal. I used Permatex weather
strip adhesive. It dries really fast but I used masking tape to
keep things from moving while it set up. I really, really hope I
put it in the right place. There is no way to tell without
installing the hood.
Last
step is to install the new cowl seal. I used Permatex weather
strip adhesive. It dries really fast but I used masking tape to
keep things from moving while it set up. I really, really hope I
put it in the right place. There is no way to tell without
installing the hood.  Engine
bay is ready! The very last step was to tape stuff out of the way
so nothing will get caught, pinched, or crunched. Here everything
is ready except the speedometer cable.
Engine
bay is ready! The very last step was to tape stuff out of the way
so nothing will get caught, pinched, or crunched. Here everything
is ready except the speedometer cable.