Gas Gauge Sensor
September 25, 2005 to October 22, 2005
Let me start by admitting that the damn gauge worked when I started this project. It does not now. Anyone see where I went off the reservation? I sure don't.
 When
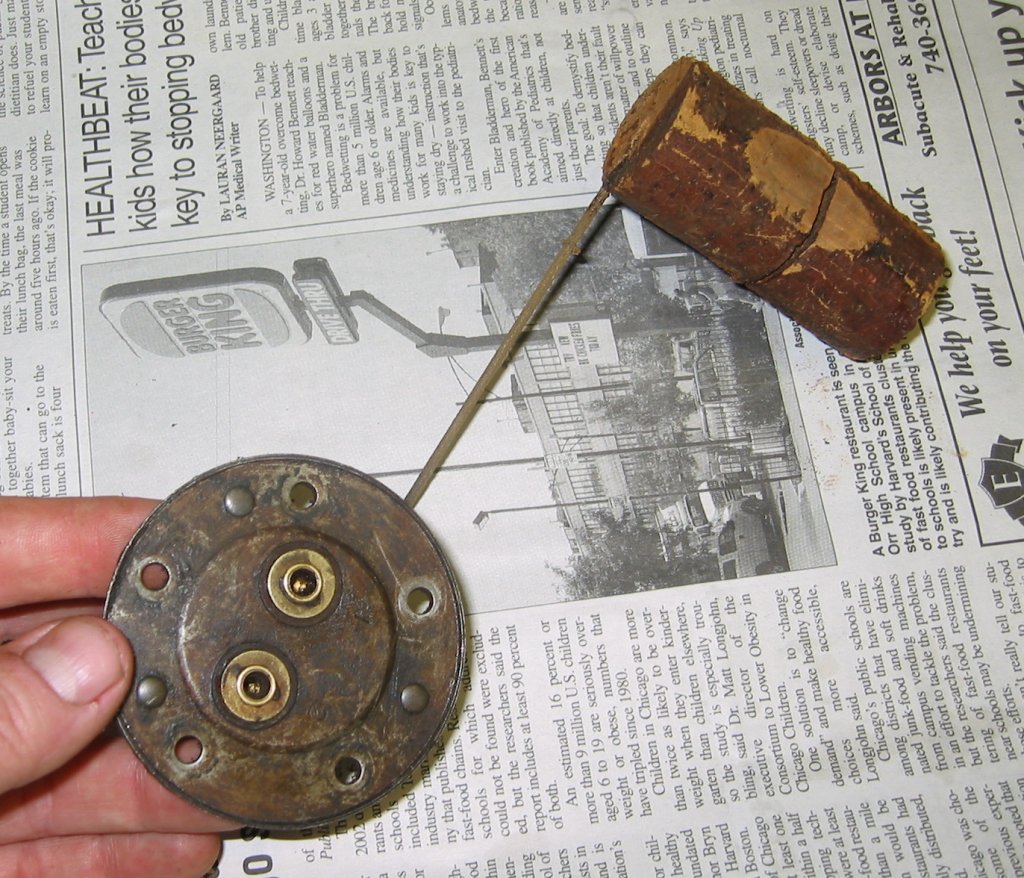
I took the sensor out of the tank I could not believe it
still worked. It looked like a solid block of rust.
This is also a pretty fair sample of what the inside walls
of the tank looked like as well. When
I took the sensor out of the tank I could not believe it
still worked. It looked like a solid block of rust.
This is also a pretty fair sample of what the inside walls
of the tank looked like as well. |
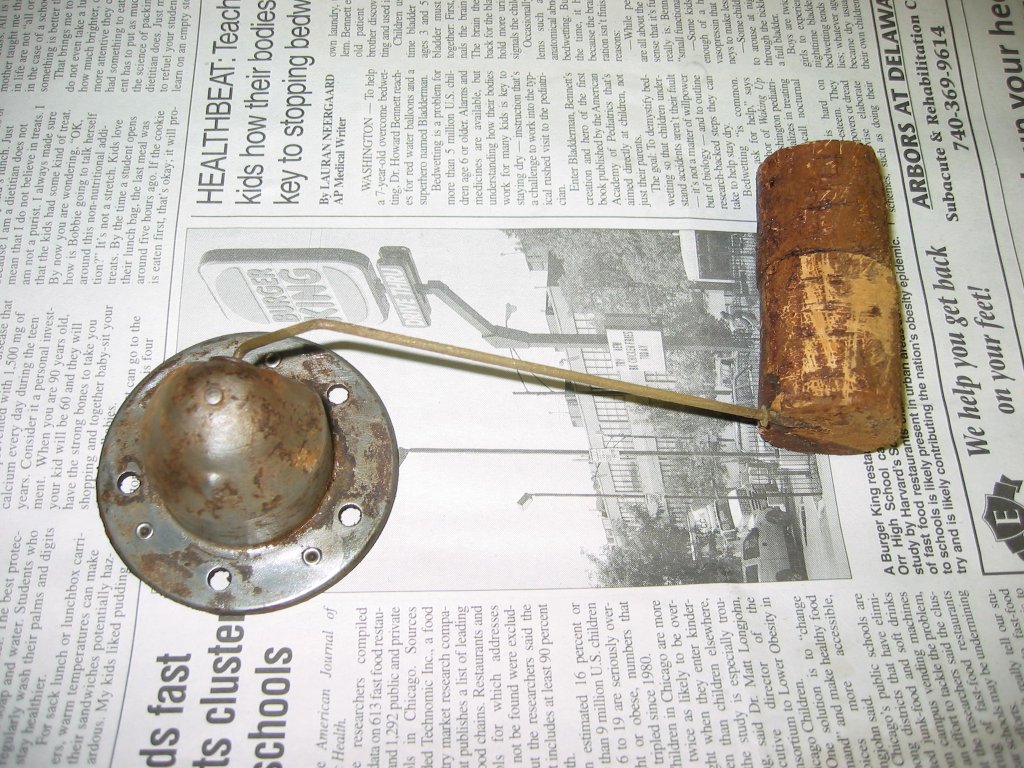 I
was almost in shock as I started cleaning. I carefully
removed the gunk and rust with a toothbrush and a brass
brush. Spray-can carb cleaner helped loosen the bad
spots. The float was in good shape but a little
dry-rotted. To try and preserve the whole thing I
painted everything you see here with the tank sealing
compound when I coated the tank. I hope that
painting that cork was not a really bad idea but I figure it
can only help hold it together at this point. I
was almost in shock as I started cleaning. I carefully
removed the gunk and rust with a toothbrush and a brass
brush. Spray-can carb cleaner helped loosen the bad
spots. The float was in good shape but a little
dry-rotted. To try and preserve the whole thing I
painted everything you see here with the tank sealing
compound when I coated the tank. I hope that
painting that cork was not a really bad idea but I figure it
can only help hold it together at this point. |
|
 The
old tank wiring harness was in bad shape. So I made a
new one. Once the harness was assembled I tested it
then tried to test the sensor with a multi-meter.
Imagine my surprise when it did not seem to be working.
Wiggling and shaking would get me continuity though one of
the two terminals but the other never seemed to work. The
old tank wiring harness was in bad shape. So I made a
new one. Once the harness was assembled I tested it
then tried to test the sensor with a multi-meter.
Imagine my surprise when it did not seem to be working.
Wiggling and shaking would get me continuity though one of
the two terminals but the other never seemed to work.At this point I was out of ideas so I reluctantly drilled out the three rivets holding the sensor together. |
|
|
 And
this large picture shows the other side. Click on it
for a close-up. The float lever passes into this area
though two insulated bushings that also position the wiper
relative to the resistor. The end of the lever bends
about 90 degrees and is crimped to a bit of brass bent and
shaped to form the wiper on one end and a ground contact
that rubs on the body of the sensor on the other. And
this large picture shows the other side. Click on it
for a close-up. The float lever passes into this area
though two insulated bushings that also position the wiper
relative to the resistor. The end of the lever bends
about 90 degrees and is crimped to a bit of brass bent and
shaped to form the wiper on one end and a ground contact
that rubs on the body of the sensor on the other. |
|
I carefully cleaned the contacts points and tested the sensor. It seemed to be working OK so I started thinking about putting it back together. |
|
|
|
Using the new gasket and some sealer I re-installed the sensor in the tank. I hooked up the new harness and ran a ground wire from the ground tab to the frame. But the gauge is always empty now... |