Tank Cleaning and Coating
September 25, 2005 to October 22, 2005
The general plan was to remove the tank, clean it, coat the inside with POR-15 Fuel Tank Sealer, paint the outside, then re-install the tank.
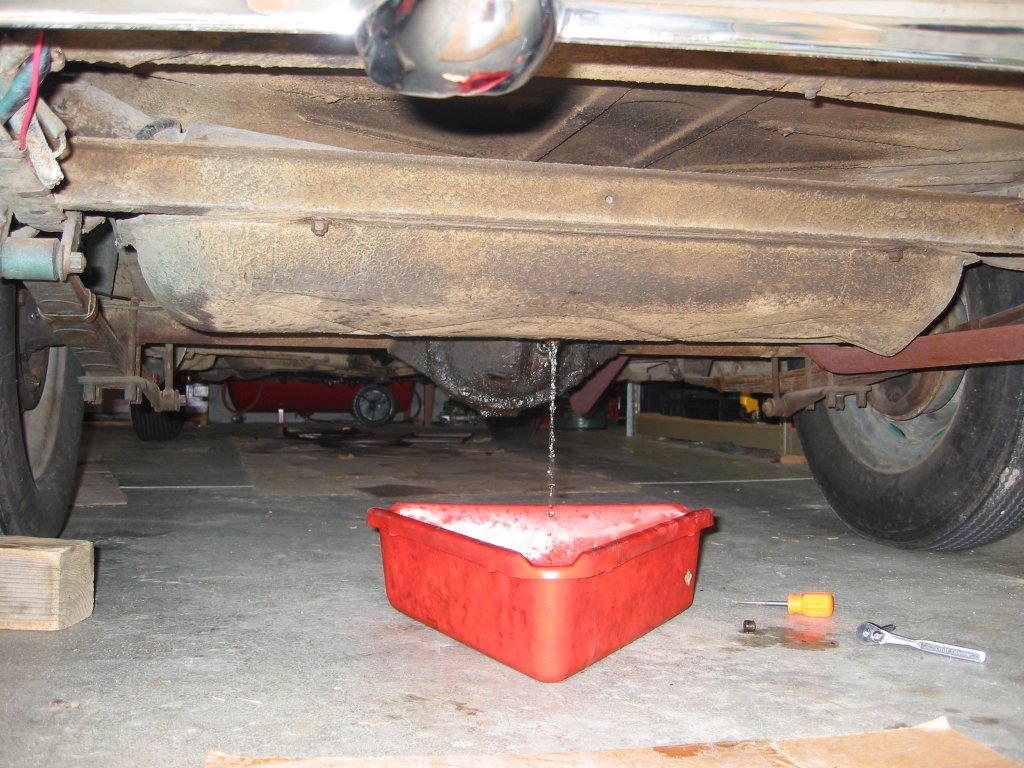 First
step is draining the tank. There were about eight
gallons in the tank when I started. I found rust in
the drained fuel so I filtered the gas though an old sock.
The filtered gas was then burned in my other cars. First
step is draining the tank. There were about eight
gallons in the tank when I started. I found rust in
the drained fuel so I filtered the gas though an old sock.
The filtered gas was then burned in my other cars. |
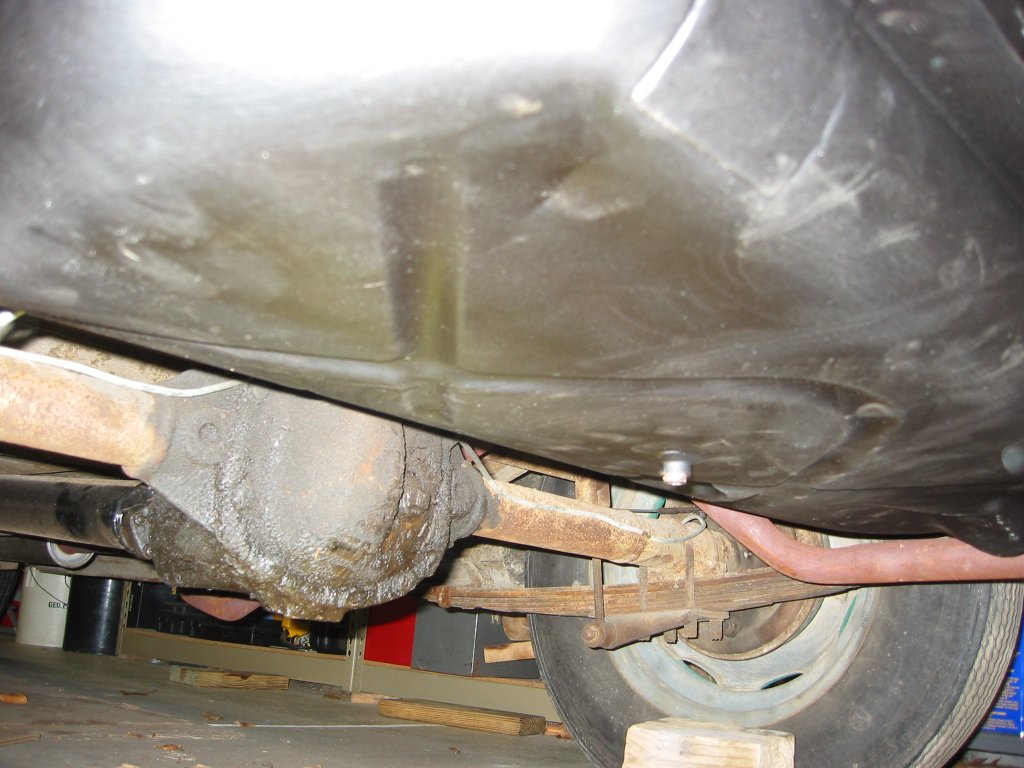
 Next
step is pulling the tank. The picture at left shows
the bracket that supports the gas tanks filler neck.
The filler neck is at the upper left. The
bracket bolts to the frame rail with the two bolts at left.
The band that secures the filler neck was rusted almost to
nothing and broke when I removed it. I was going
to fabricate a replacement but realized a hose clamp around
the remaining portion of the bracket would be a lot easier
and probably work better. So that is what I did. Next
step is pulling the tank. The picture at left shows
the bracket that supports the gas tanks filler neck.
The filler neck is at the upper left. The
bracket bolts to the frame rail with the two bolts at left.
The band that secures the filler neck was rusted almost to
nothing and broke when I removed it. I was going
to fabricate a replacement but realized a hose clamp around
the remaining portion of the bracket would be a lot easier
and probably work better. So that is what I did. |
60+ years worth of road grime was wedged between the top of the tank and the floor of the trunk. This became the first installment of dirt dumped in my face on this job. |
 When
I removed the tank I could hear junk rattling around
inside. After removing the fuel gauge sensor I dumped
in some ball bearings to help loosen the rust then shook the
tank for a while. This is what I got out the first
time. I eventually filled up a quart container with
tank debris. The crud appears to be about 2/3 old fuel
varnish and 1/3 actual rust. When
I removed the tank I could hear junk rattling around
inside. After removing the fuel gauge sensor I dumped
in some ball bearings to help loosen the rust then shook the
tank for a while. This is what I got out the first
time. I eventually filled up a quart container with
tank debris. The crud appears to be about 2/3 old fuel
varnish and 1/3 actual rust. |
|
|
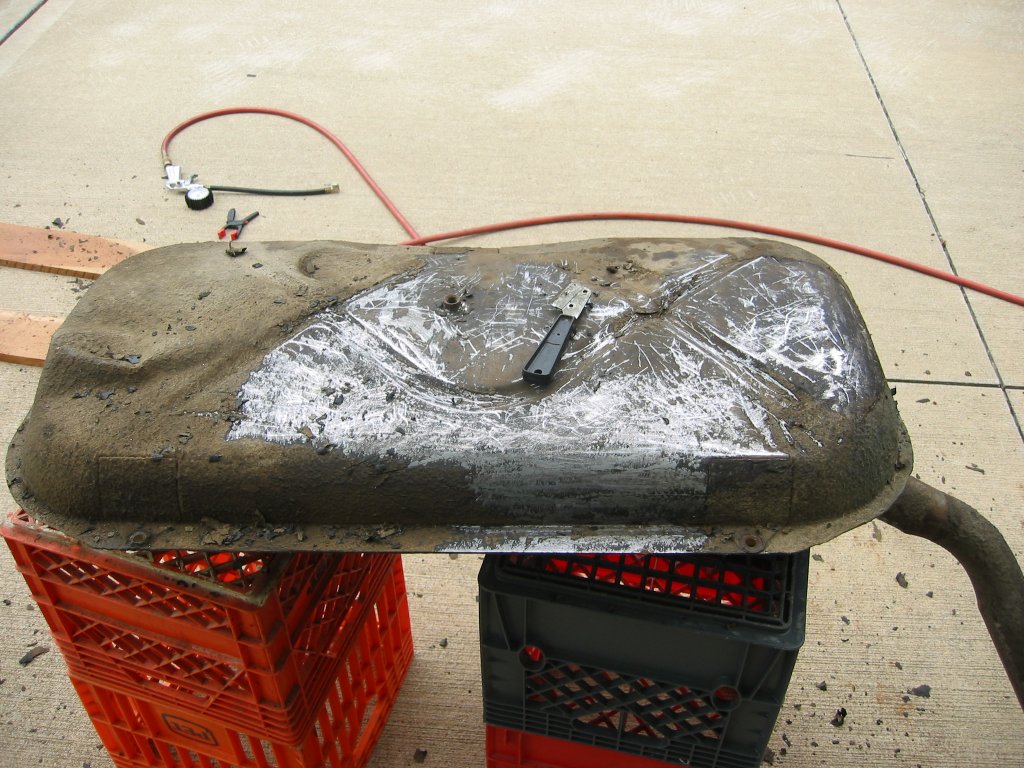 There
seemed to be no help for it. The undercoating needed
to come off. Scraping with a sharp scraper seemed to
be the best method. So I scraped, and scraped, and
scraped. Then for variety I scraped some more.
This picture shows the bottom of the tank as I really got
rolling on it. I spent two days getting the tank
cleaned off. In the process I found old
damage to the tank that had been repaired with melted lead.
Fun! There
seemed to be no help for it. The undercoating needed
to come off. Scraping with a sharp scraper seemed to
be the best method. So I scraped, and scraped, and
scraped. Then for variety I scraped some more.
This picture shows the bottom of the tank as I really got
rolling on it. I spent two days getting the tank
cleaned off. In the process I found old
damage to the tank that had been repaired with melted lead.
Fun! |
|
|
|
Once the outside of the tank was clean it was time for the inside. The cleaning kit came with two quarts of cleaner to remove gunk from the inside of the tank. As recommended I mixed each quart with hot water and shook it in the tank for 20 minutes. Lather, rinse, repeat. |
|
|
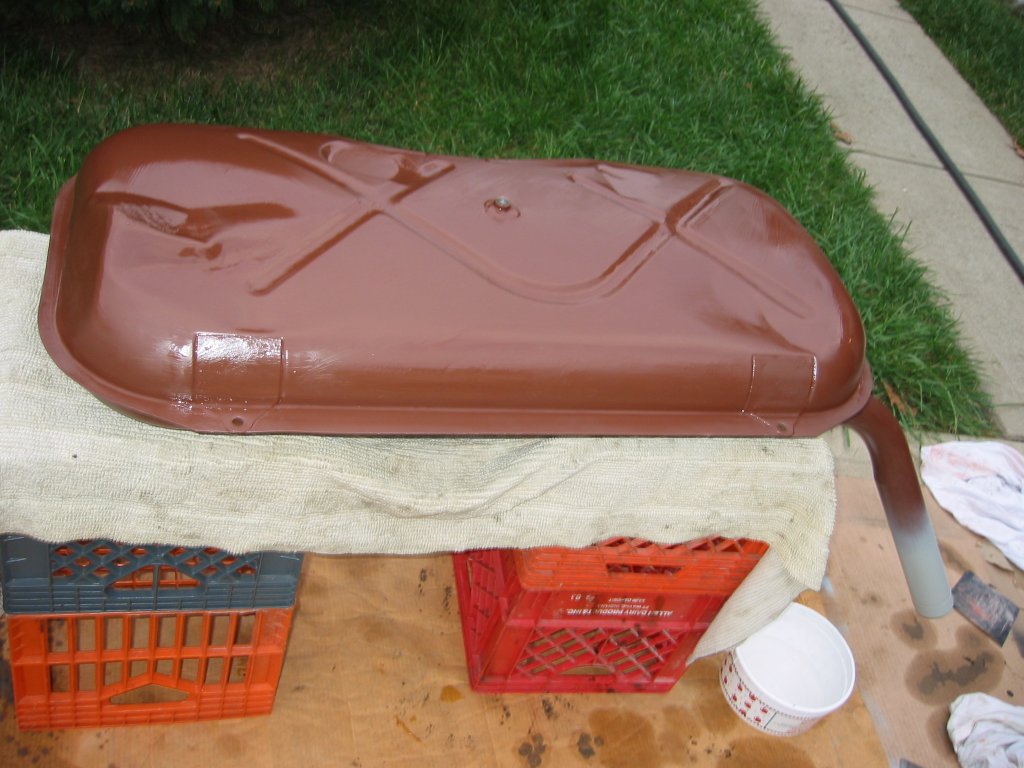 After
the sealer cured I finished the outside of the tank. I
brushed on rusty metal primer first. The primer is wet
here which is why it looks glossy. After
the sealer cured I finished the outside of the tank. I
brushed on rusty metal primer first. The primer is wet
here which is why it looks glossy. |
 The
top of the filler neck sticks out of the fender of the car.
There was a little rust pitting around where the fender's gasket
rubbed the neck. I decided to make the end of the neck
look as nice as I could. After sanding the rust off I
applied multiple coats of primer and body putty. The
top of the filler neck sticks out of the fender of the car.
There was a little rust pitting around where the fender's gasket
rubbed the neck. I decided to make the end of the neck
look as nice as I could. After sanding the rust off I
applied multiple coats of primer and body putty. |
 The
rest of the tank I painted with flat black enamel. The
rest of the tank I painted with flat black enamel. |
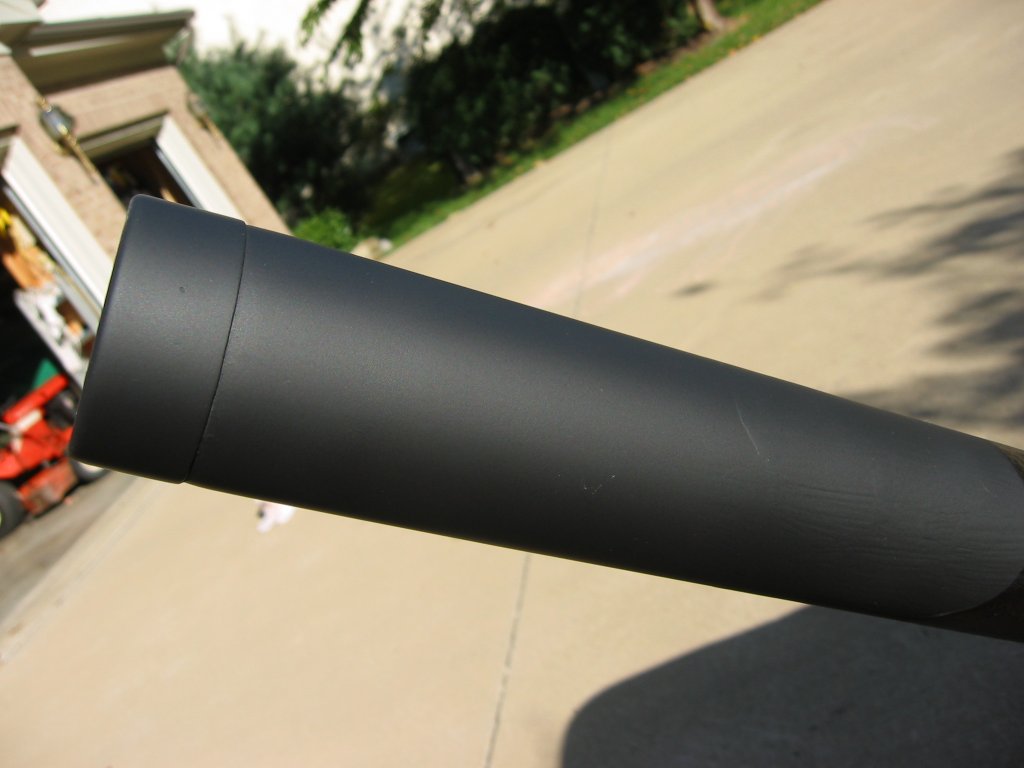 Once
I had filled in all the imperfections I painted the neck satin
black. Once
I had filled in all the imperfections I painted the neck satin
black. |
 Once
the paint had a couple of days to cure I used spray undercoating
to undercoat the entire tank. Once
the paint had a couple of days to cure I used spray undercoating
to undercoat the entire tank. |
 And
finally the tank is back in the car. And
finally the tank is back in the car. |


