Spark Plugs, Ignition Wires, Fuel Pump
April-May, 2005
Earlier this year the car refused to start. My dad and I both have been troubleshooting and it seems that a lot of things are not right. Time for some maintenance.
 First problem: The spark plugs and wires are pretty old
and not very
good. Dad recommended copper-cored wires. Local sources did
not have them so I ordered a complete set of ignition parts from
Studebaker Parts Online.
I also ordered a carburetor rebuild kit but I am holding off on that.
The new cap and wires are to the right. First problem: The spark plugs and wires are pretty old
and not very
good. Dad recommended copper-cored wires. Local sources did
not have them so I ordered a complete set of ignition parts from
Studebaker Parts Online.
I also ordered a carburetor rebuild kit but I am holding off on that.
The new cap and wires are to the right. |
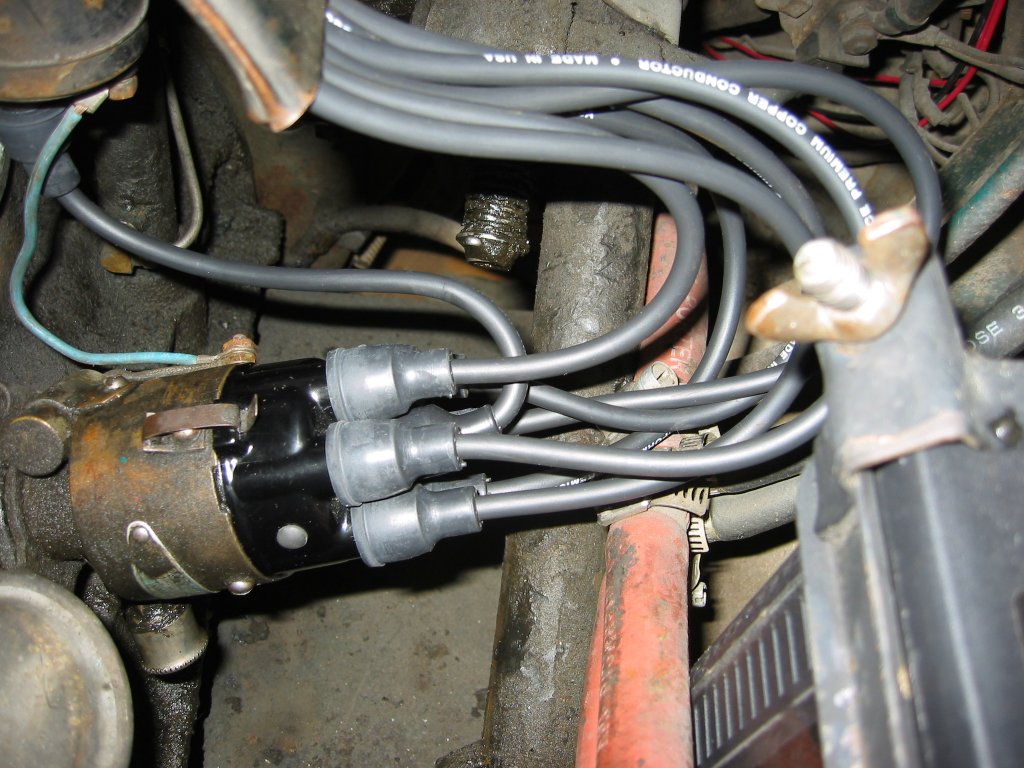
 Here
is the business end of the wires. The old plugs are still in since
the new ones had to be ordered and had not arrived yet. Note the
heater hoses on top of the engine. The heater cores are currently
bypassed. Here
is the business end of the wires. The old plugs are still in since
the new ones had to be ordered and had not arrived yet. Note the
heater hoses on top of the engine. The heater cores are currently
bypassed. |
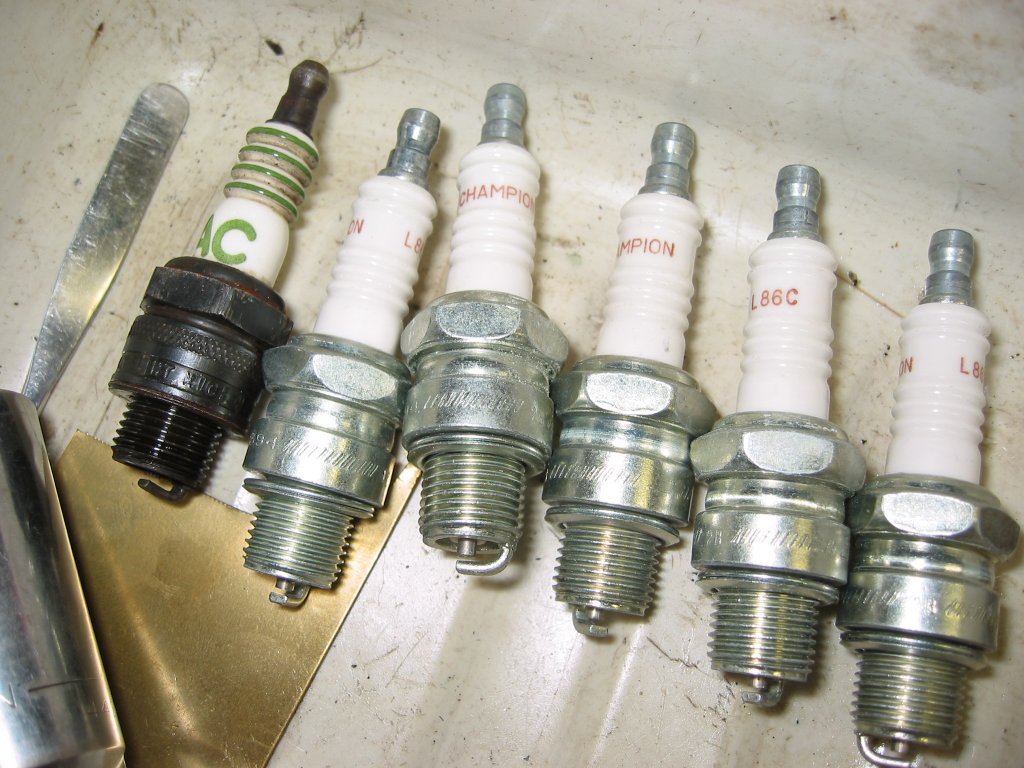 And
here are the spark plugs. An old plug is on the left.
They were not horrible but had been used and were at least 25 years
old... The new ones are a different length. That usually
means the plugs are a different "temperature". I am not
sure I cross-referenced this correctly. And
here are the spark plugs. An old plug is on the left.
They were not horrible but had been used and were at least 25 years
old... The new ones are a different length. That usually
means the plugs are a different "temperature". I am not
sure I cross-referenced this correctly. |
|
On the left you can see the new pump and the old one. After snapping this picture I transferred all the hoses and fittings from the old pump to the new pump then replaced the pump. After hooking up the pump I used my hand vacuum pump to prime the pump by sucking on the end of the pipe from the fuel pump to the carburetor.
|
 One
comment my father made was that the car seemed to be cranking slowly.
It is a 6 volt system and is very sensitive to any resistance in the
wires. So I removed all the wiring between the battery and the
starter (including the starter switch). I inspected the wires and
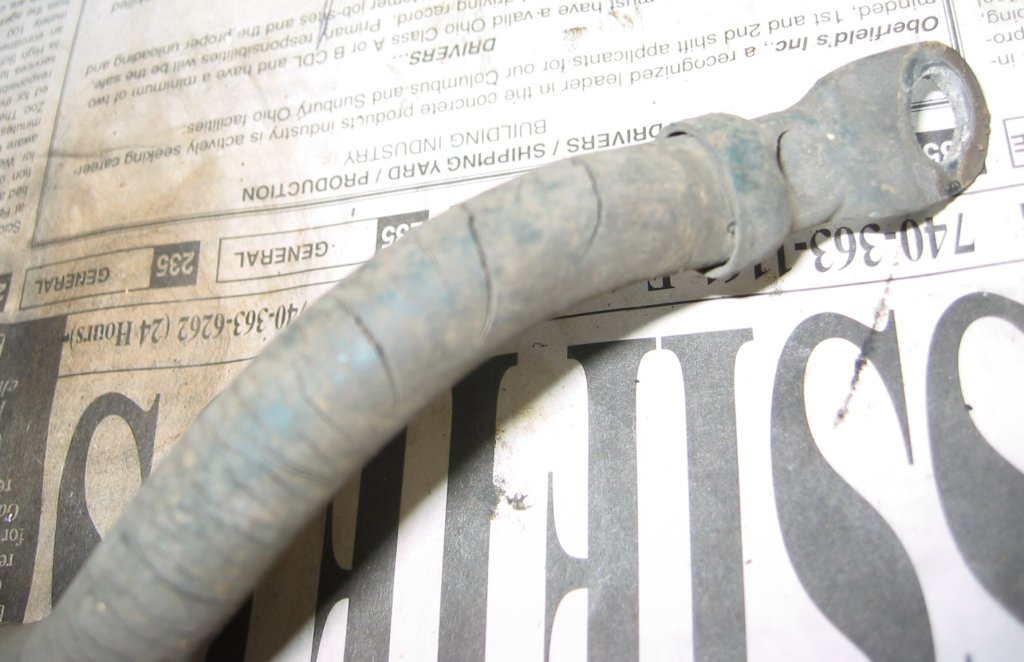
cleaned up the terminals. At left is the end if the wire that
attaches to the starter. As you can see it has cracks in the
insulation but once I cleaned the terminals it had essentially no
resistance on my ohm meter so I wrapped the cracks in electrical tape
and replaced the wire. One
comment my father made was that the car seemed to be cranking slowly.
It is a 6 volt system and is very sensitive to any resistance in the
wires. So I removed all the wiring between the battery and the
starter (including the starter switch). I inspected the wires and
cleaned up the terminals. At left is the end if the wire that
attaches to the starter. As you can see it has cracks in the
insulation but once I cleaned the terminals it had essentially no
resistance on my ohm meter so I wrapped the cracks in electrical tape
and replaced the wire.
|
 The second picture shows the negative battery terminal. Same
deal here. The starter circuit is really simple. The battery
cable runs from the negative terminal right to the starter switch on the
firewall behind the clutch pedal (remember this is a positive ground
system). All other power for the car is pulled from this terminal on
the starter switch. The other end of the starter switch is connected
directly to the starter via a huge wire running under the bell housing of
the transmission. The second picture shows the negative battery terminal. Same
deal here. The starter circuit is really simple. The battery
cable runs from the negative terminal right to the starter switch on the
firewall behind the clutch pedal (remember this is a positive ground
system). All other power for the car is pulled from this terminal on
the starter switch. The other end of the starter switch is connected
directly to the starter via a huge wire running under the bell housing of
the transmission.After cleaning everything and reconnecting the wires the car does crank noticeably faster. Mission accomplished! Although it does occur to me that I need to also check the ground strap and positive battery cables too. |

