Tie Rod End
May, 2005
While checking the starter wiring I noticed a lot of play in the passenger side tie rod end. I knew it was getting badly worn so I had bought two new tie rod ends off e-Bay. The only problem is they are the wrong tie rod ends. Rats.
I tried local sources but steering parts are just not carried for that car any more. So I hit the on-line vendors. Stephen Allen Studebaker had the best price so I ordered a new tie rod end. It was here in three days and is a new part although it has quite a bit of surface rust. Beggars can't be choosers!
 Step
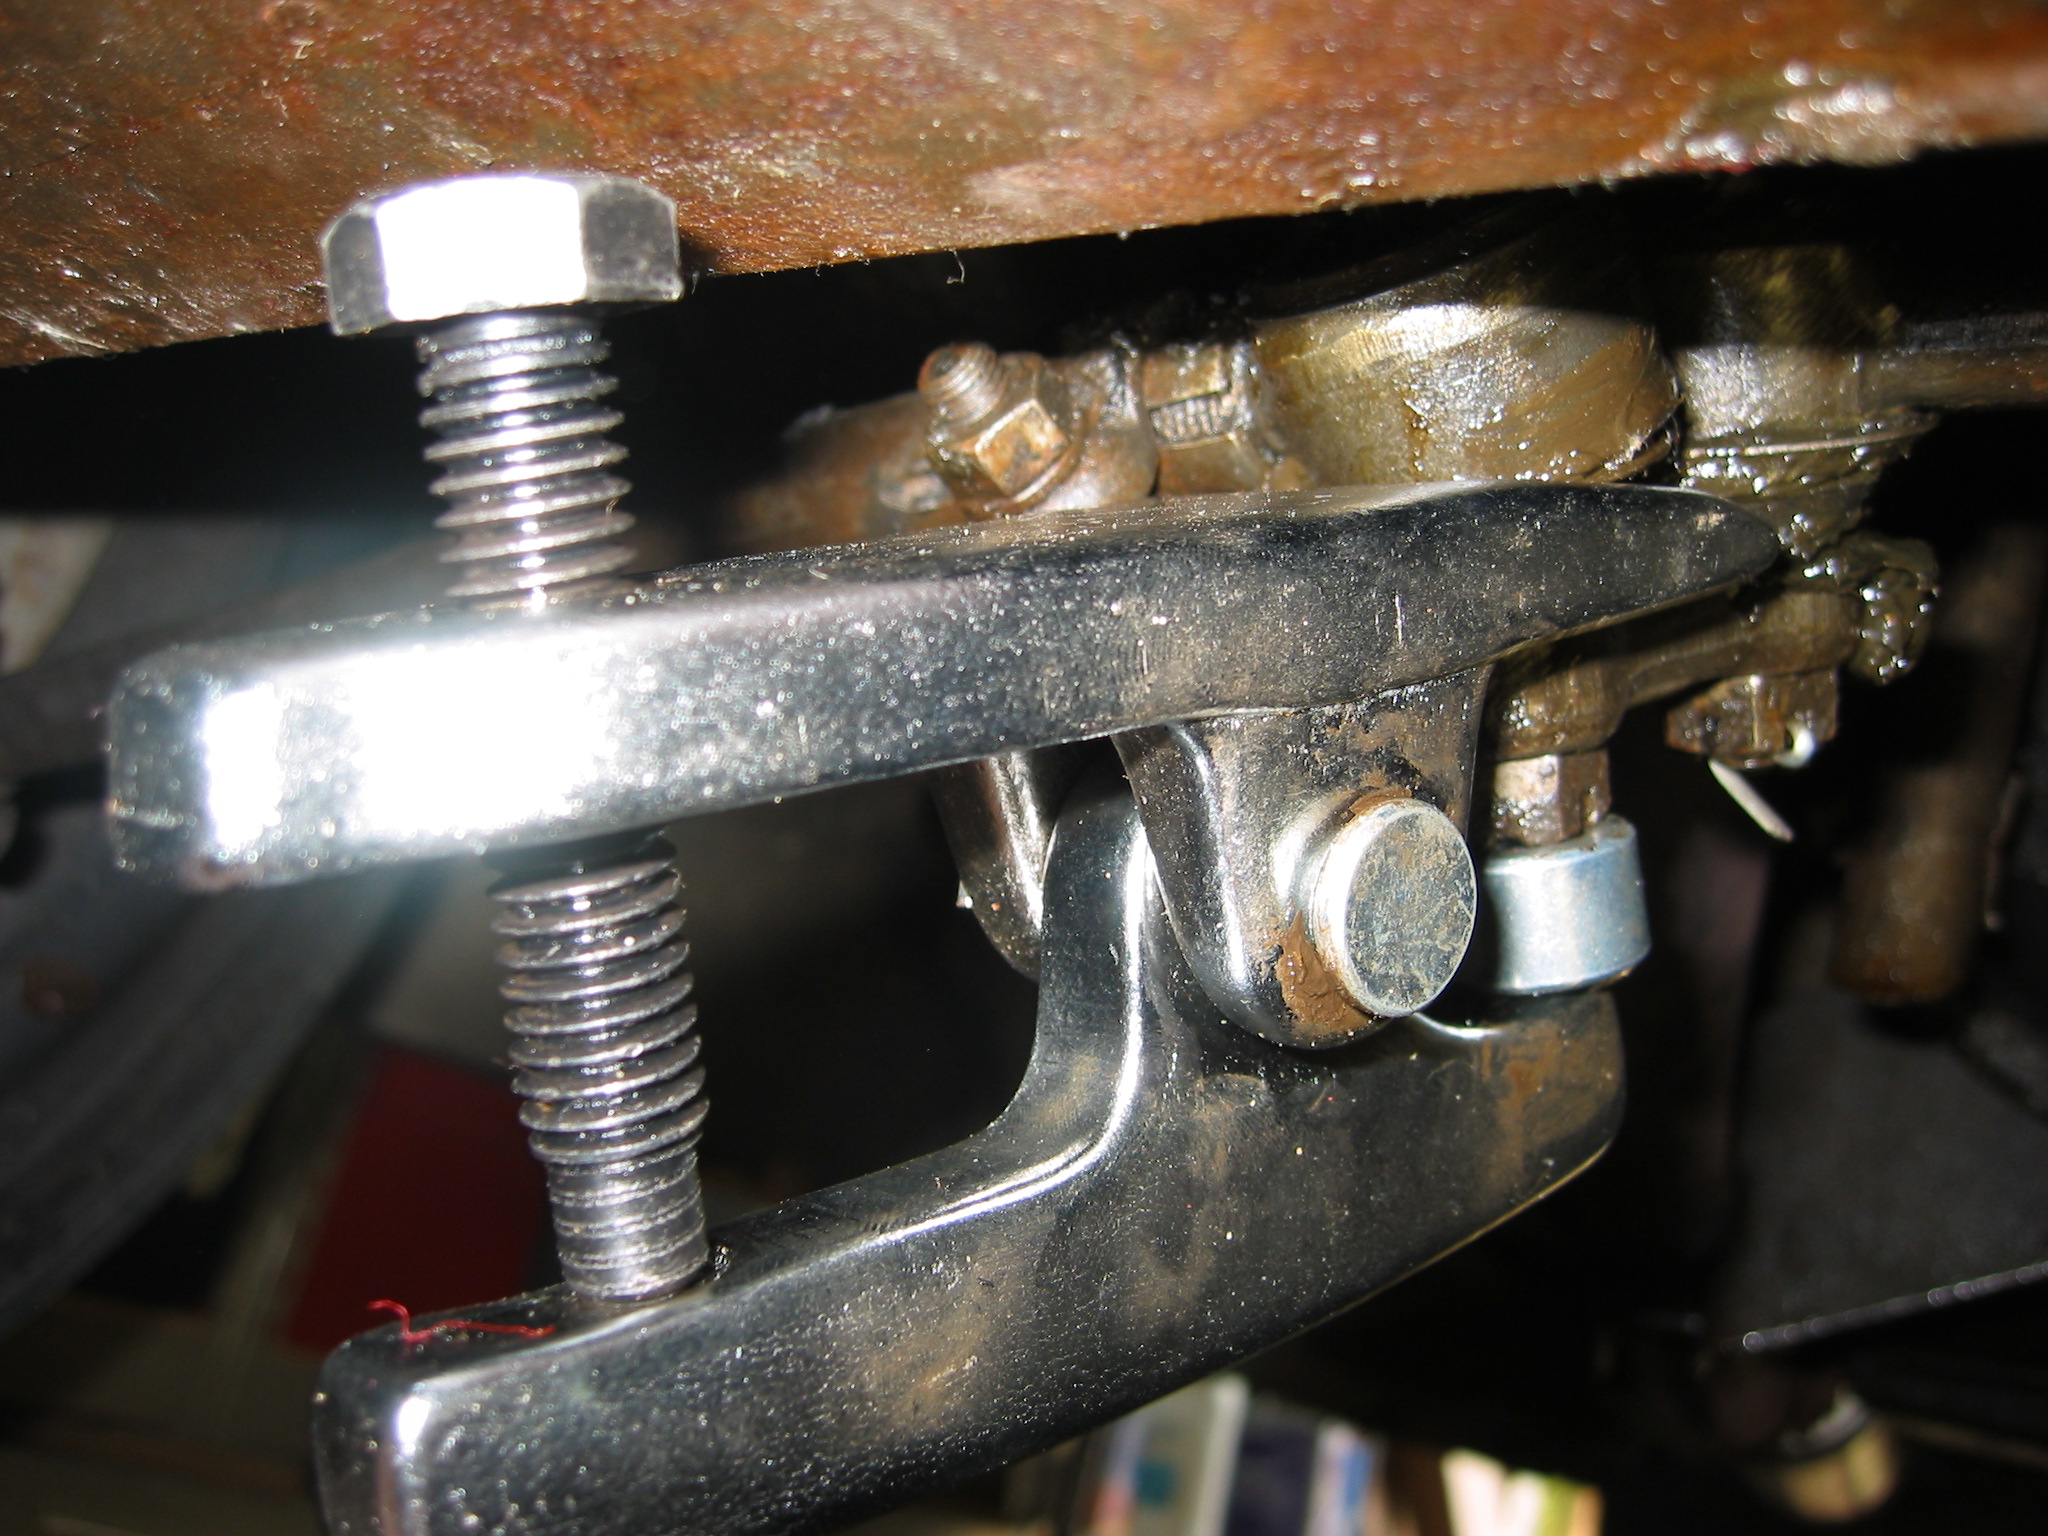
one: Remove the tie rod. While it should be possible to
change the tie rod end with the other end in place it is much easier to
work on things with the tie rod on the bench. So I removed the
cotter pins and loosened the nuts from both tie rod ends then used my
tie-rod-popper-outer tool to break the ends loose. Each tie rod
end has a tapered shaft that is clamped into a matching tapered hole by
the pulling action of the nut. This fit is very tight and without
a tool like this getting them out is a chore. I bought this tool
years ago to work on my VW GTI. It was a little big but
worked just fine. Step
one: Remove the tie rod. While it should be possible to
change the tie rod end with the other end in place it is much easier to
work on things with the tie rod on the bench. So I removed the
cotter pins and loosened the nuts from both tie rod ends then used my
tie-rod-popper-outer tool to break the ends loose. Each tie rod
end has a tapered shaft that is clamped into a matching tapered hole by
the pulling action of the nut. This fit is very tight and without
a tool like this getting them out is a chore. I bought this tool
years ago to work on my VW GTI. It was a little big but
worked just fine. |
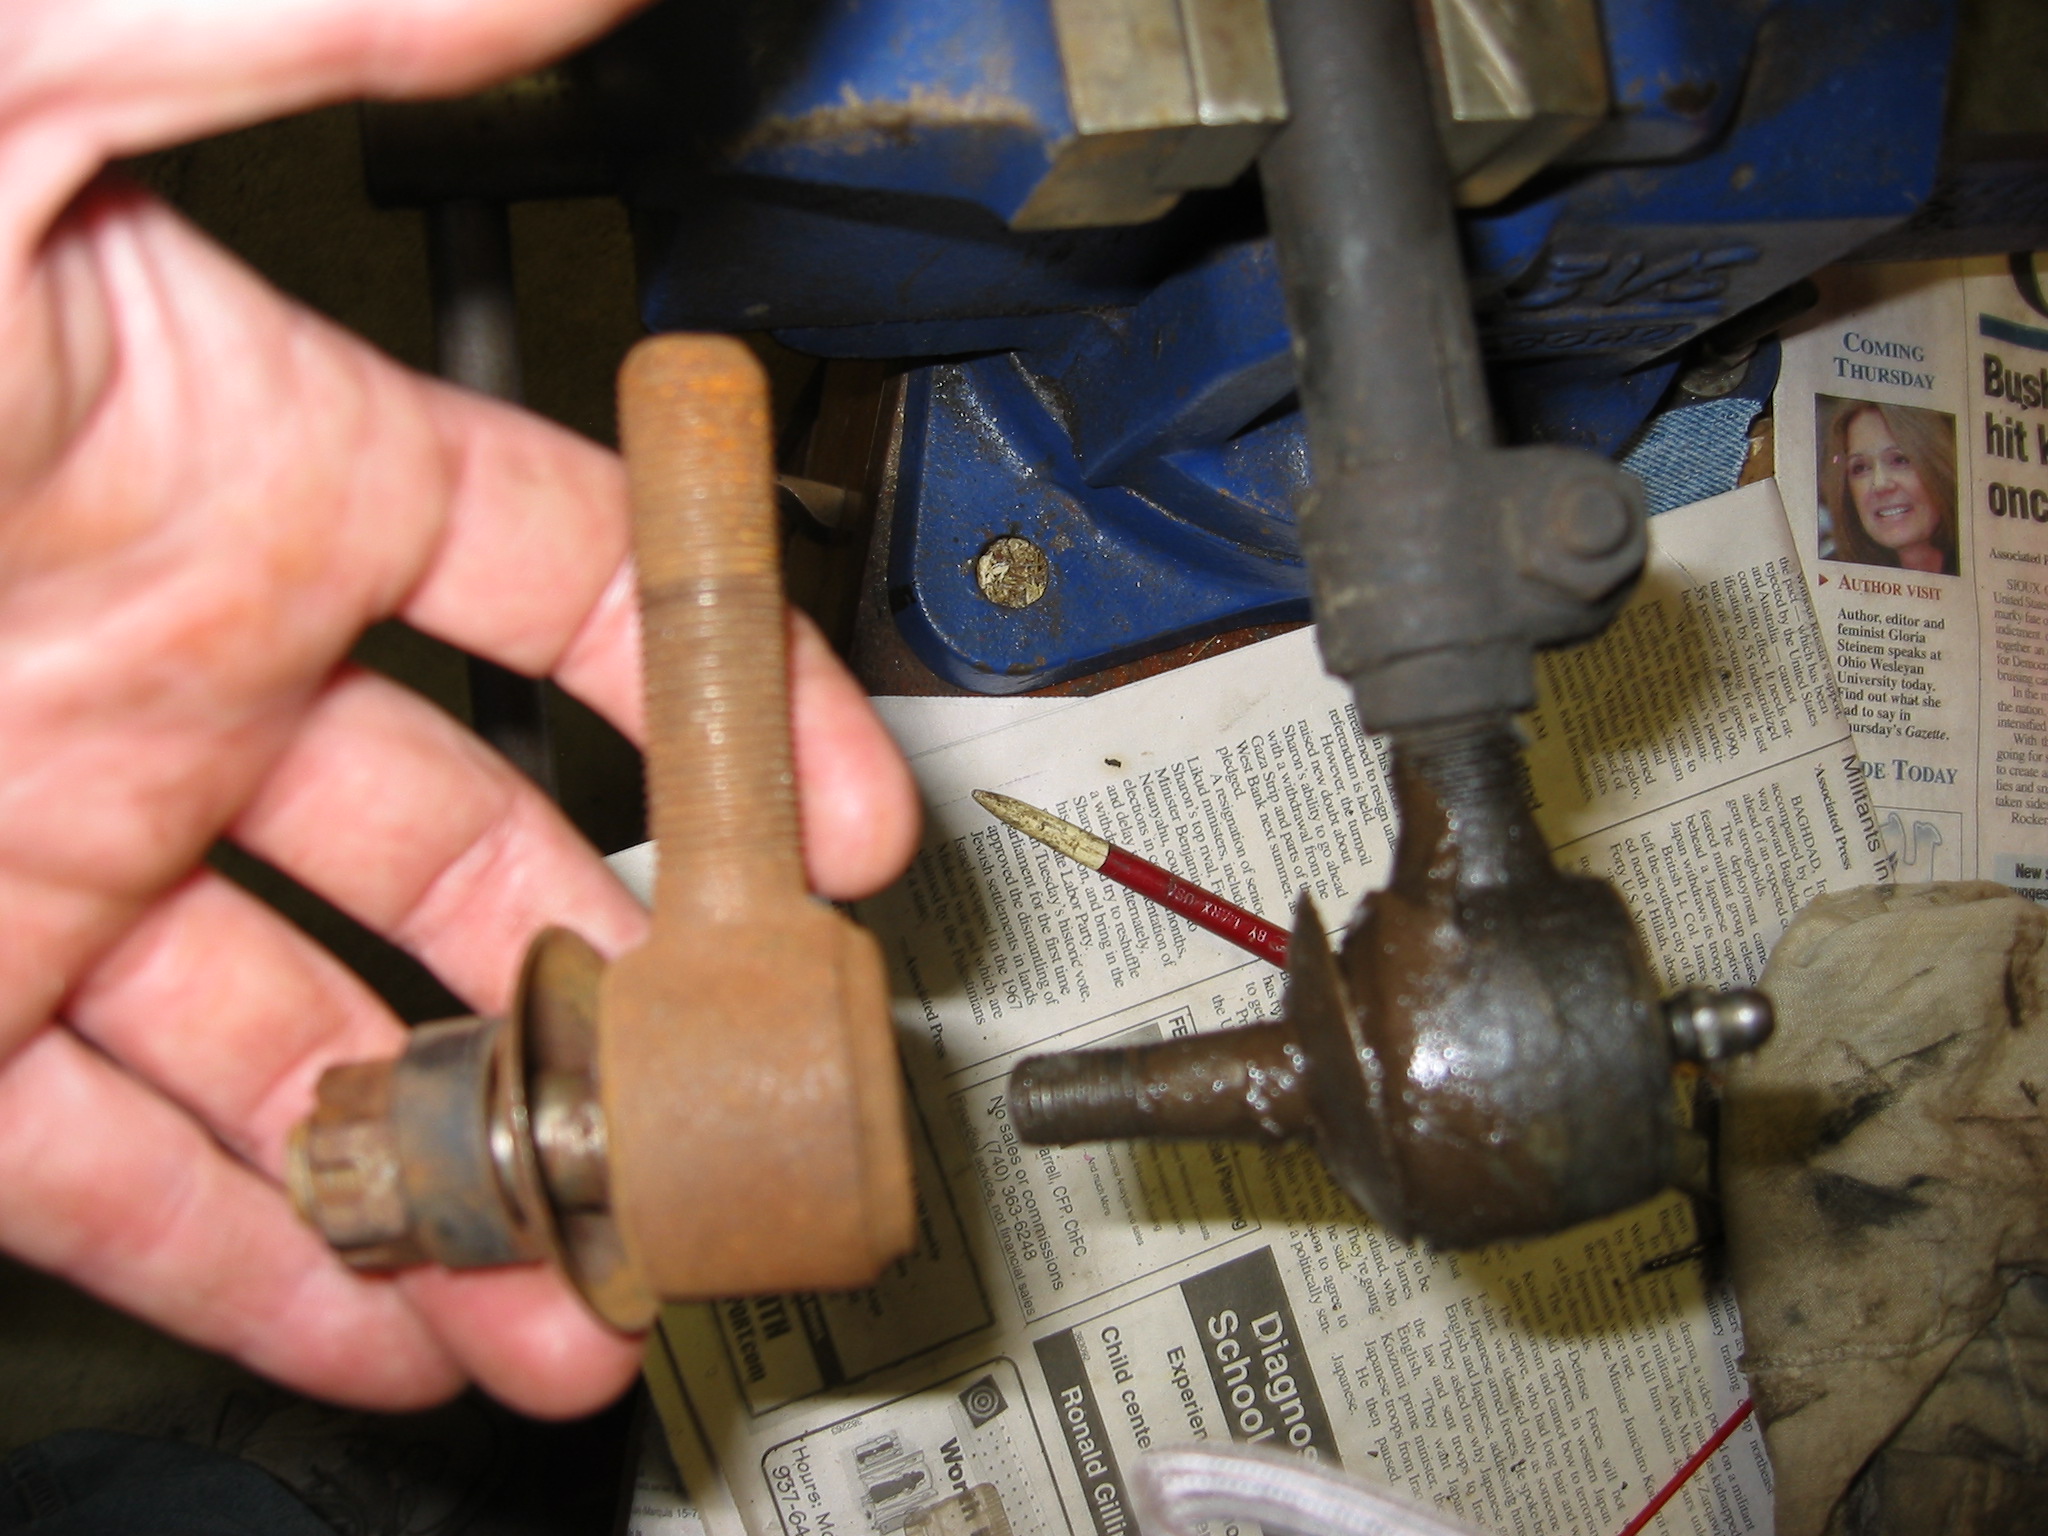 Once I had the tie rod out I clamped it in a vise and compared to the new part. Looks like a match! You can see the new end is a little rusty. I cleaned it up with a wire brush and used brake cleaner to blow out the dirt and debris from the ball joint. The grease seal (that rubber doohickey under the nut) is a little hardened with age but worlds better then the destroyed one I found on the old tie rod end. |
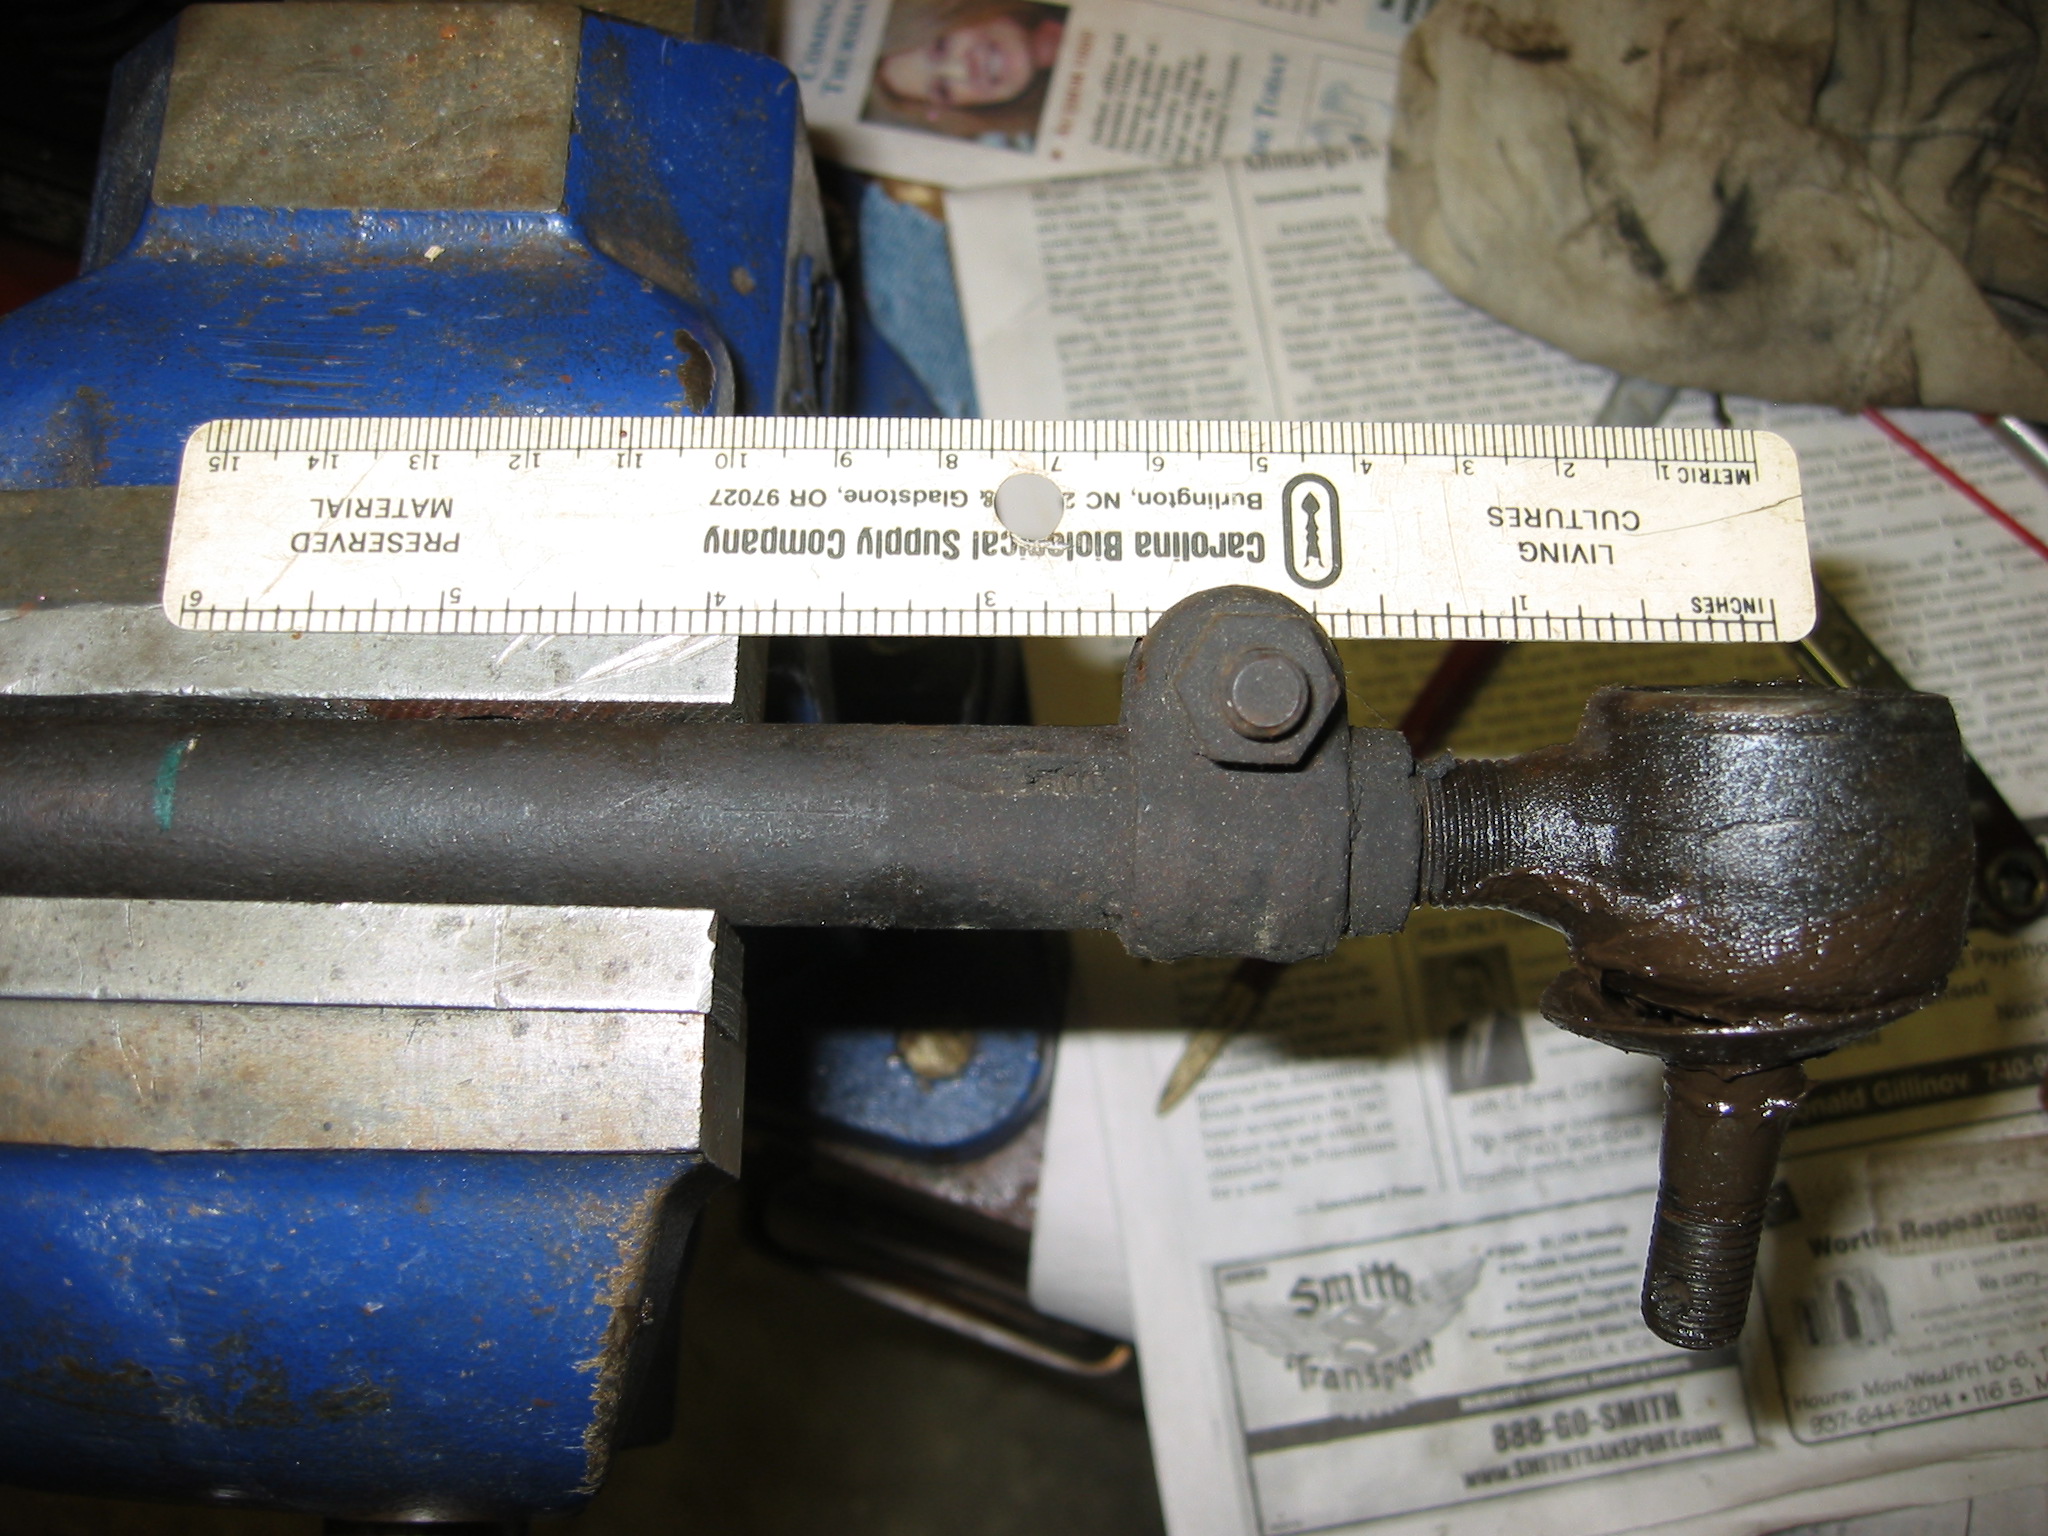 The
alignment of the front wheels is adjusted by loosening the tie rod end
clamp and screwing the end in and out. So it is vital to keep the
overall length of the tie rod the same when I put the new tie rod end
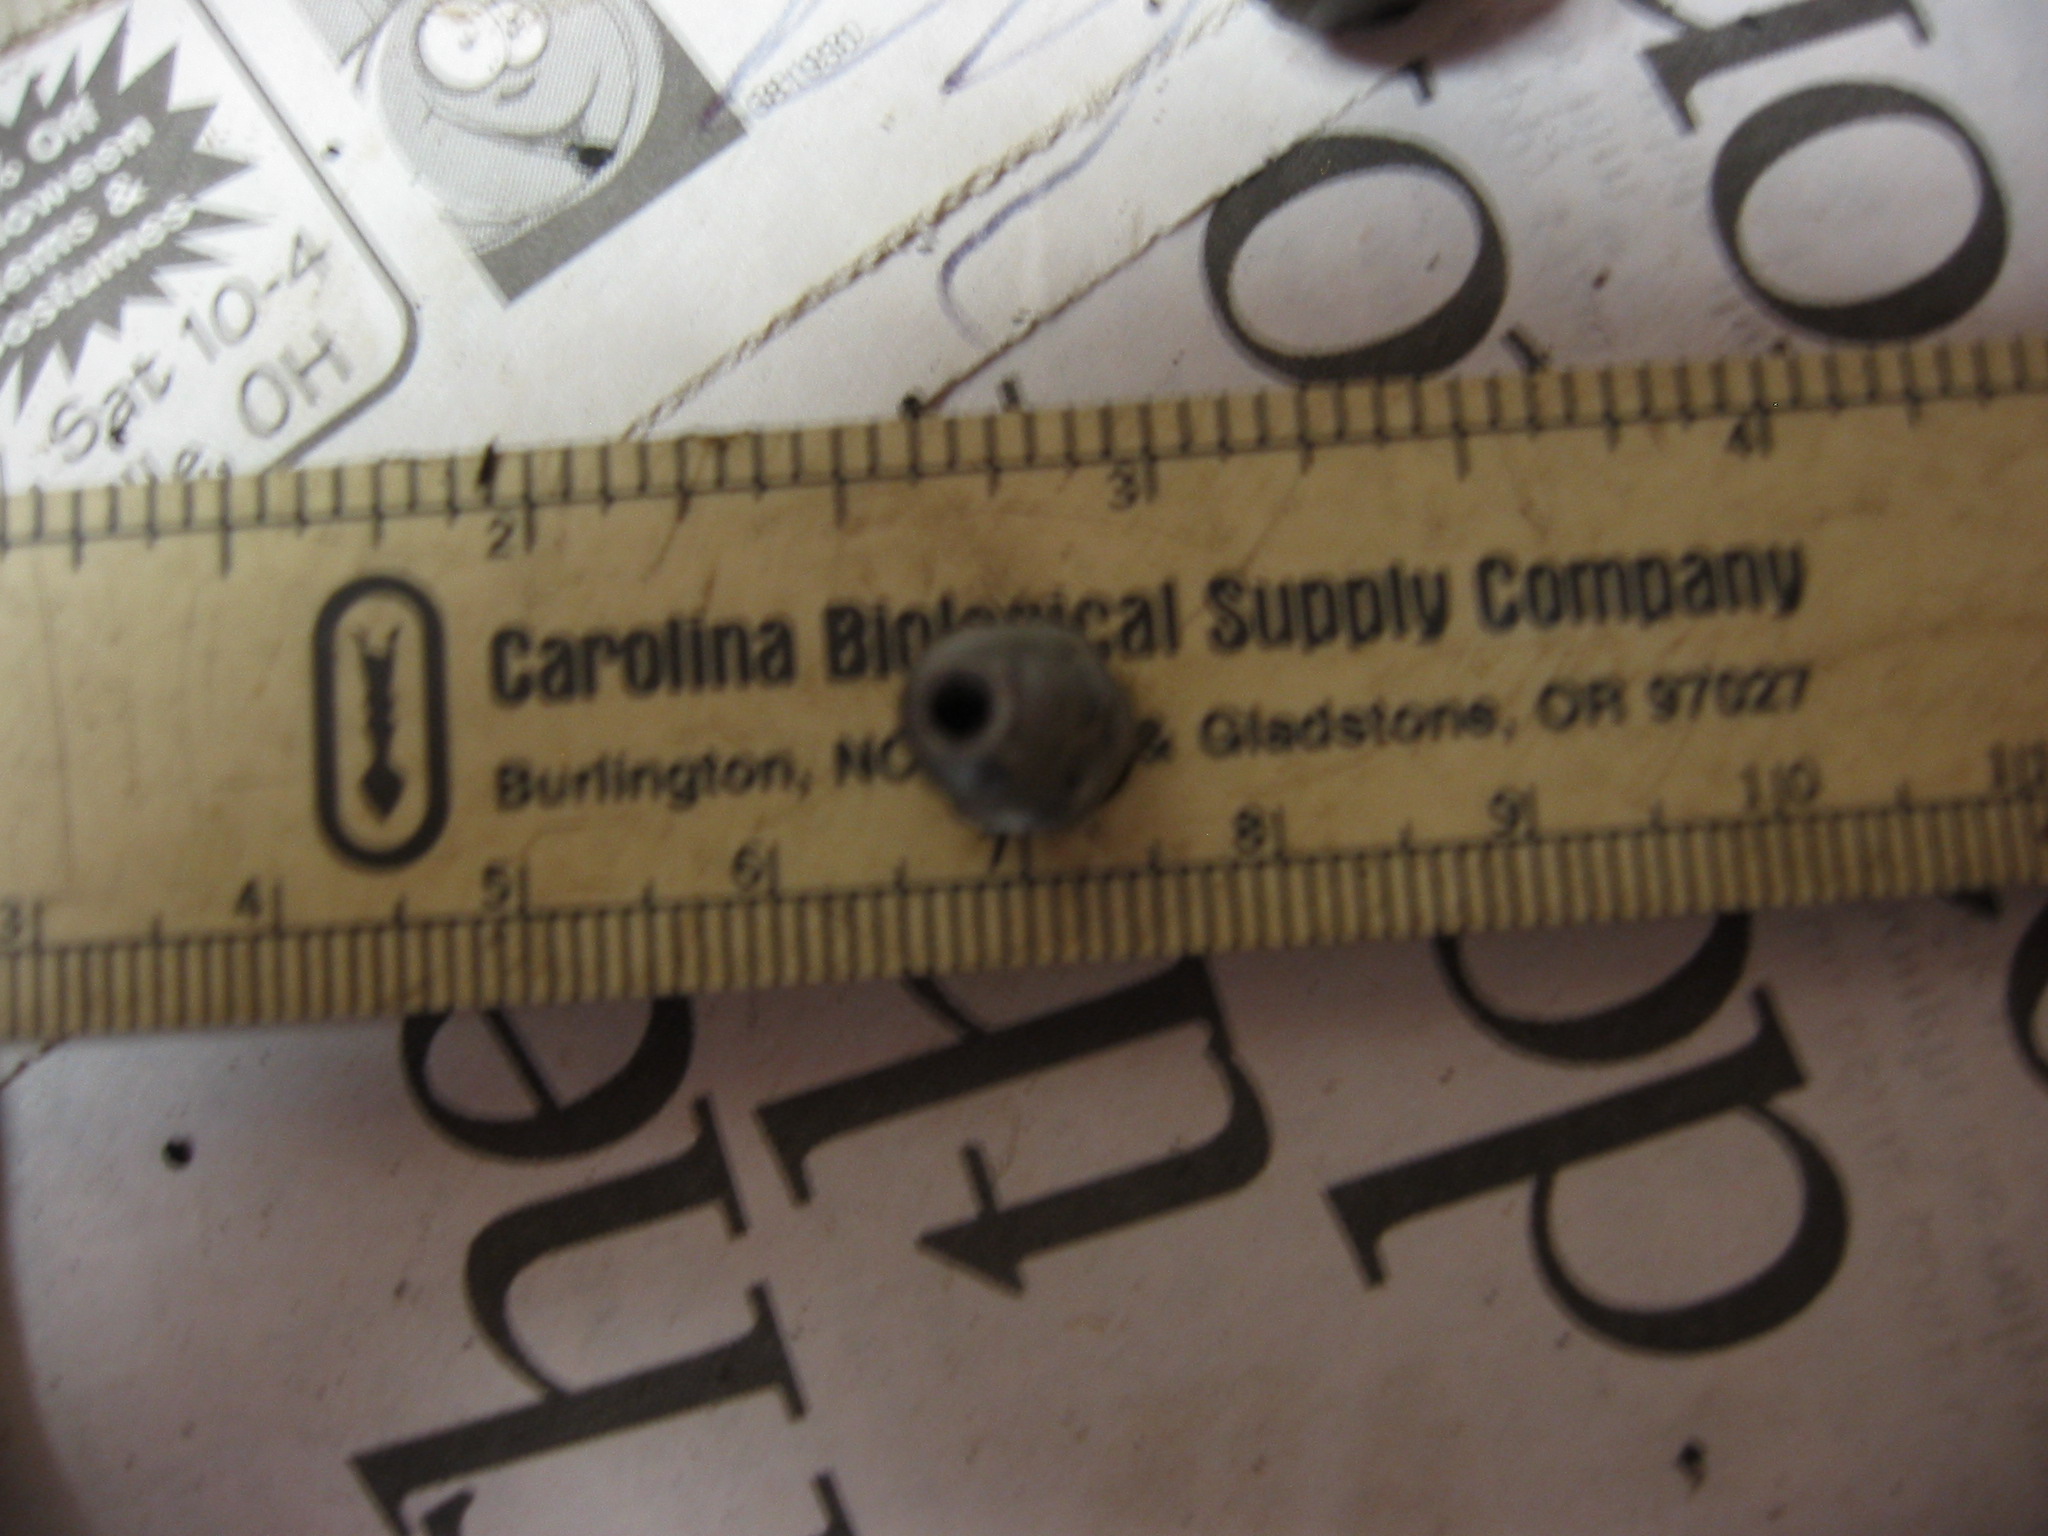
in. So I measured 6" from the center of the grease fitting hole on
the old tie rod end and marked the tie rod. Now I can put the new
end on so it's center is in the same place and the alignment should be
fine. The
alignment of the front wheels is adjusted by loosening the tie rod end
clamp and screwing the end in and out. So it is vital to keep the
overall length of the tie rod the same when I put the new tie rod end
in. So I measured 6" from the center of the grease fitting hole on
the old tie rod end and marked the tie rod. Now I can put the new
end on so it's center is in the same place and the alignment should be
fine. |
|
|
|
Re-installing was a chore. Remember the tapered hole the tie rod end fits into? Well on this tie rod end the threads seemed to stick out a few thousandths of an inch more than they should. The end would NOT fit in the hole. It was really close but no cigar. I ended up running a thread-cutting die up and down the threads then I rubbed them with emery cloth to round off the peaks on the threads a bit. After that it fit. I don't know who made this tie rod end but they had quality issues. |
|
|

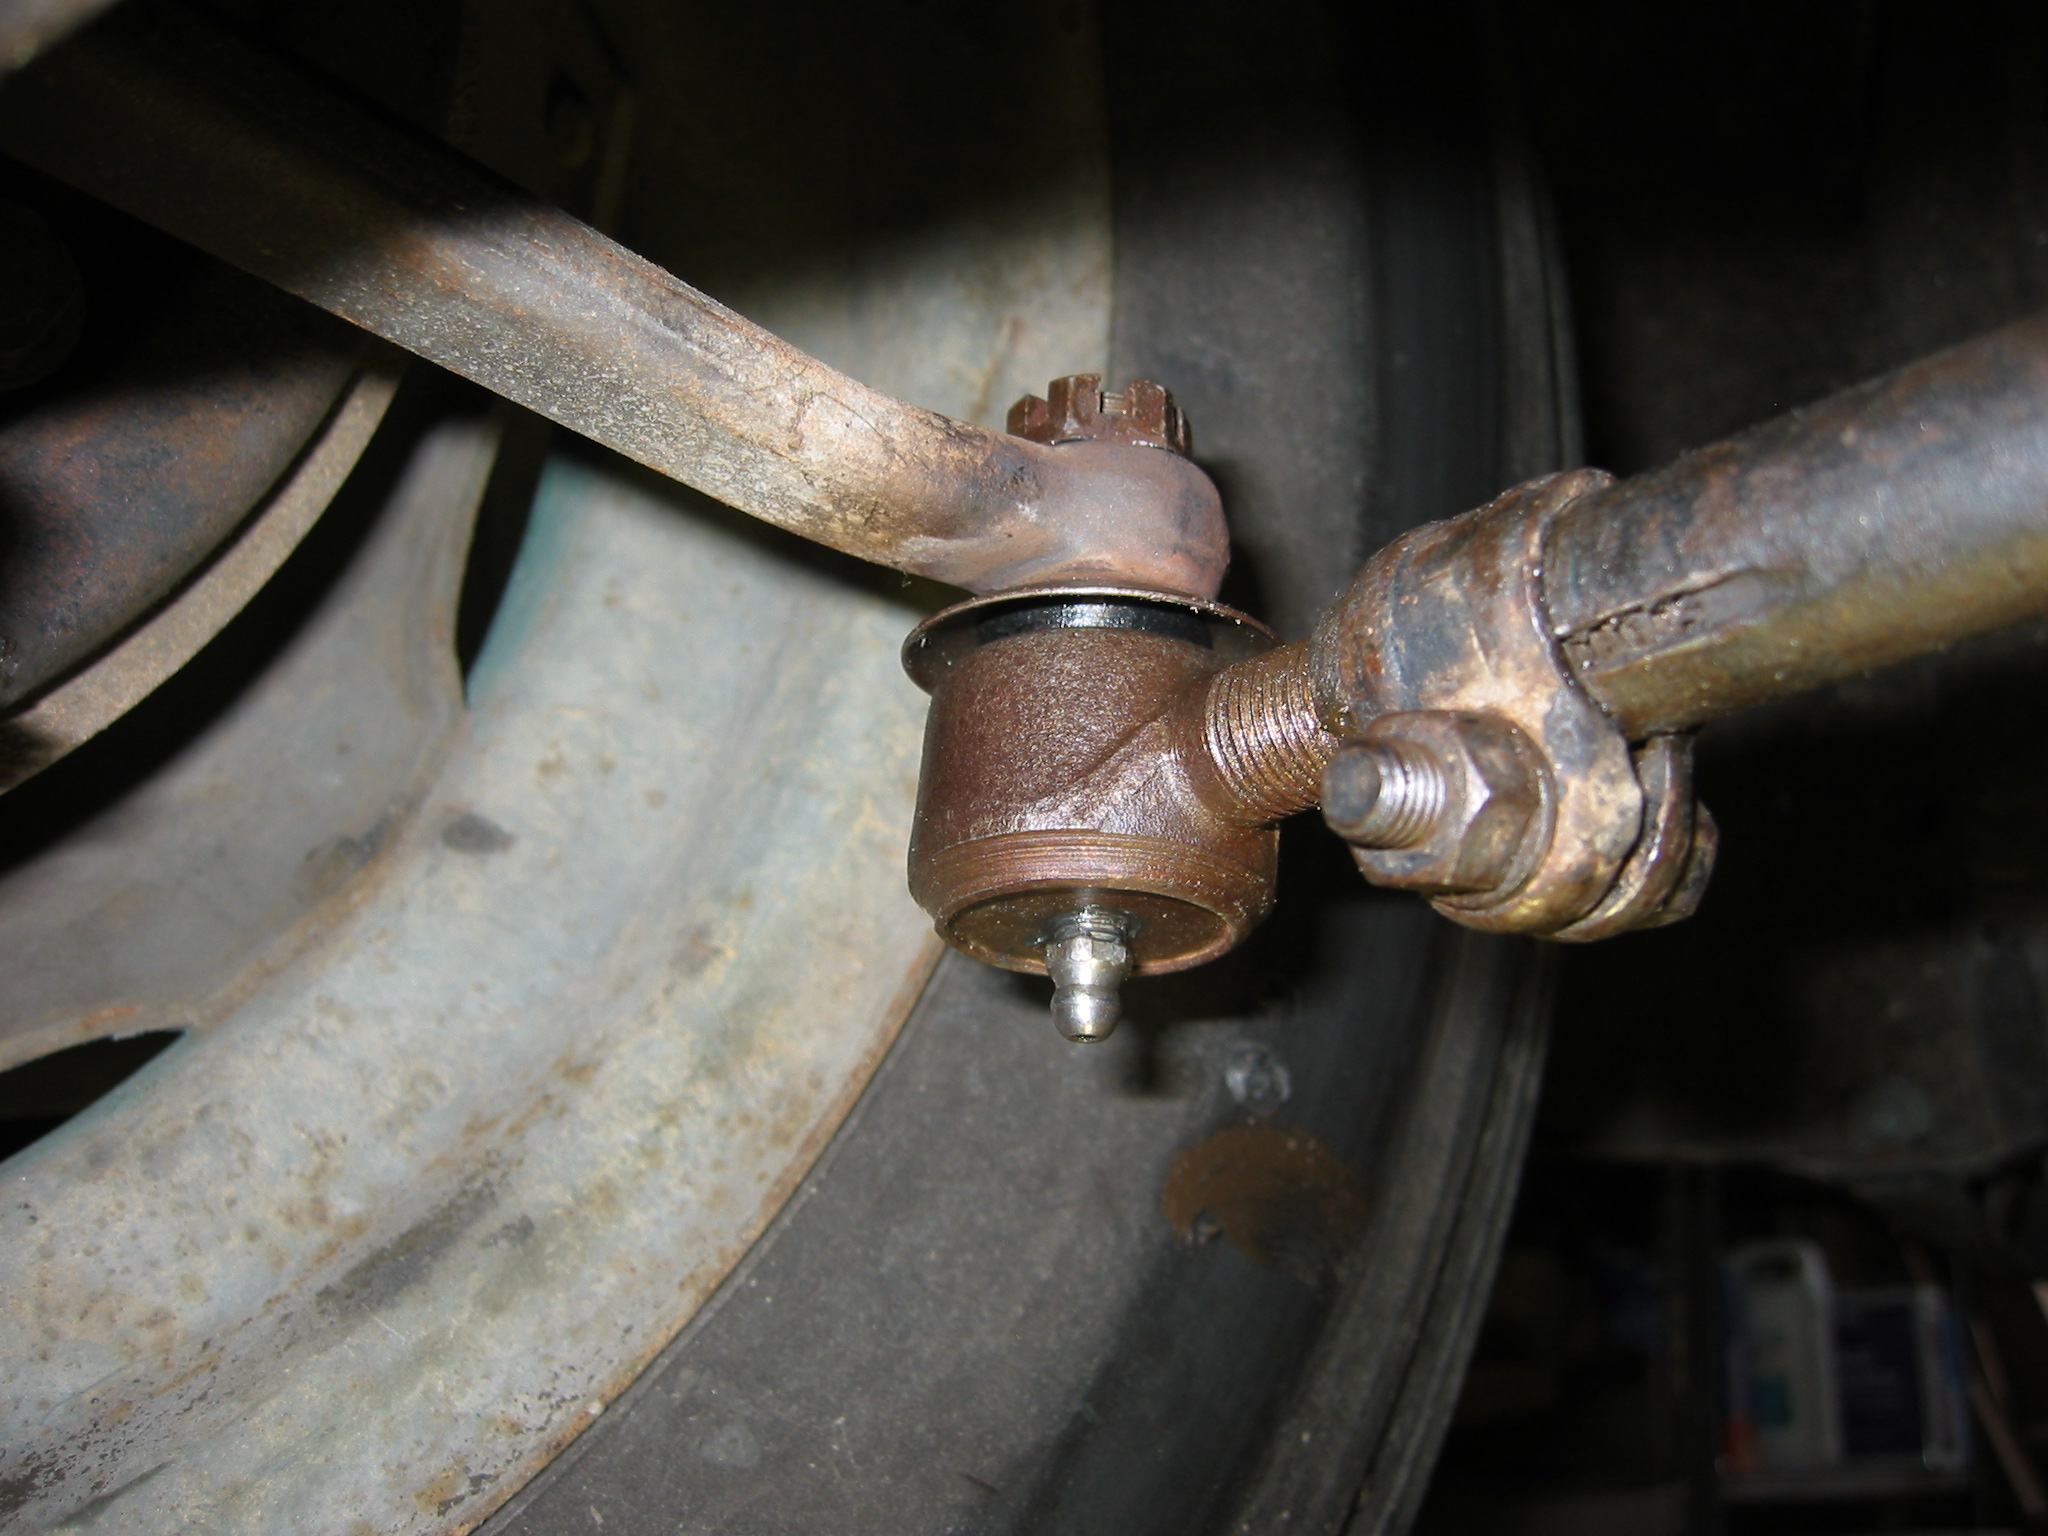
| May 25 update: OK, now I can her the masses saying "Nathan you putz you put the rubber seal on the wrong side of the washer! You are correct, I sure did. Not sure what I was thinking. I have taken it apart and assembled it correctly. |