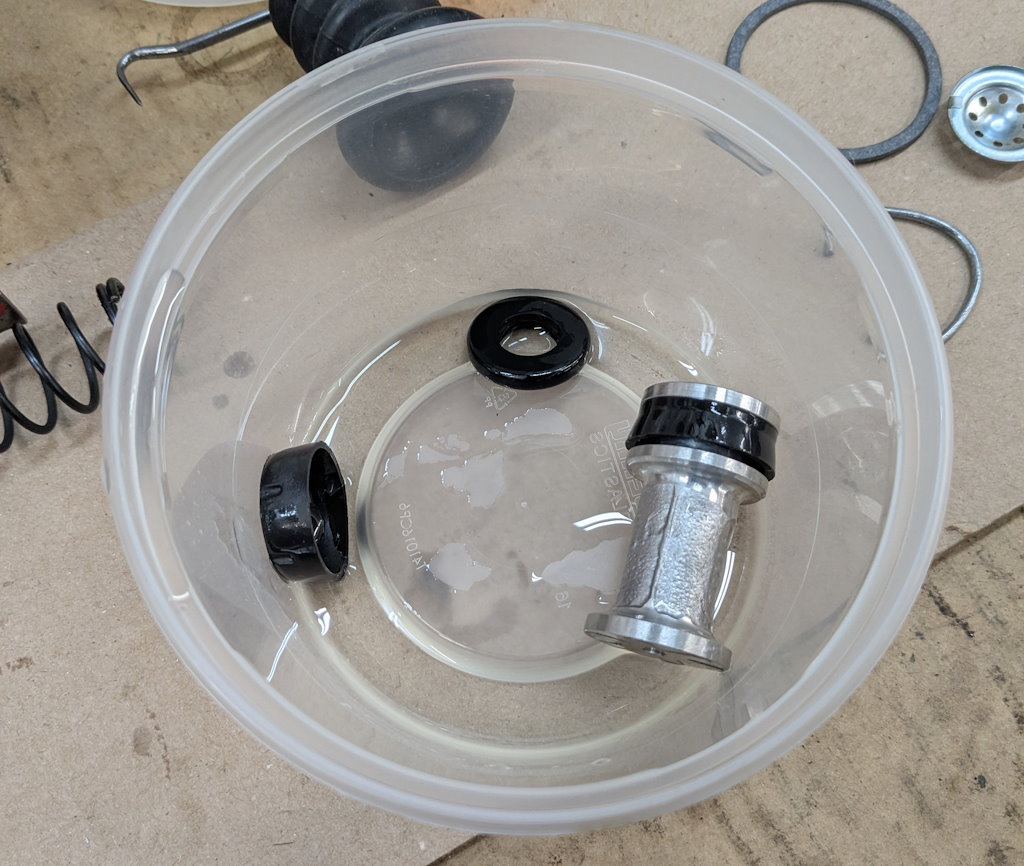
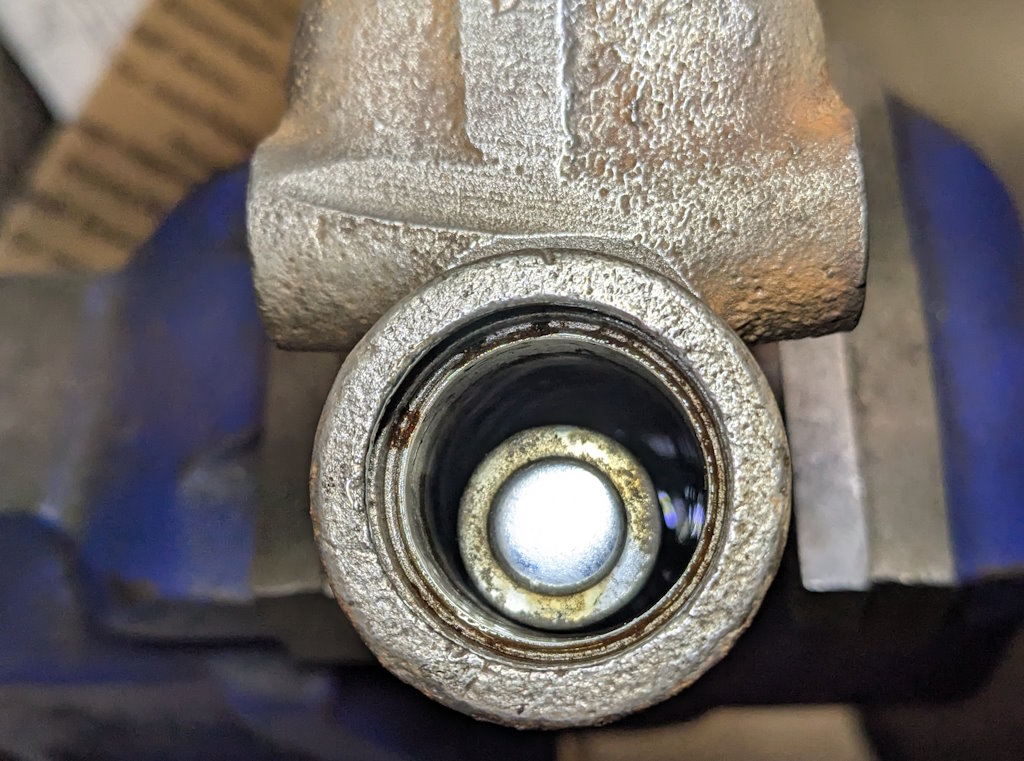
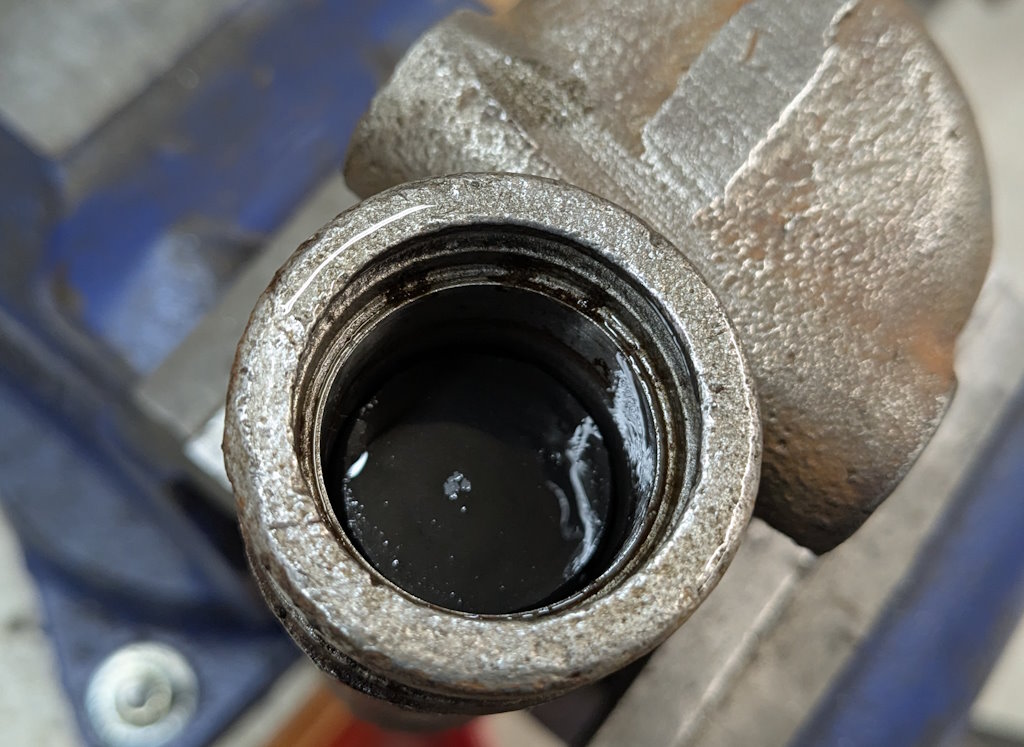
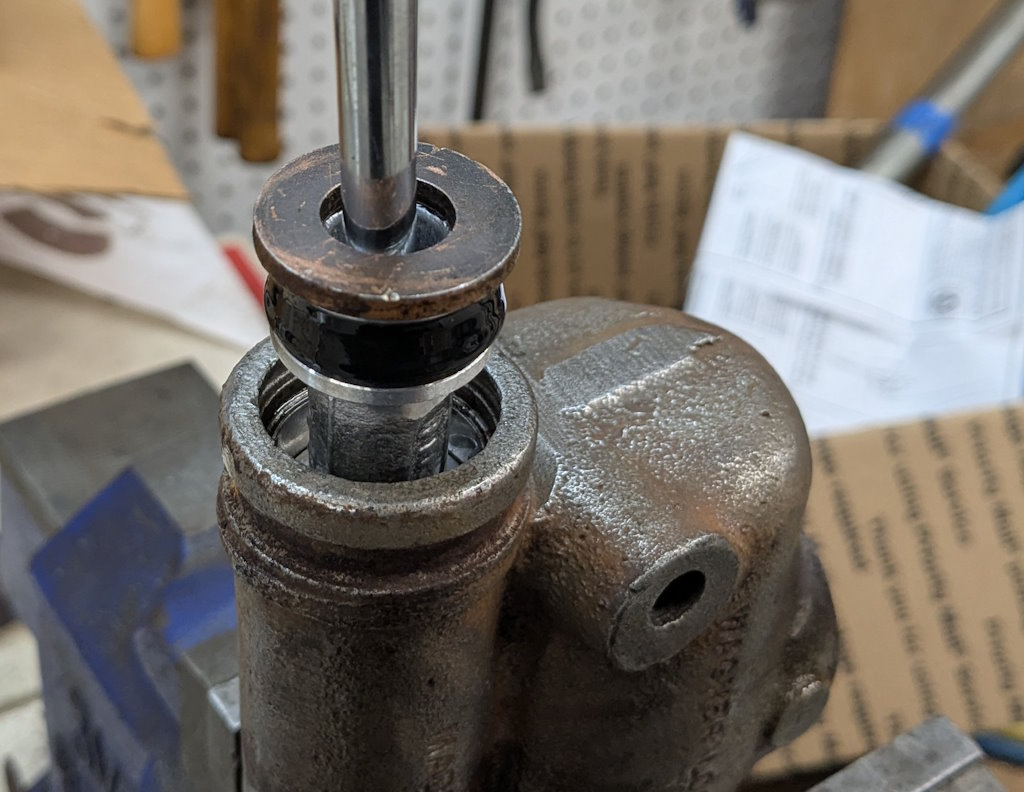
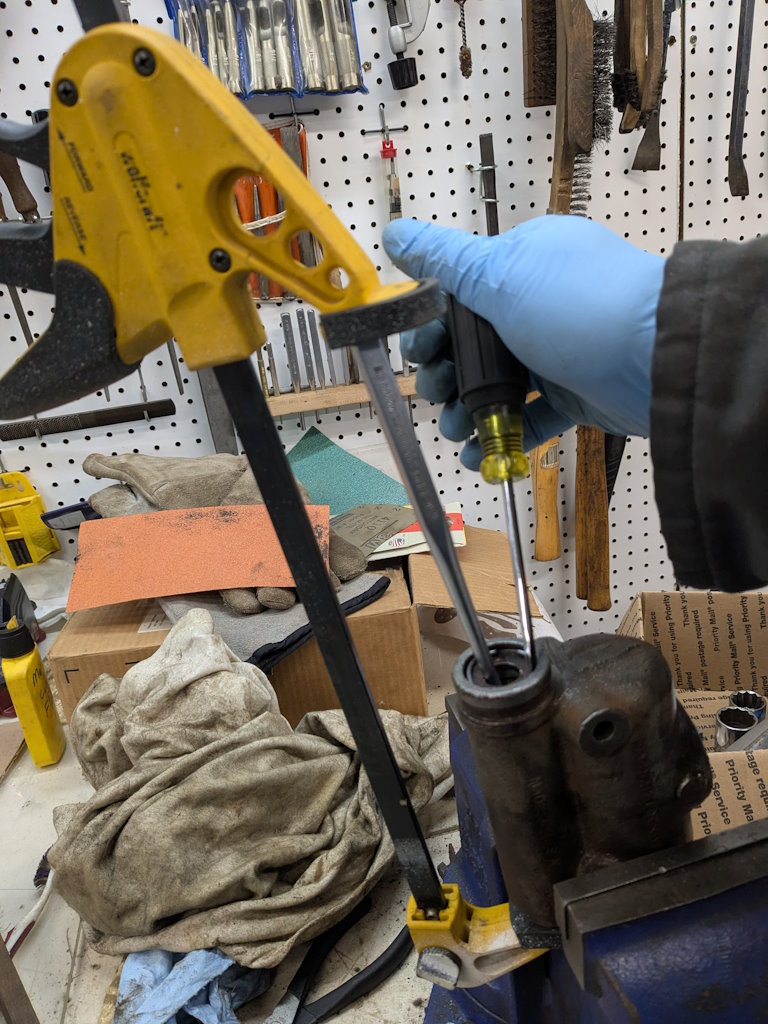
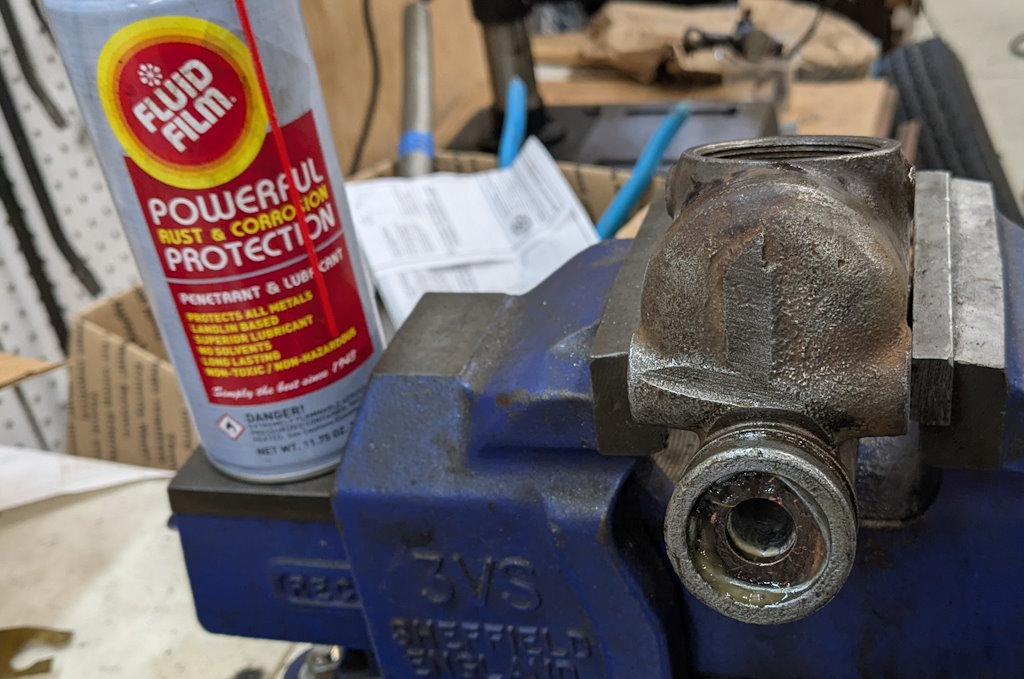
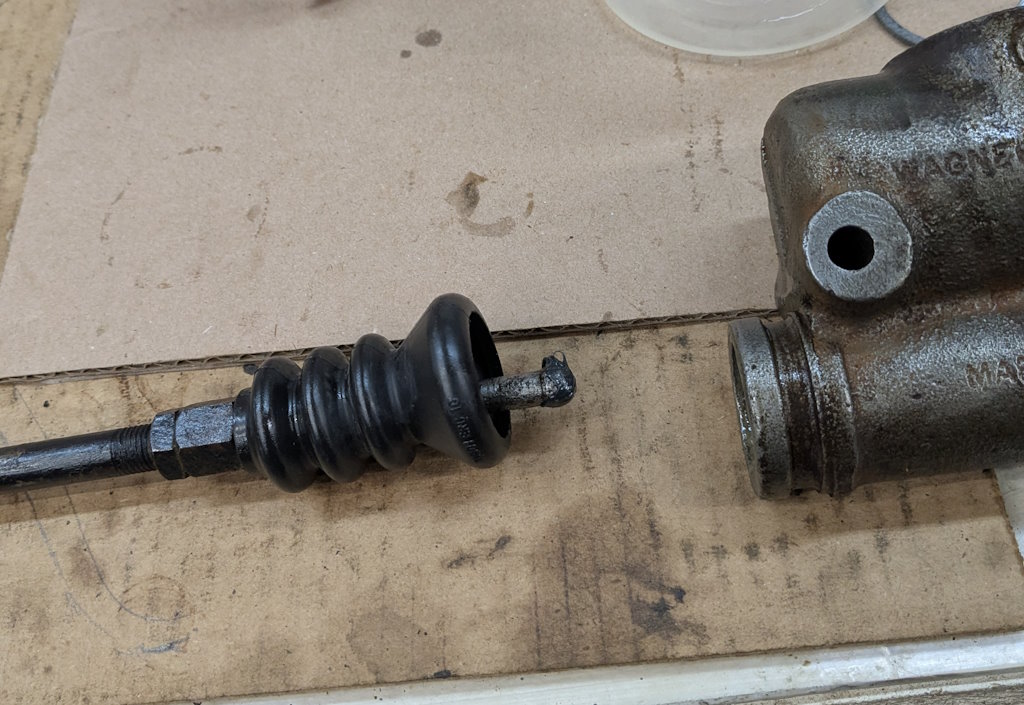
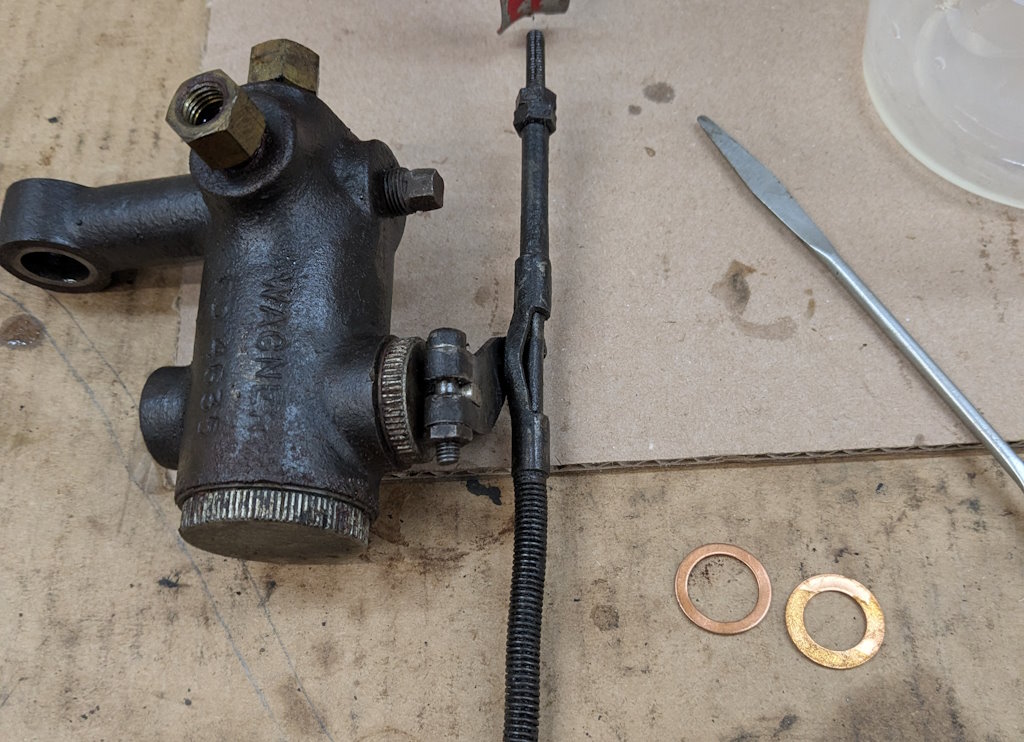
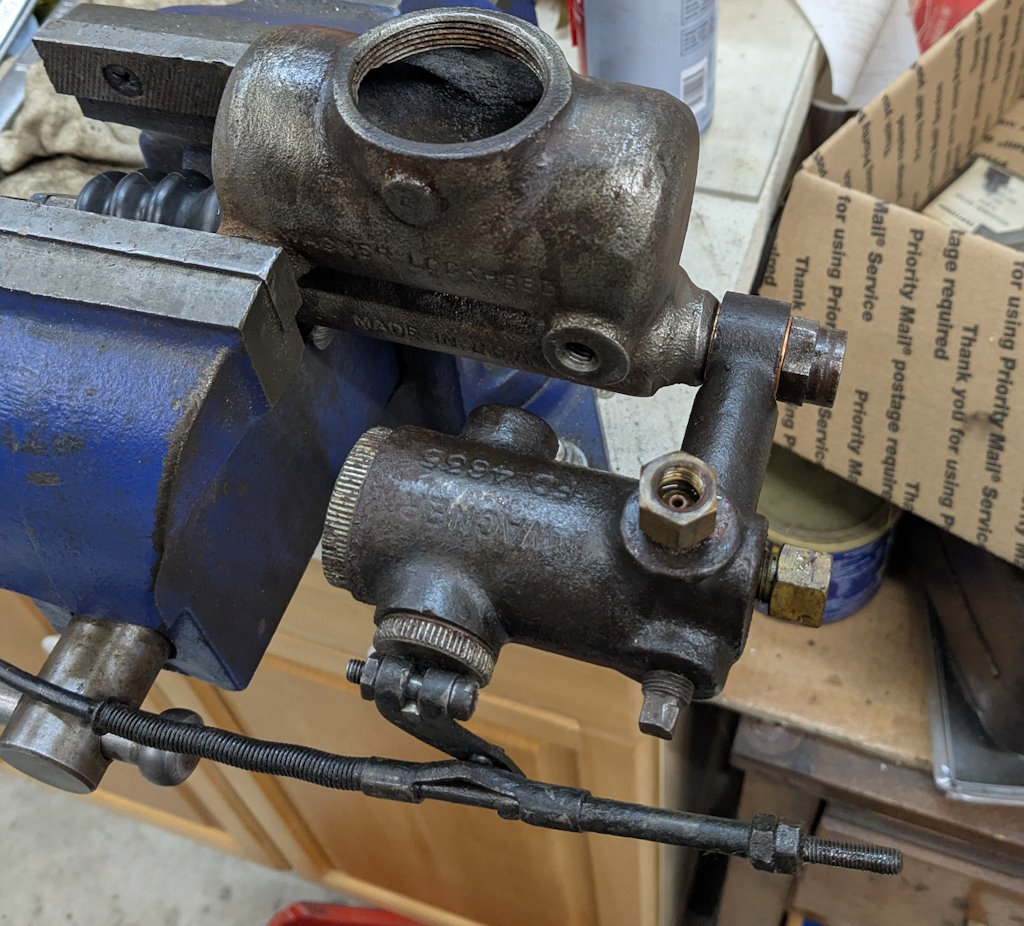
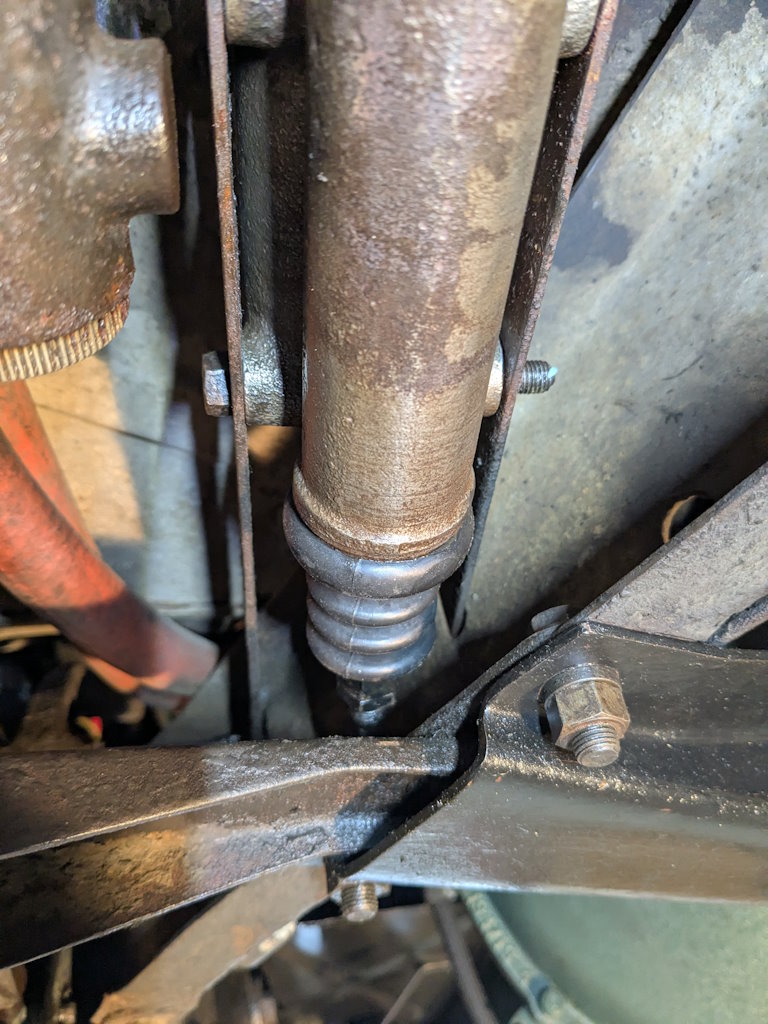
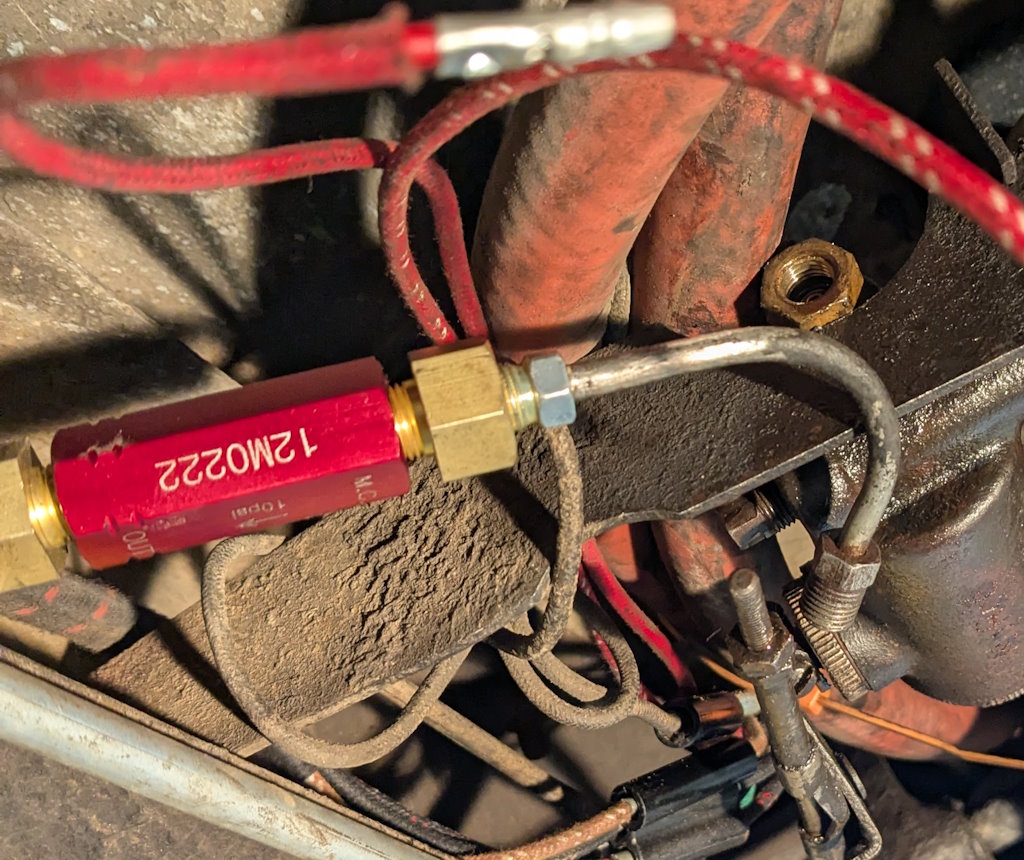
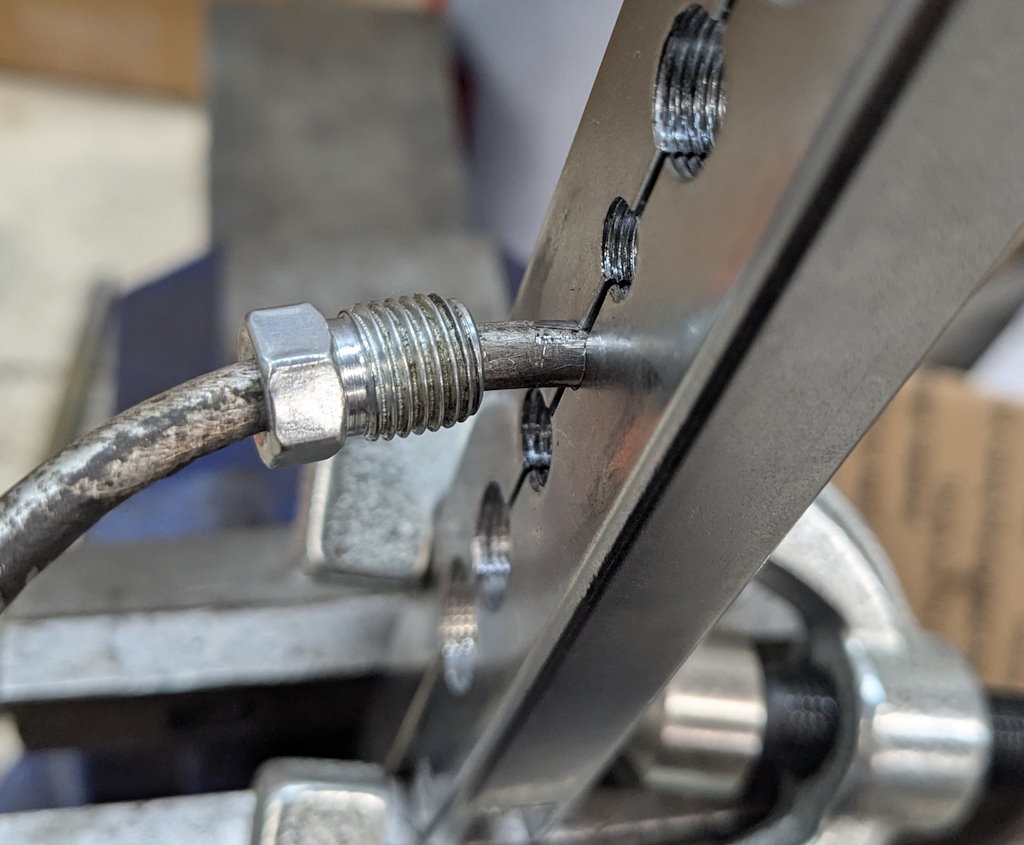
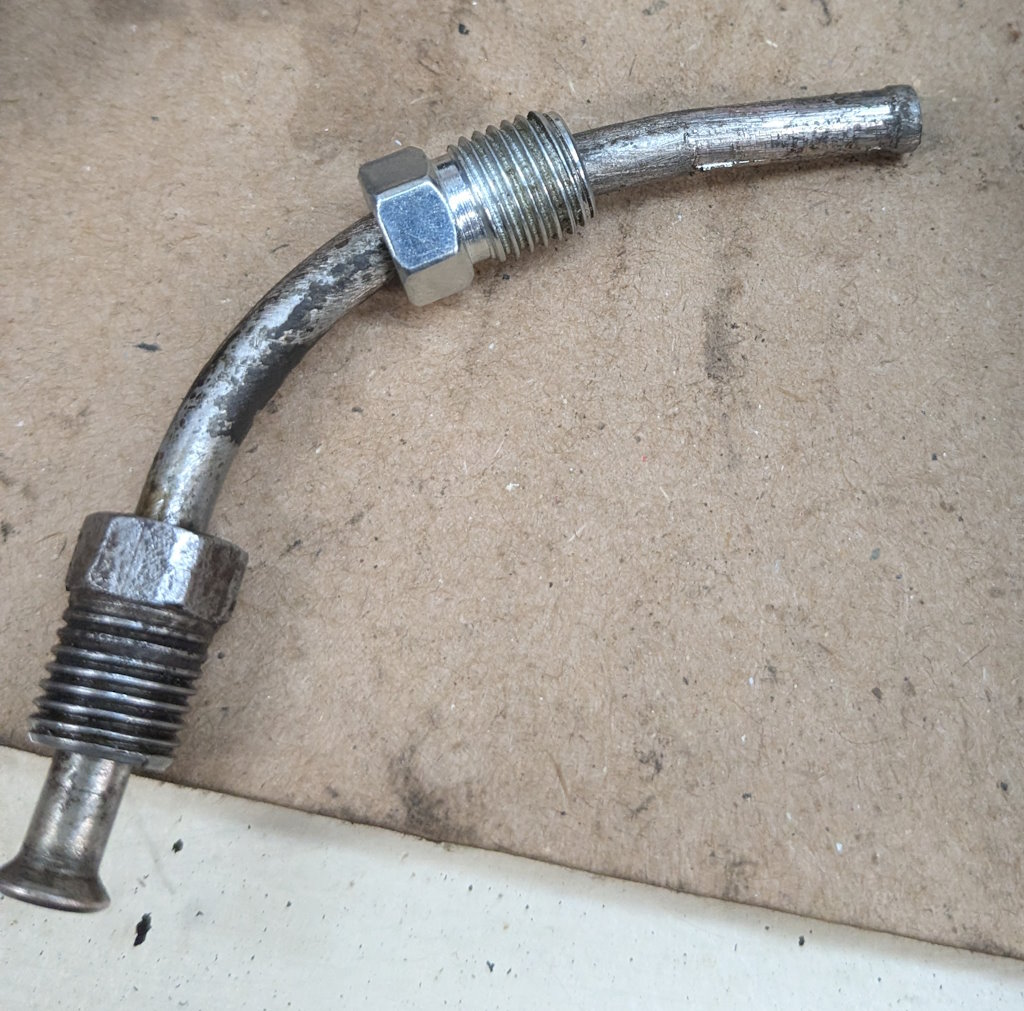
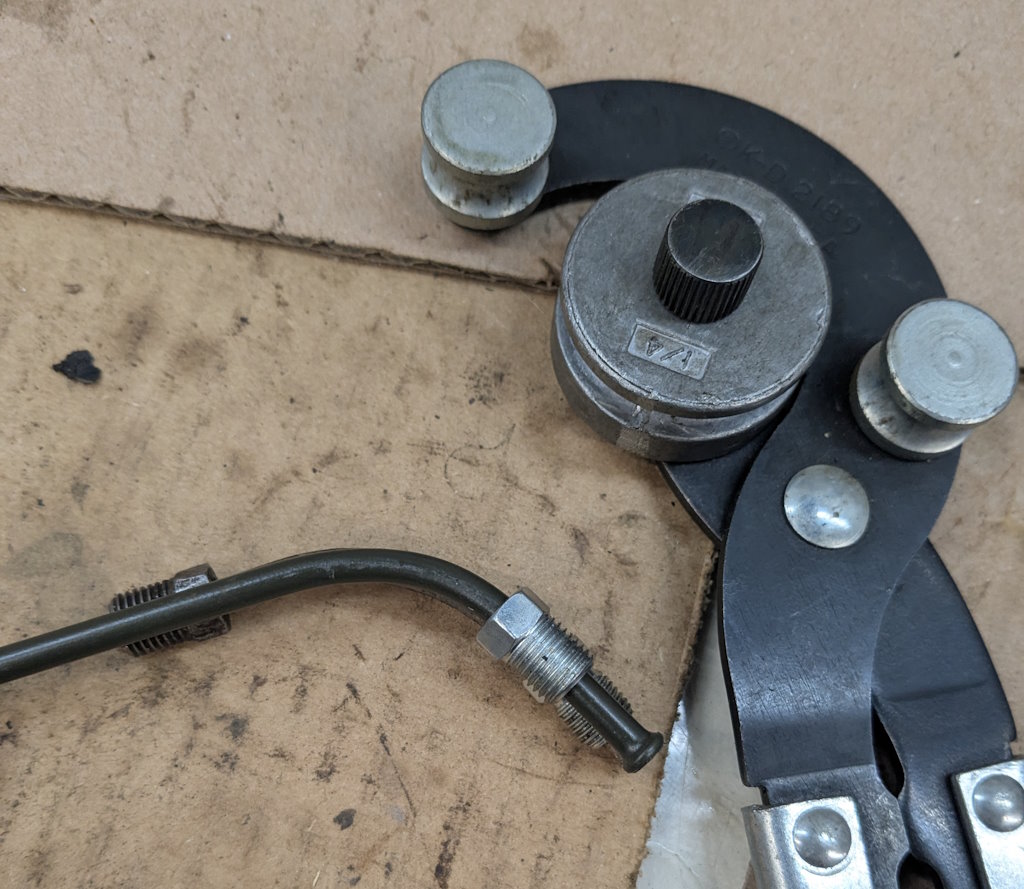
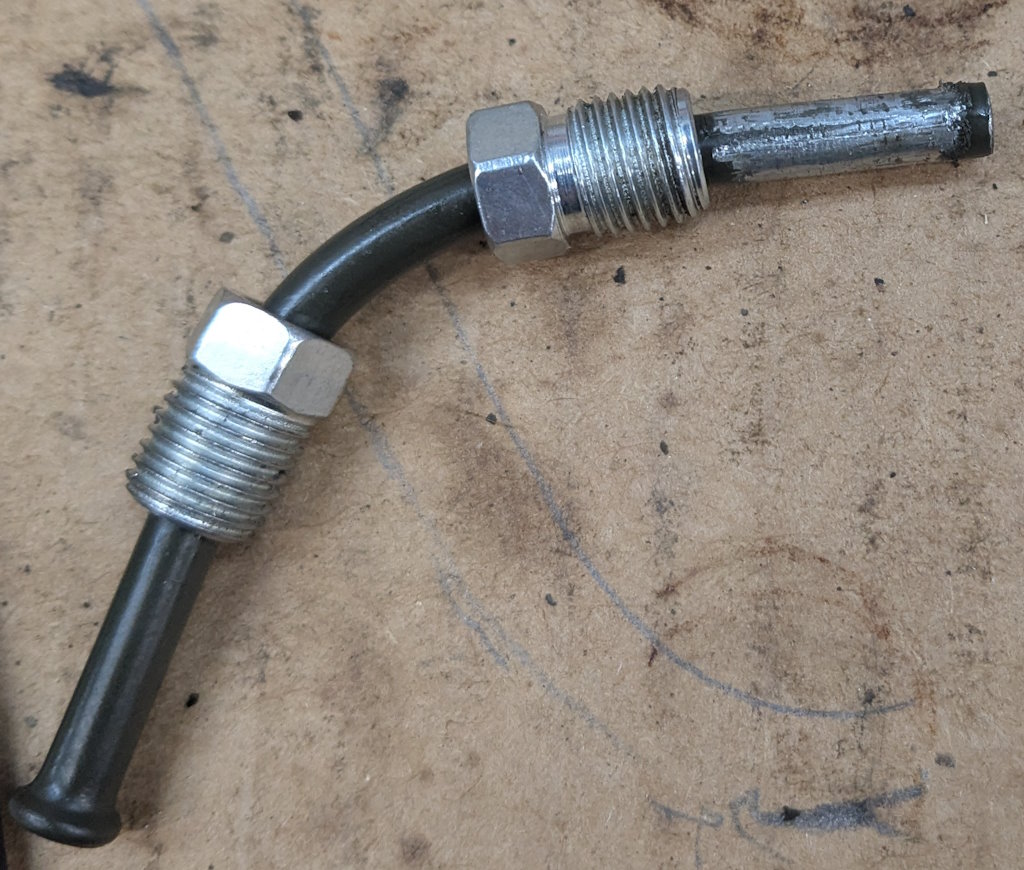
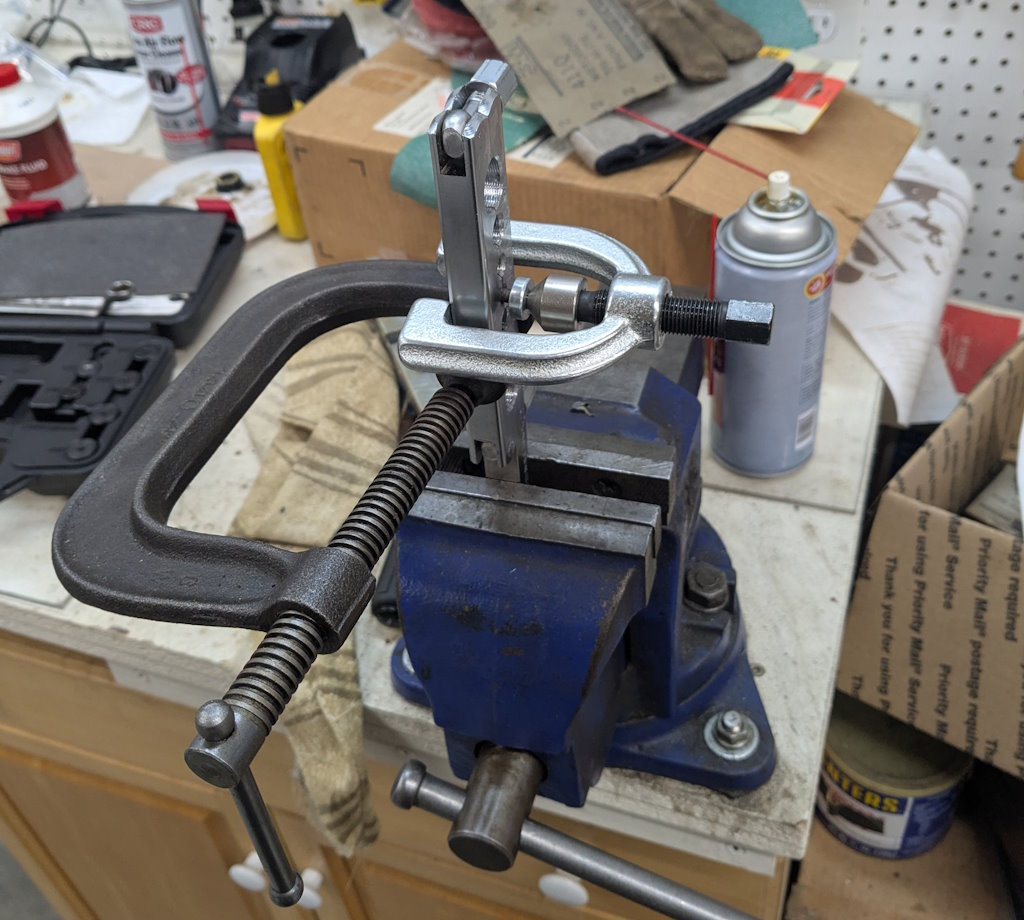
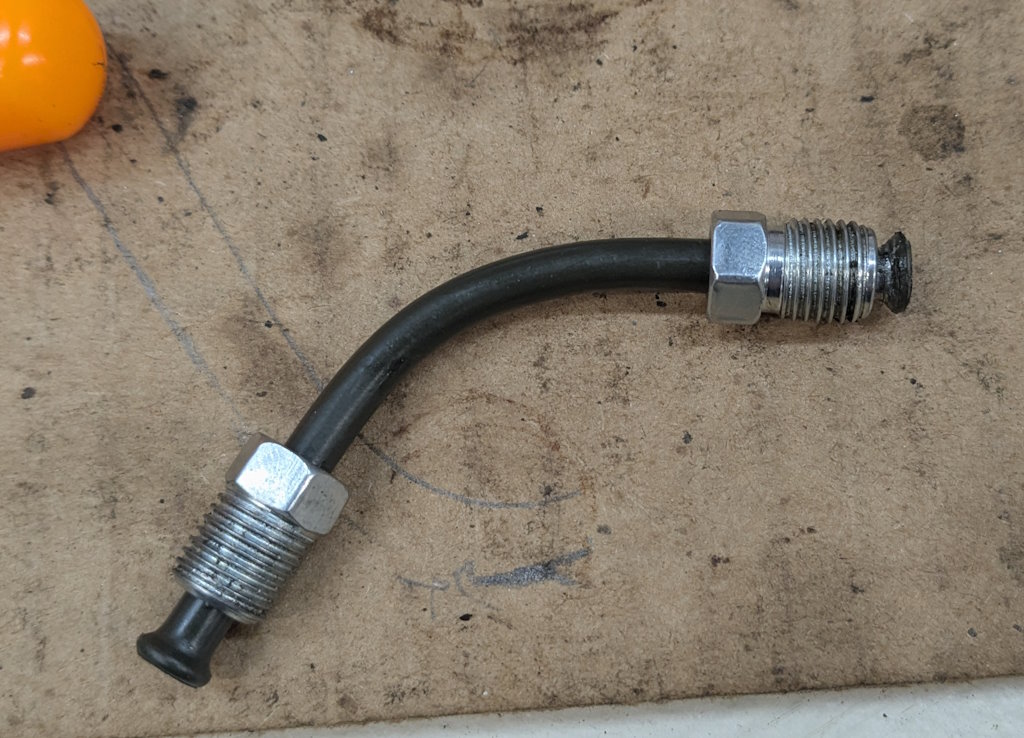
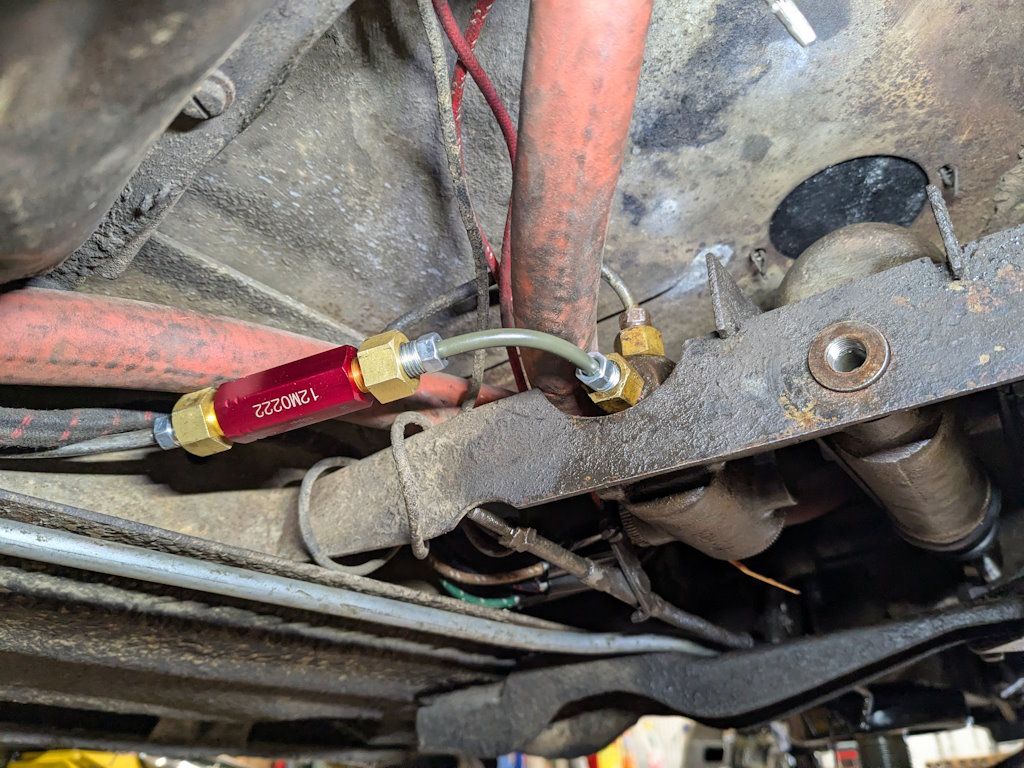
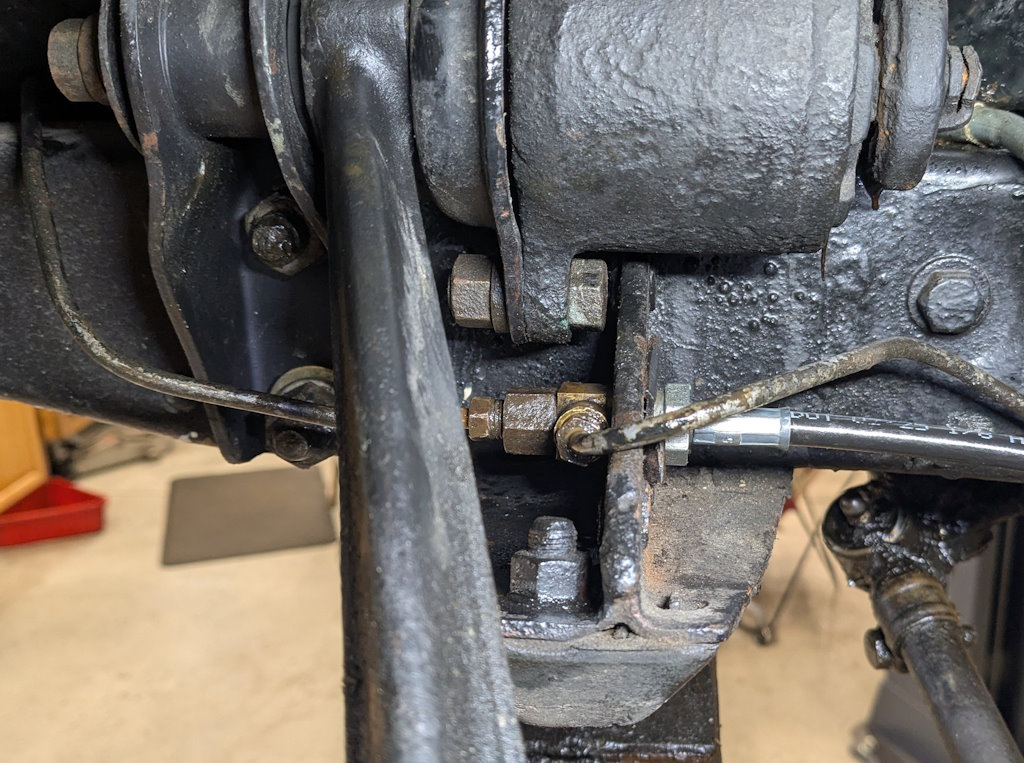
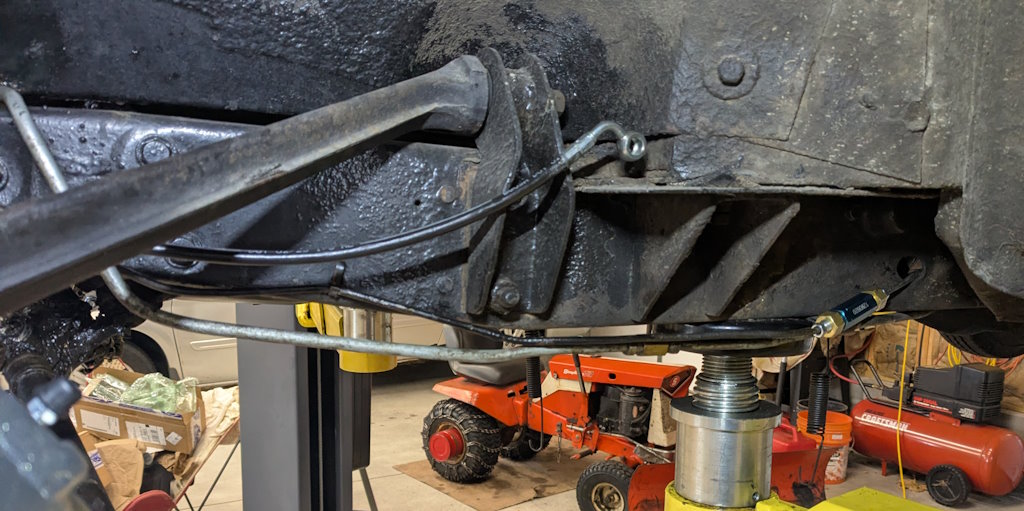
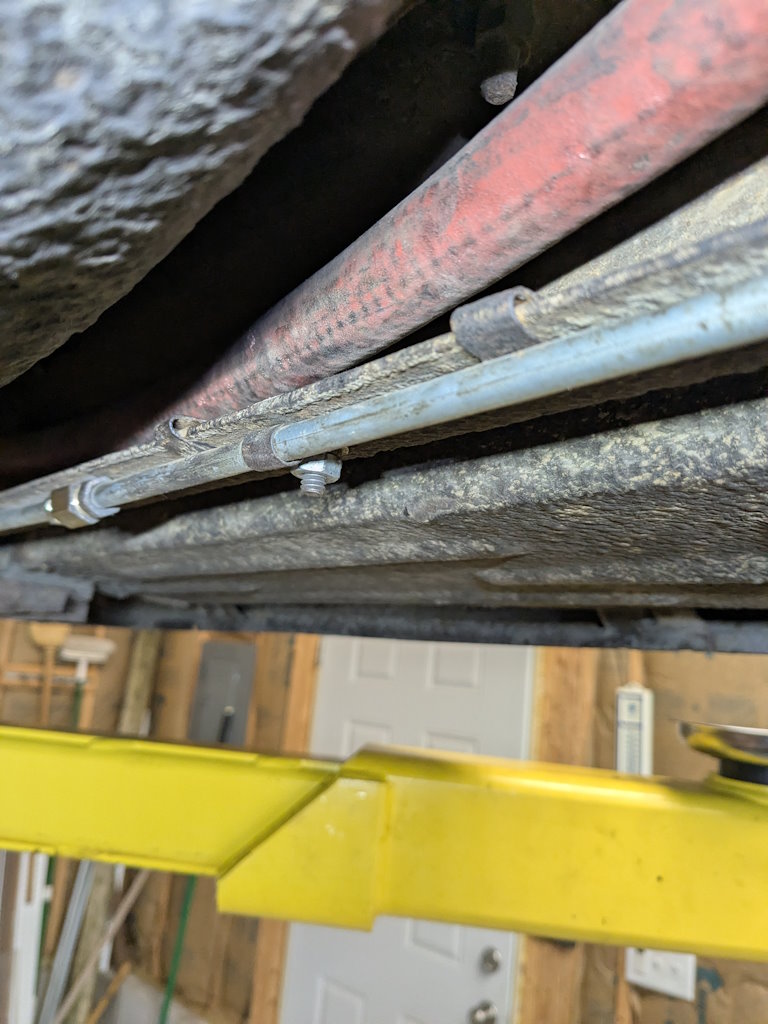
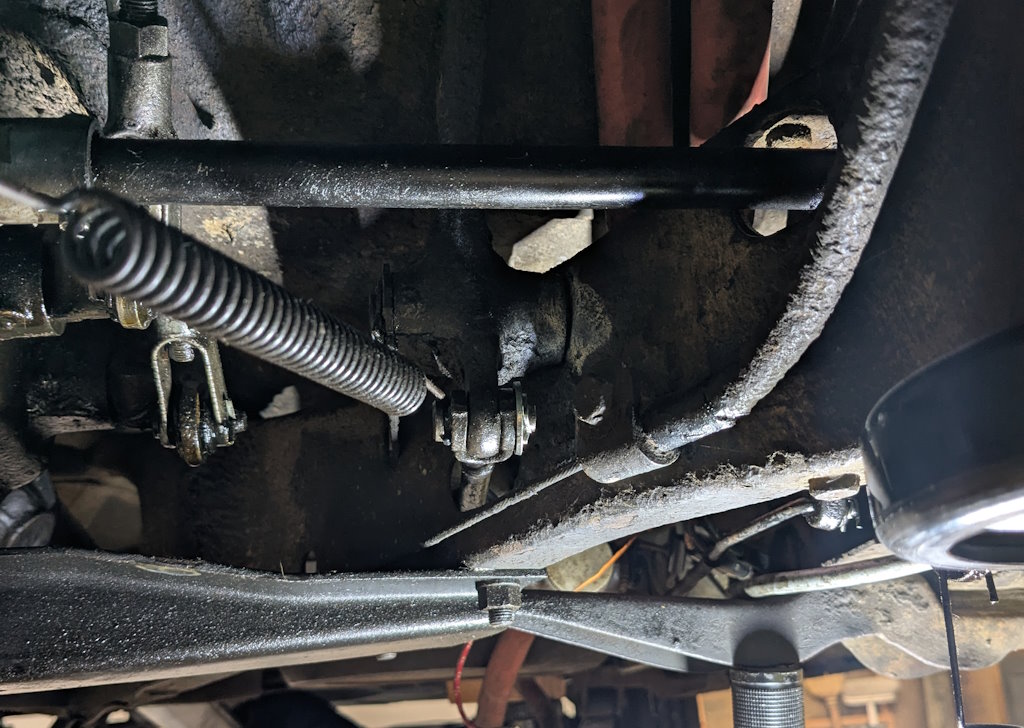
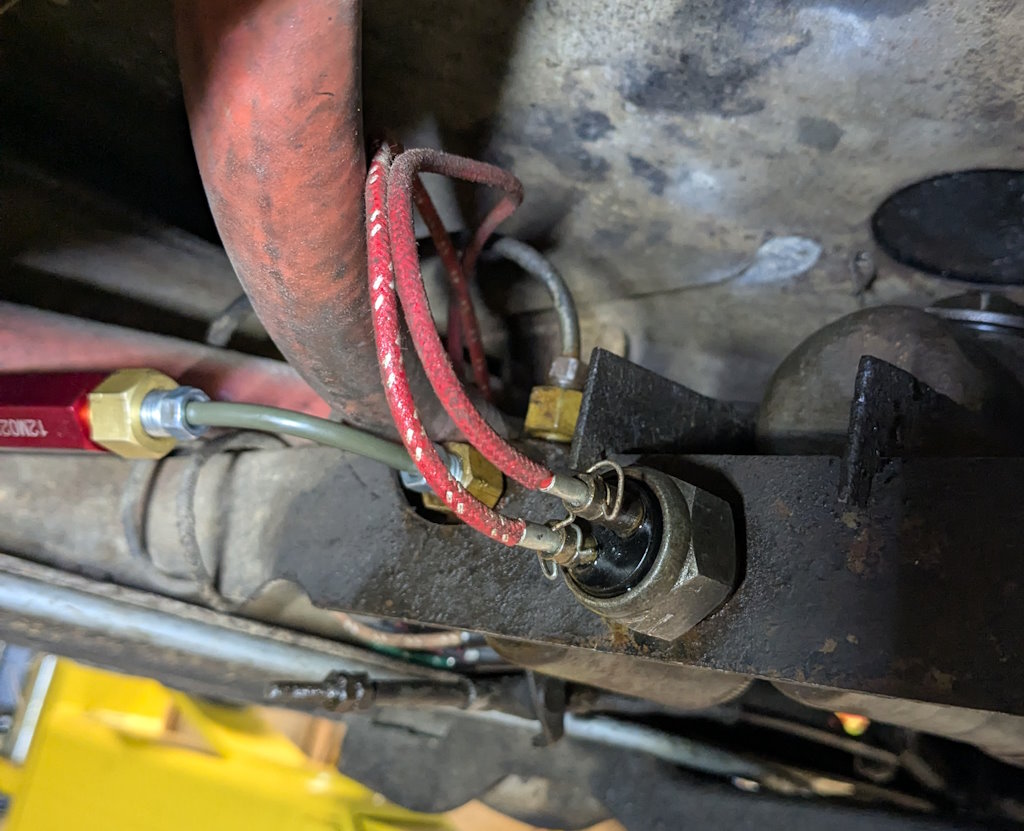
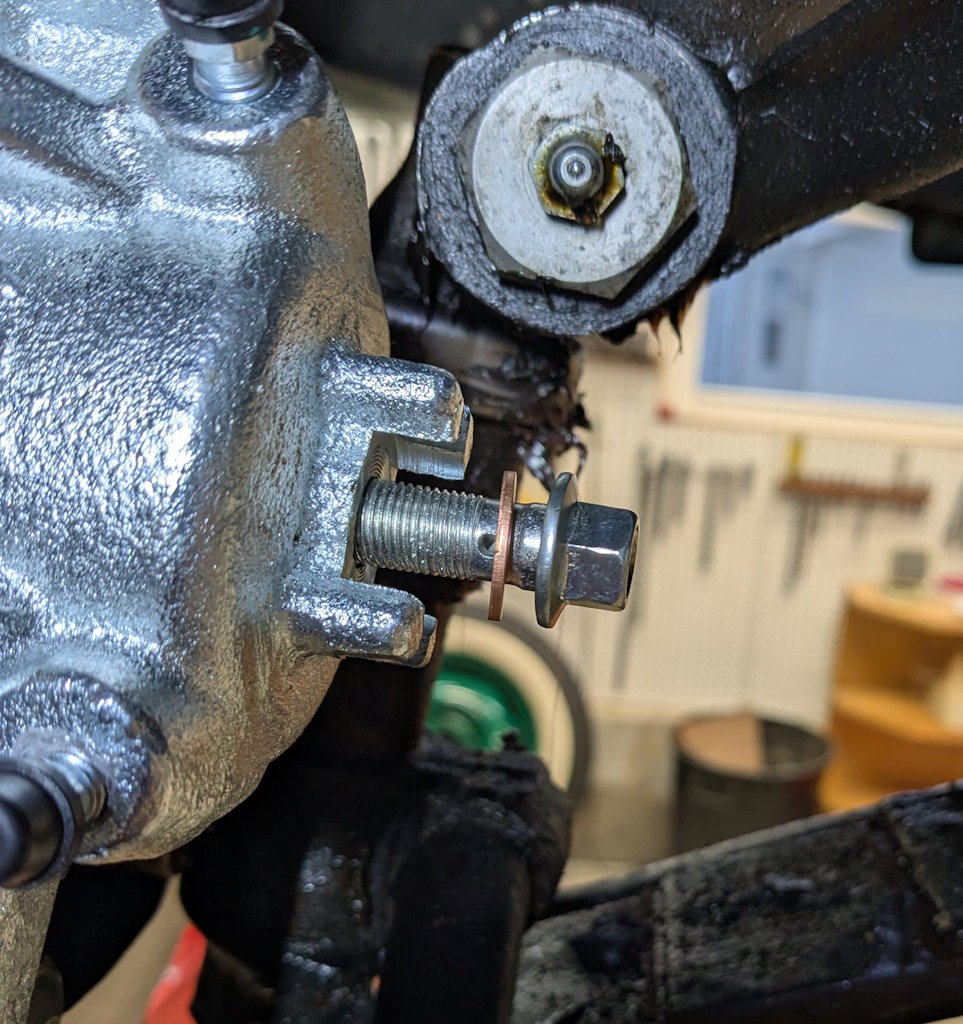
I decided to go ahead and use the parts as-is and rebuild the master cylinder. I put all the rubber parts in clean brake fluid, then lubed the cylinder bore with brake fluid.The rubber washer goes in first, then the spring. Of course, I removed the residual pressure valve first.Then the rubber cup goes in.Then the piston goes in. Be sure to put the copper washer on at the same time. The tricky thing here is getting the rubber lip of the sealing washer to go into the bore. I pushed it up against the opening of the bore and used a thin metal chemical spatula to work it in. Getting the clip in really needs two hands. I used a bar clamp to hold the piston down, then used a screwdriver to work the clip in.I hit the exposed parts with Fluid Film to prevent corrosion.I put the new boot on the push rod and fit it to the master cylinder. This is another three-handed job, but I got it all snapped together.The Hill Holder is next. I had two new copper washers in my parts stash, so I used them. The old ones looked OK, so I kept them for potential future use. The Hill Holder is bolted up to the outlet of the master cylinder. I slipped the cylinder into place and installed the bolt.This is where we find out if the brake lines are going to work. The front brake line was just about perfect. The rear is not even close. Way too long…I shortened and re-flared the rear line, then tweaked the bend in the short line from the valve to the master cylinder. The angles look right, but the short line will need to be even shorter.I trimmed the line and put it back in the flaring tool. Disaster. When I pushed the die onto the tube it slid out. I think this is fubar. The other end is not great either; that fitting does not feel good. I decided to make a new one using the short length of brake line I bought for just this eventuality.I bent the new tube to match the one I am replacing. This is the first time in this entitre project that I got to use the tubing bender as intended.Then disaster again when I tried to flare the new tube. Something is wrong with the flaring tool. I thought about it a bit and realized that the two bars of the flaring tool probably bent slightly and were not clamping firmly enough. I used sandpaper on a flat surface to rework the mating surfaces of the two bars. Then, for extra insurance, I used a C clamp to squeeze it together in the middle. I tested it first on one of the little bits of tubing I cut off, and it worked fine. Whew!I tried again to flare it, and this time it worked! The fitting even covers up the scuffed-up tubing. Sucess! The line works well now. You can see the front brake line snaking into the top as well. This may actually work!The other end of the front fitting connects to the two-way fitting, which in turn feeds both front wheels. The front line is farther away from the frame rail than I would like, but it is running about the same as the fuel line. If need be, I will shorten this a bit. I also replaced all the clips and clamps holding the rear line and wiring harness in. I tightened all the brake lines. Hopefully, nothing leaks, but I don’t think I did that good of a job.The master cylinder still needs to be connected to the brake pedal. This clevis pin does that. It requires a new cotter pin. As usual, I have both sizes, too big and too small. I guess I will go with too small. It just holds the braking system together. What could go wrong?It is all installed with the pull-back spring. This all looks good.Finally, I installed the brake light switch and wiring. Everything is ready except for the last banjo bolt on the driver’s side caliper.This banjo bolt will not thread into the caliper. It appears that the bolt was damaged during shipping. A new one is on the way, but until it arrives, I am stuck.