May 9, 2010
The wiring in the car is OLD. I should replace the wiring harness but I am really torn between a relatively cheap harness using modern wire and a really, really expensive harness using modern wire covered with woven fabric just like the original. So in the meantime to avoid a fire I disconnect the battery every time I park the car. The routine gets old. Park, pop the hood, wiggle the ground strap off. Worse yet I since the clamp on the terminal is not very tight I often have problems with a poor connection and terminal corrosion.
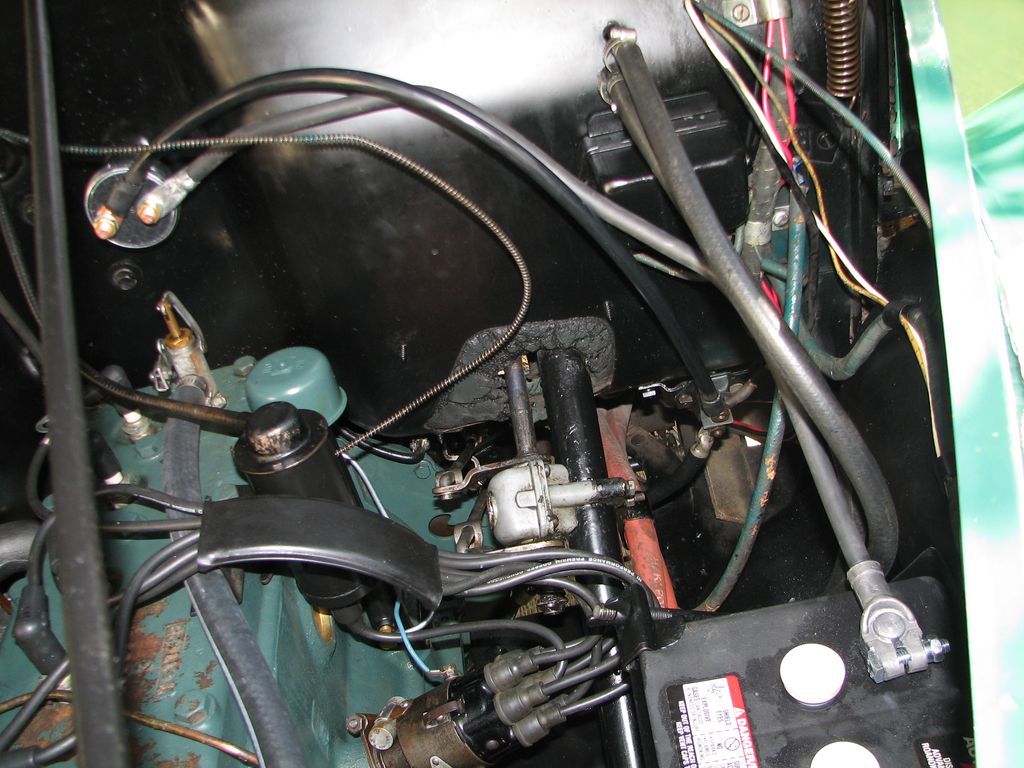
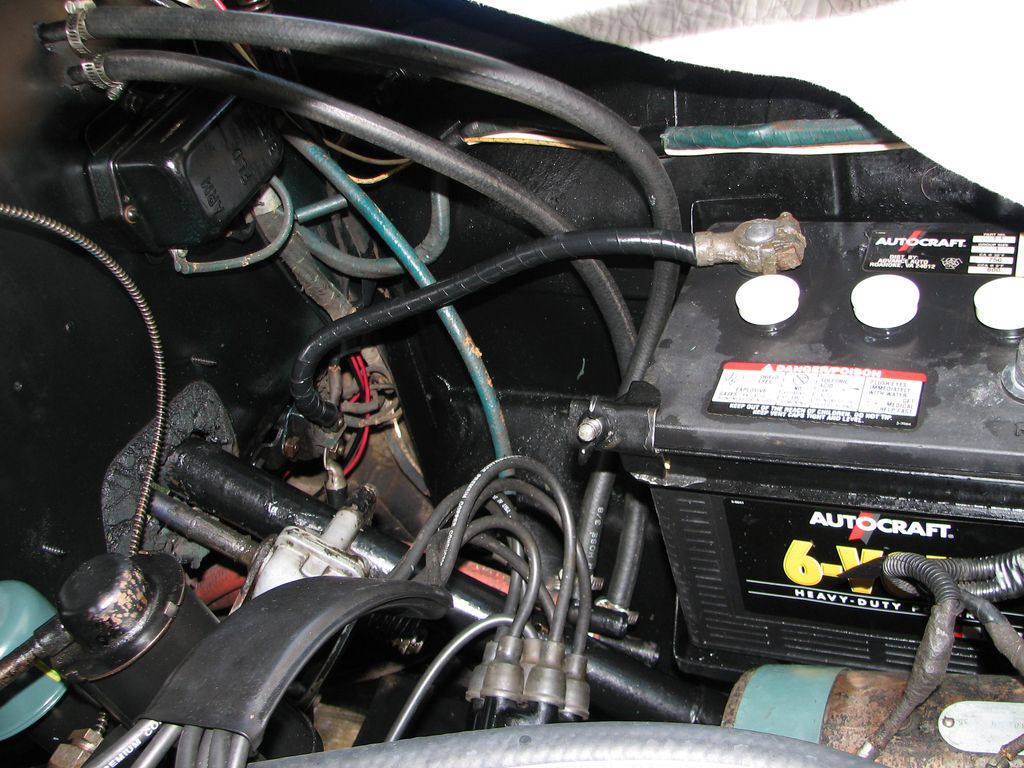 I figure a switch is the ideal solution. If I mount a battery disconnect switch on the firewall I can disconnect the battery from inside the car. I can remove the existing negative battery cable (remember the car is positive ground!) and run a new cable from the battery to the switch then another cable from the switch to the terminal block. Here is the existing cable I figure a switch is the ideal solution. If I mount a battery disconnect switch on the firewall I can disconnect the battery from inside the car. I can remove the existing negative battery cable (remember the car is positive ground!) and run a new cable from the battery to the switch then another cable from the switch to the terminal block. Here is the existing cable |
 I don’t even have to drill a new hole. These three bolts are filling holes that were left in the firewall when I removed the radio. The right bolt is fairly close to the battery and out of the way of everything else. I don’t even have to drill a new hole. These three bolts are filling holes that were left in the firewall when I removed the radio. The right bolt is fairly close to the battery and out of the way of everything else. |
 Here are the new parts. The switch is this model from Jeg’s. It can handle 125A continuous and 250A momentary. Since the generator puts out about 30A I think it can handle the load. The battery cable is an off-the shelf model from NAPA. The other cable my local NAPA custom made for me. Both are 1-gauge wire. 0 or 00 would have been better but harder to get and much more expensive. Here are the new parts. The switch is this model from Jeg’s. It can handle 125A continuous and 250A momentary. Since the generator puts out about 30A I think it can handle the load. The battery cable is an off-the shelf model from NAPA. The other cable my local NAPA custom made for me. Both are 1-gauge wire. 0 or 00 would have been better but harder to get and much more expensive. |
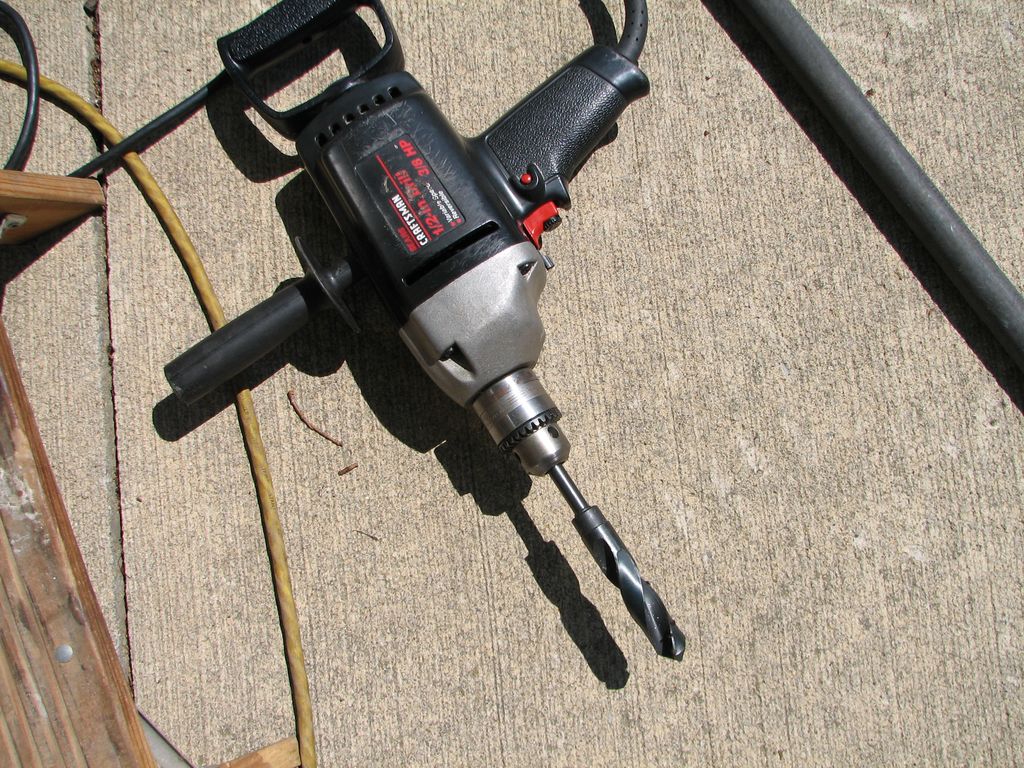 The switch requires a 3/4″ hole and the existing hole is only 3/8″ or so. But I have a 3/4″ drill for some reason. I really hate cutting metal on this car but it is for a good cause. The switch requires a 3/4″ hole and the existing hole is only 3/8″ or so. But I have a 3/4″ drill for some reason. I really hate cutting metal on this car but it is for a good cause. |
 Here is the new, larger hole as seen from the inside. That black stuff is factory firewall insulation. It seems to be two layers of rubberized tar or asphalt with some fibrous insulation between. The insulation is probably cellulose or cotton but it might also be asbestos. I hope not but I was careful to clean up after myself. Here is the new, larger hole as seen from the inside. That black stuff is factory firewall insulation. It seems to be two layers of rubberized tar or asphalt with some fibrous insulation between. The insulation is probably cellulose or cotton but it might also be asbestos. I hope not but I was careful to clean up after myself. |
  The switch was barely long enough to poke though the insulation. As it is I had to cut out enough to get the nut in there. It will be very easy to reach under the dash and flip this switch. Here is the switch from both sides. The switch was barely long enough to poke though the insulation. As it is I had to cut out enough to get the nut in there. It will be very easy to reach under the dash and flip this switch. Here is the switch from both sides. |
|
The finished installation. Both new cables are installed and routed clear of trouble. I should make a clamp to hold them to the firewall but I really don’t want to drill another hole. I may rig something up that uses one of the voltage regulator screws to trap the cable. |