
5/3/2014
When I installed the seat belts I removed the door sills. They are in decent shape but covered with some overspray and some of the screws were wrong. My formed aluminum door sills are more proof that my car was made early in the model year. Mid-year Studebaker replaced the aluminum sills with a molded rubber part. If I had to guess the price of aluminum was spiking due to the war in Europe.
Anyway I started off by using paint remover to remove the paint from the sills. This took a while and my dog got bored.
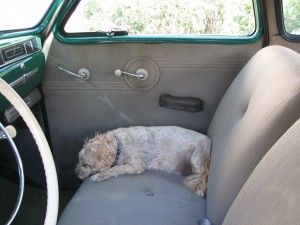
Buddy keeping the car seat from floating away
While the dog snored I cleaned the sills with a scrub brush and soap. They did not get as clean as I would like but I do not want to get too aggressive with them. There was some corrosion on the bottom of the door sills so I painted them with a clear-coat paint.
Once the paint dried I installed the sills.
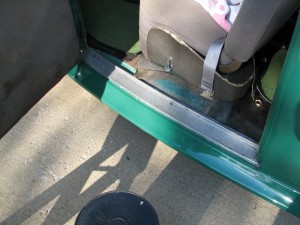
Door sill installed
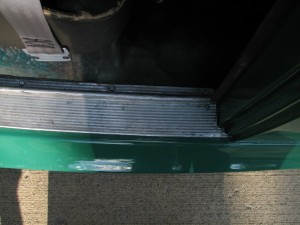
Screws installed in the door sills
I found some screws that were a close match for the factory screws. I also painted all the screws silver.
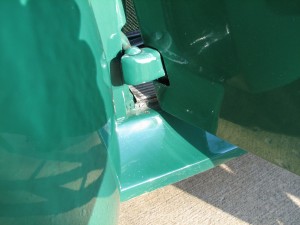
Scratched the paint
Everything went well except for this one screw. I got careless and the screw driver slipped, scratching the paint. Great. This is not the first time. Some day I will need to try and match some touch-up paint.