
9/23/2012-10/8/2012
My car left the factory with one windshield wiper on the driver’s side. The dual wiper setup was an option. The two systems work entirely differently. 
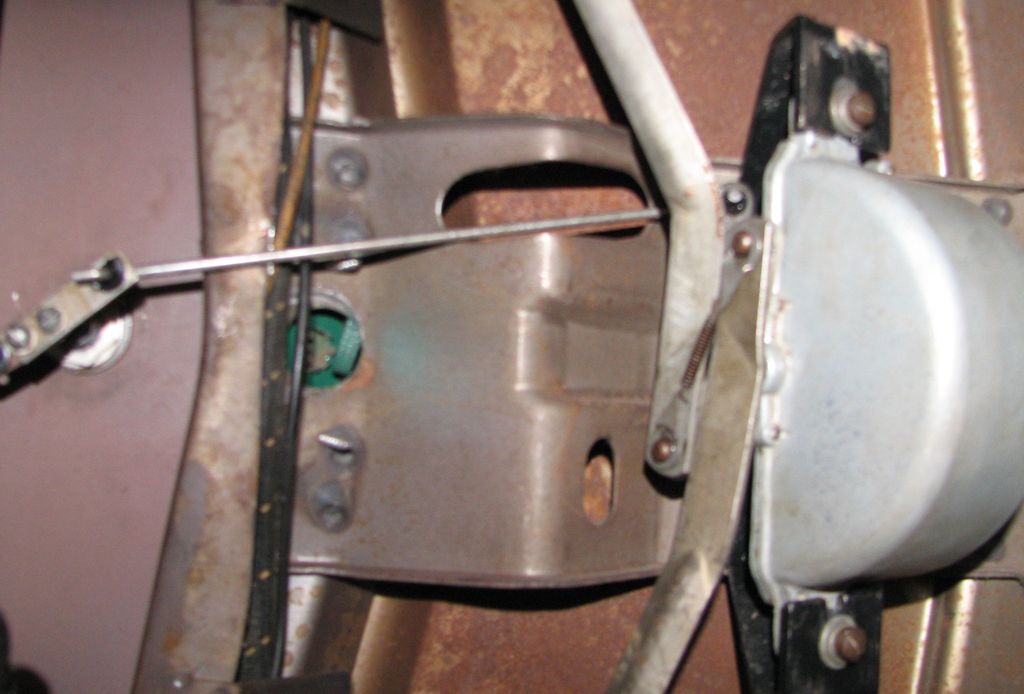
You can see the single wiper system has the motor driving the wiper arm |
 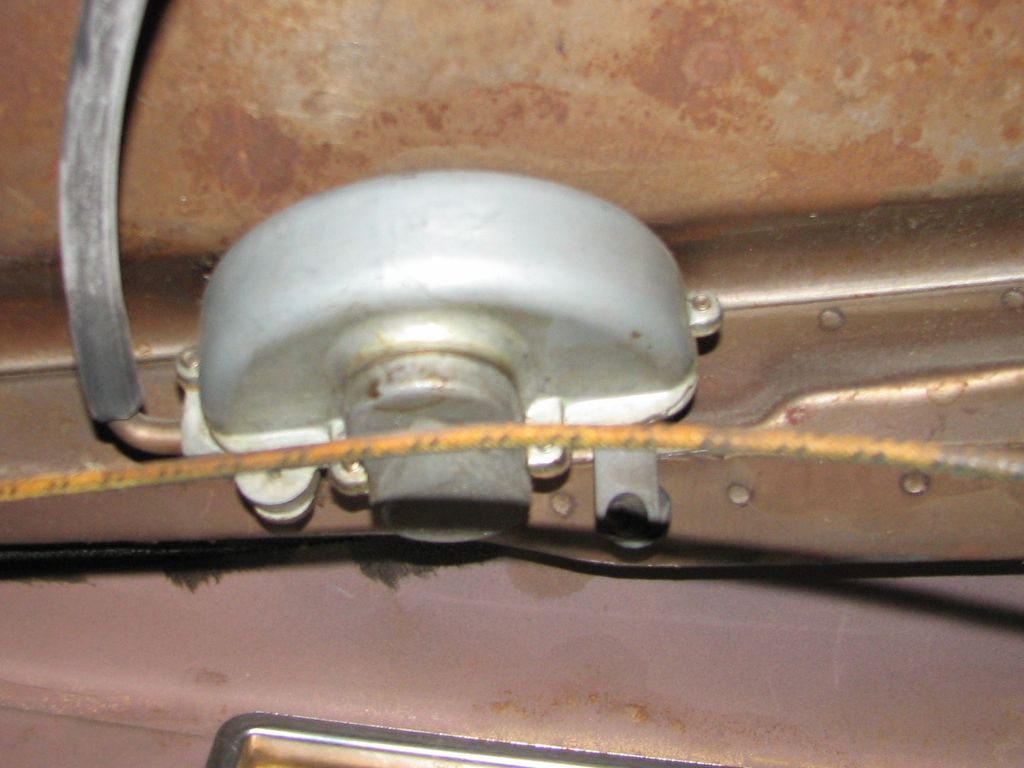 At some point someone did some creative engineering and installed a passenger side wiper by simply putting a second motor on the passnger side then rigging the control knob to both motors. This has two problems. First of all the wipers move independently which looks funny. Second there really is not enough vaccum to run both motors well. In these pictures you can see the control rods off the knob and the passenger |
 I have been keeping my eyes open for the correct dual-wiper system for a while. Finally I got in touch with someone who had most of the parts. There is some paint on the chrome but in general the transmission and motor are in great shape. I took this all apart and put the painted parts in paint remover to clean them up. Now to take out the existing system. |
  These mounts for the wiper arms have to come off first. Drive out the pin and it comes right off. The passenger side was super easy but the driver’s side was more stubborn. I did not want to hammer on the shaft too hard so I had to use a block of steel to back it up. Eventually both came out. |
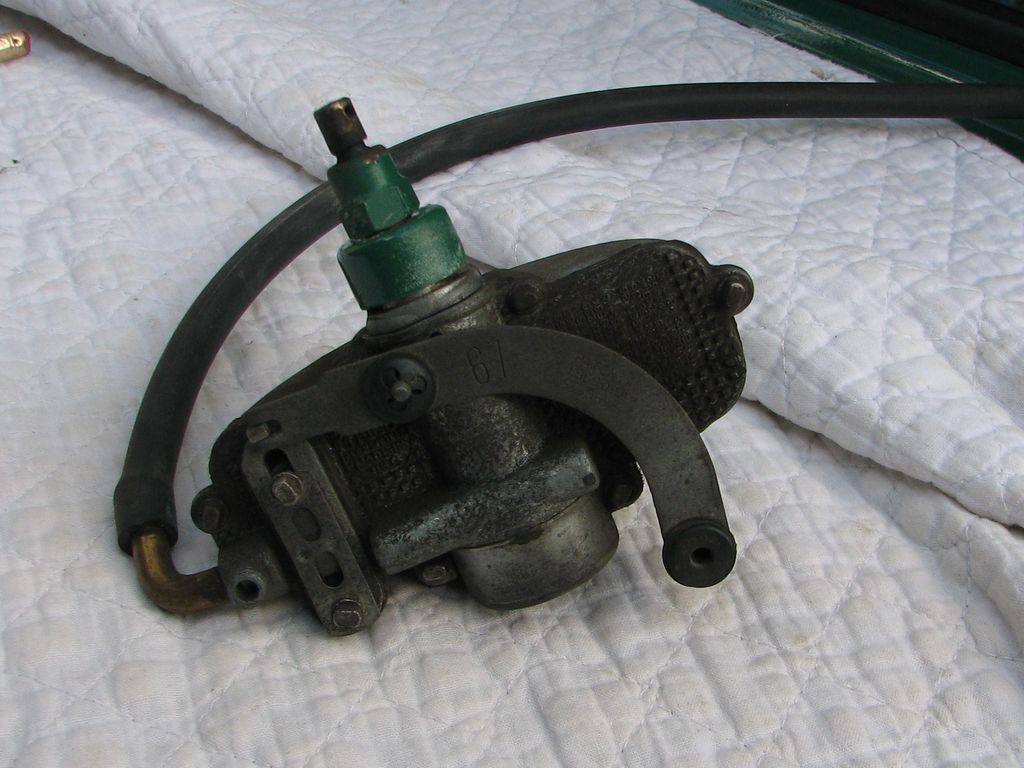 Once the nuts are removed the motor comes right out. |
  Then I replaced the motors with the newly cleaned and lubricated transmission arms. This looks good! But now I have a problem. I am missing the motor bracket (2149-7 in the drawing above). It has an oddly angled shape to hold the motor in the right position under the dash. I contacted the person I bought these parts from and hopefully he has the bracket. If not I will have to make one and that will be interesting. So for now this little project is on hold. |
 I lucked out and got the bracket from the same person I purchased the wiper motor and arms from (thanks Malcolm!). He even sent the screws to hold it in. |
 Now it is a geometry problem. The parts book picture is a little vague about how the motor and arms go in so it took a couple of tries but this looks close. Notice the cutout in the dash panel for the control rod from the control knob on the left and the motor control lever on the motor. In this picture the driver’s side is at the bottom. Now we have a problem. I don’t have the metal rod to connect the two. |
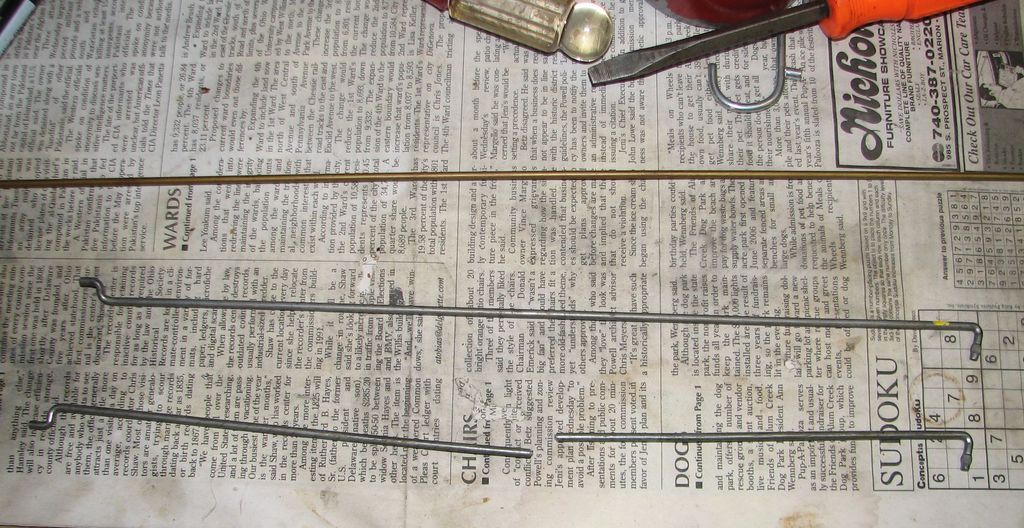 I had a brass rod laying around the right diameter but then I started looking at the two rods I had from the old separate wiper motors. I hate destroying a part but I have two of these and it saved time and headaches. So I measured and cut one rod. |
 The advantage of using the existing rod is that I only had to make this simple bend and crimp to complete the rod. |
  I also dealt with another little problem here. This hardware is used to hold the control knob to the dash. The gasket at the top goes between the knob and the top of the dash to protect the paint. I think the gasket is leather and I know it is in bad shape. I used some rubberized paper gasket material to make an ugly-but-servicable replacement. |
 Here is the knob with the gasket and the customized rod installed. This will work. |
 Time to test. The motor is now in the parked position. I have the control rod hooked up and the arms attached. This looks really good. The arms clear all obstructions and fit together neatly when parked. It is completely wrong. When the motor “unparks” in this arrangement the arms rotate IN rather than OUT. In other words the parked position would have the wiper arms straight up and down. This will only work if I reverse the arms. |
 So I reversed the arms and now the passenger side arm hits the defroster vent. In this picture you can see the vent and the disconnected defroster hose. The wiper arm is the silver bar on top of the defroster. I suspect at the factory this problem would have been fixed with a hammer or a large pair of pliers. I wanted something a little more controlled. |
  This is what I came up with. This exhaust pipe clamp can crush the top of the defroster vent in a controlled fashion. I put a chunk of brass in the bottom of the clamp to help distribute the load. The big nuts are just spacers to let it pull farther. This worked well. |
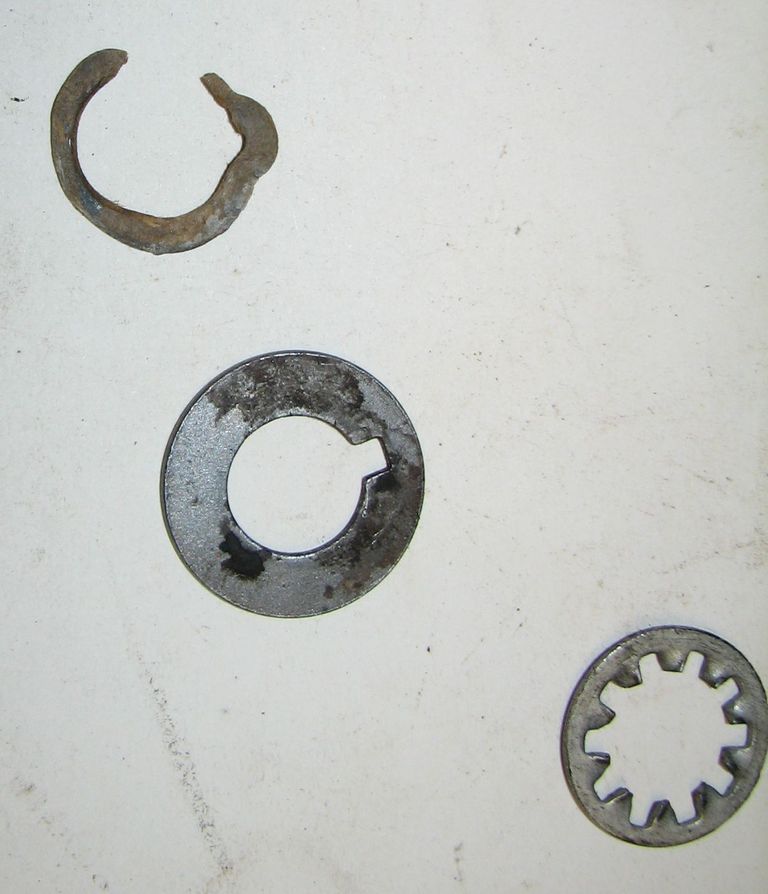
 I also put the wiper arm mounts on the wiper transmission shafts. A little cotter pin holds this on. I did not spread the pin, it will be trapped by the wiper arms when they go on over this. But I am out of time tonight so the rest of this project will have to wait for later. |
 The rubber grommets for the control arm were not holding up well to the multiple assembly and dis-assemblies. I have a jar of grommets (really!) and found two that fit. |
 The control rod I made was too short. I finally gave up and made another using my second control rod. This is the final result in the parked position. |
| I think I can call this a winner. |
Pingback: Dual wipers on 39-46 Champion