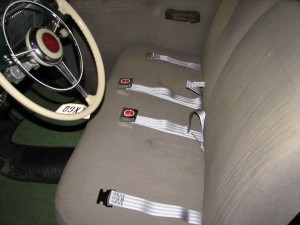
For Christmas this year I received some shiny new seat belts! After this ridiculous winter it is finally warming up so time to get my belts on.
New seat belts
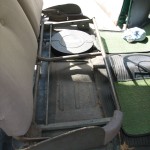
First step pull out the seats. The bottom cushions just sit in the seat frames. The front frame is steel but the back is wood. The rubber mat on the floor will also need to come out.
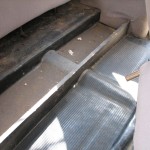
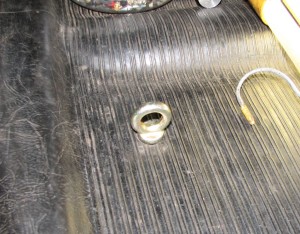
The mat is held in by the door sills so those have to come out. These are aluminum and are in pretty good shape. They are dirty, have over spray on them, and some corrosion on the bottom. I will have to clean them up before they
go back in.
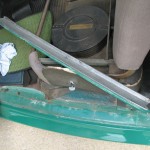
Door sill removed
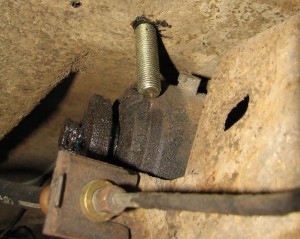
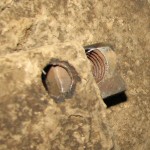
Now that the mat is out I can look for a good mounting place for the seat belts. This bolt looks very tempting. It is one of the bolts that
holds the body on the frame so it goes right though the frame rail. And it is almost in the perfect spot. Sold! I can also use these two holes
to measure off of to locate the rest of the holes.
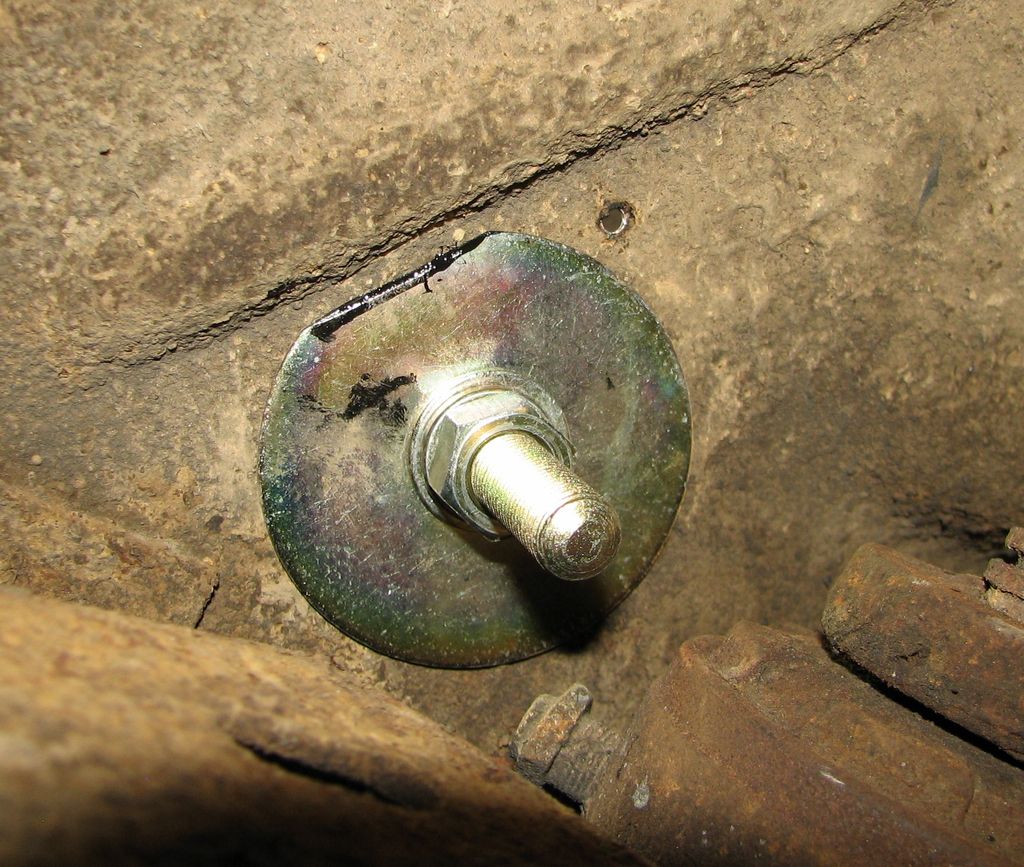
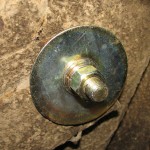
Body mount bolt

Body mount bolt going though the frame
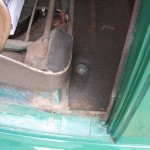
The rest of the floor where the other end of the front seat belts will go is wide open. So is the area under the rear seat.
Front seat hole location
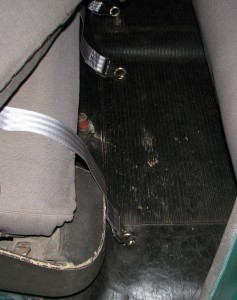
In the back I decided to line the mounting holes up with the brackets that hold the rear seat back in. This will keep the bolts clear
of the seat cushion. But I will have to take the seat back out. Easy enough.

Rear seat brackets
Measure twice, cut once. Holes are all drilled and the bare metal painted. I will work on the rear belts first. I drilled the holes and test-fit the eye bolts. This will work and the holes are all in the right places!
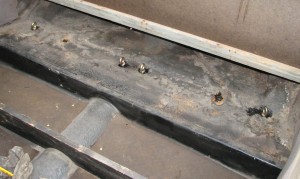
Eye bolts installed in the back
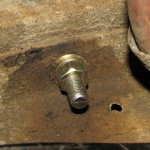
Or maybe not. The driver’s side outside bolt is hitting the shock absorber! Did I screw up my measurements?
Bolt hitting the shock
Well as it turns out I can measure just fine. Studebaker on the other hand seems to have built the whole car crooked. I measured off several points on the frame and nothing is straight. I bet hammers were essential to putting these cars together.
A few minutes with the hacksaw and the bolt fits just fine. This shock is leaking too. That will probably be the next project.

Bolt fits now
On the other side I had to grind a little off the mounting plate on the other side to get it to fit.

Trimmed washer in the back
Once I tightened the bolts I reinstalled the seat back and hooked up the seat belts to the eye bolts.

Seat back and rear belts installed
Nice. Now time for the front

The inner holes in the front I positioned to go though these u-shaped reinforcing panels welded onto the floorboards. I figured it would be good
for some extra strength. But I need spacers to keep the bolt from crushing the reinforcing panel. Time to raid the hardware bucket
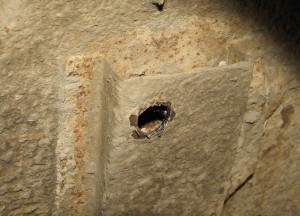
Inner mount hole
These two bolts are the right thickness. The lug nut fits just fine but the big square bolt is too big.
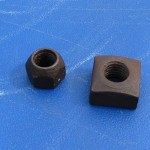
Bolts to use as spacers
A few minutes with the grinder made everything line up. I then painted both “spacers” after test-fitting them as shown in the picture
Test fit of the spacer
While the paint dried I put the rubber floor mat back in. I then used a sharp awl to mark the hole locations in the mat. I then used a punch to make holes for the eye bolts. They look pretty good.
Front eye bolt in place
Hardware installed and tight.
Spacer, washer, and nut installed
Outer bolt installed in the frame rail
This looks good. All I have to do now is get the door sills cleaned up and re-installed.
Front belts installed