CHMSL in the Studebaker

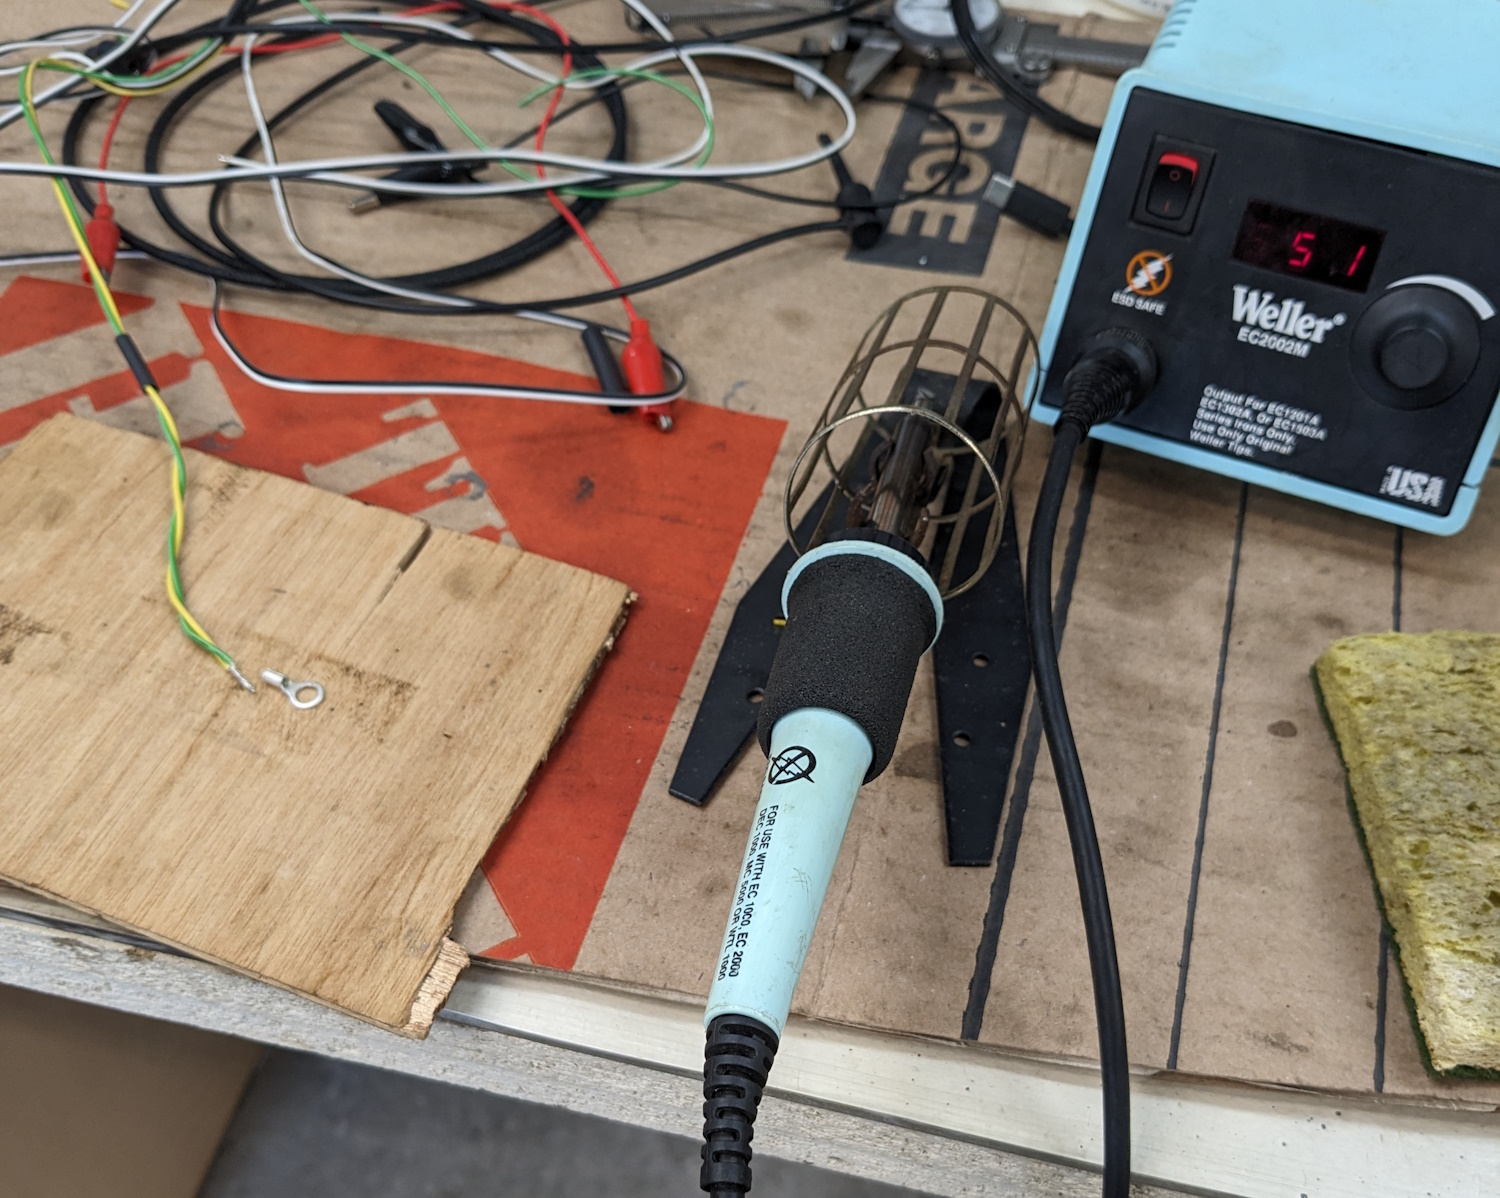
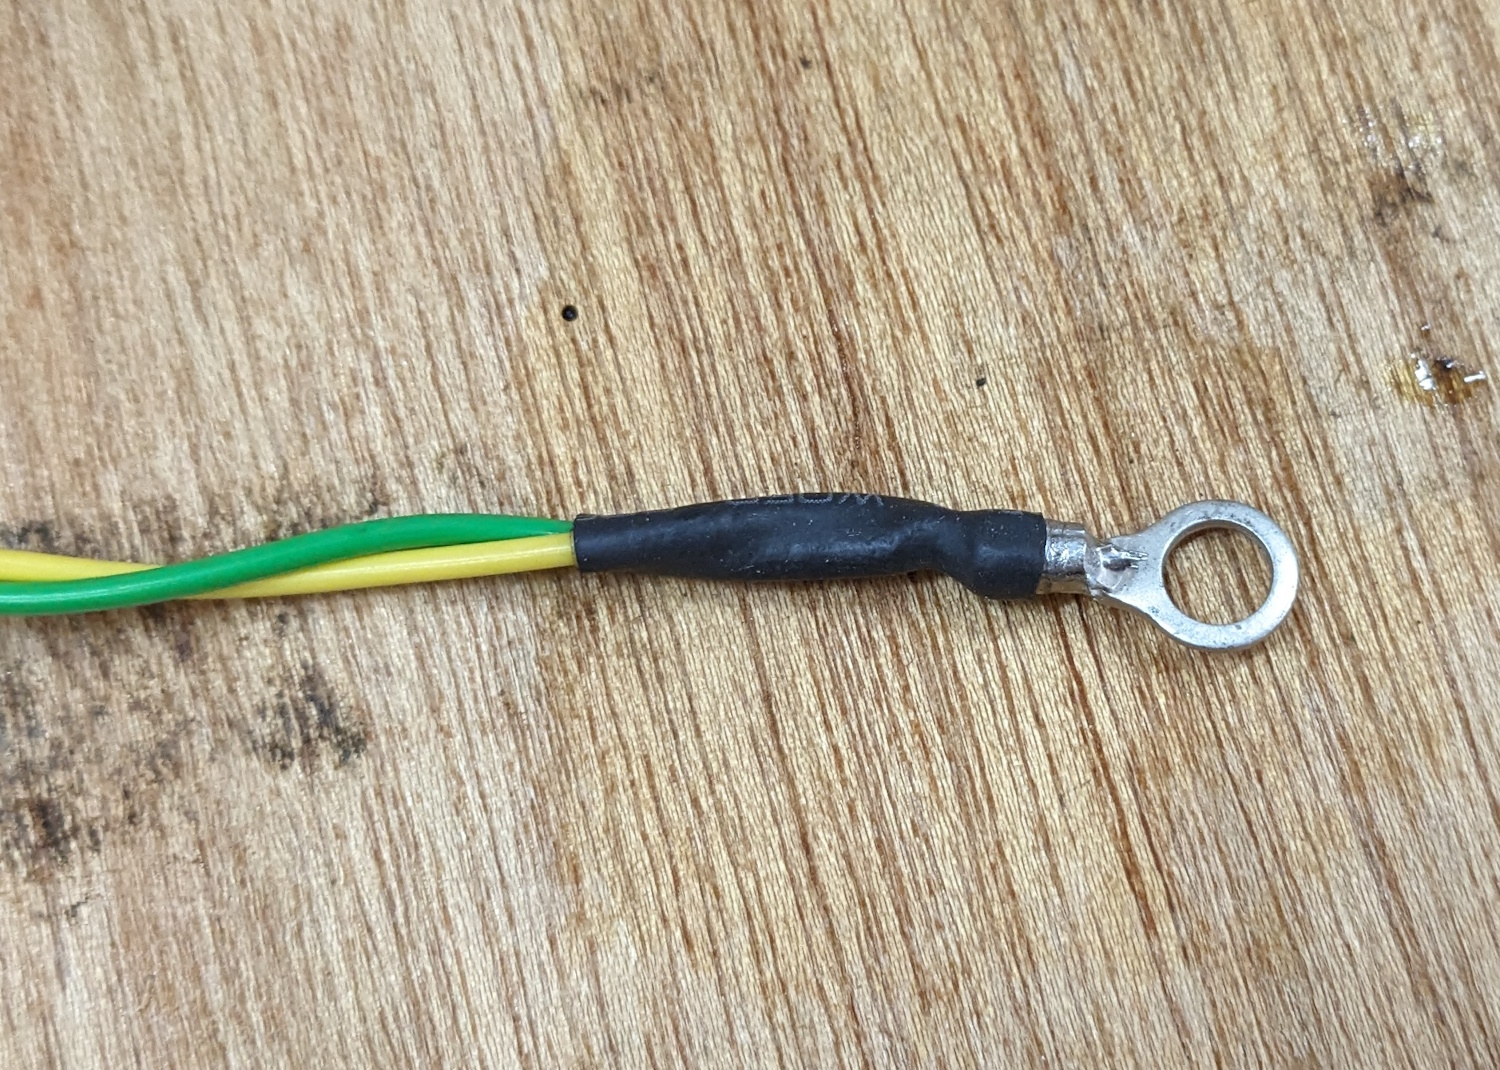
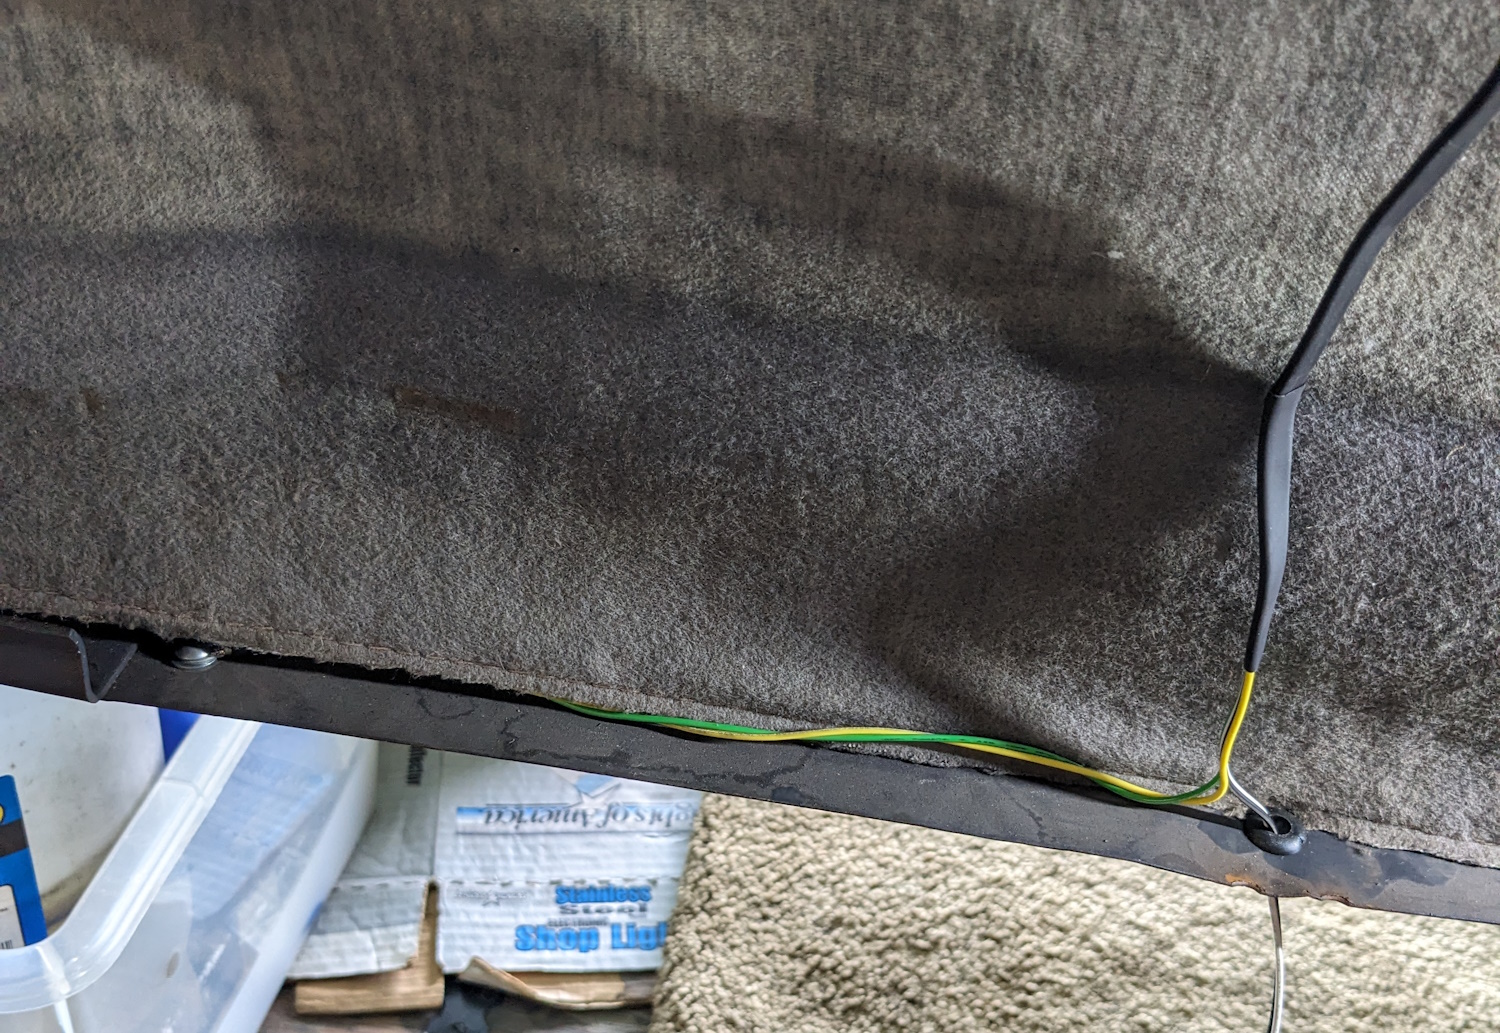
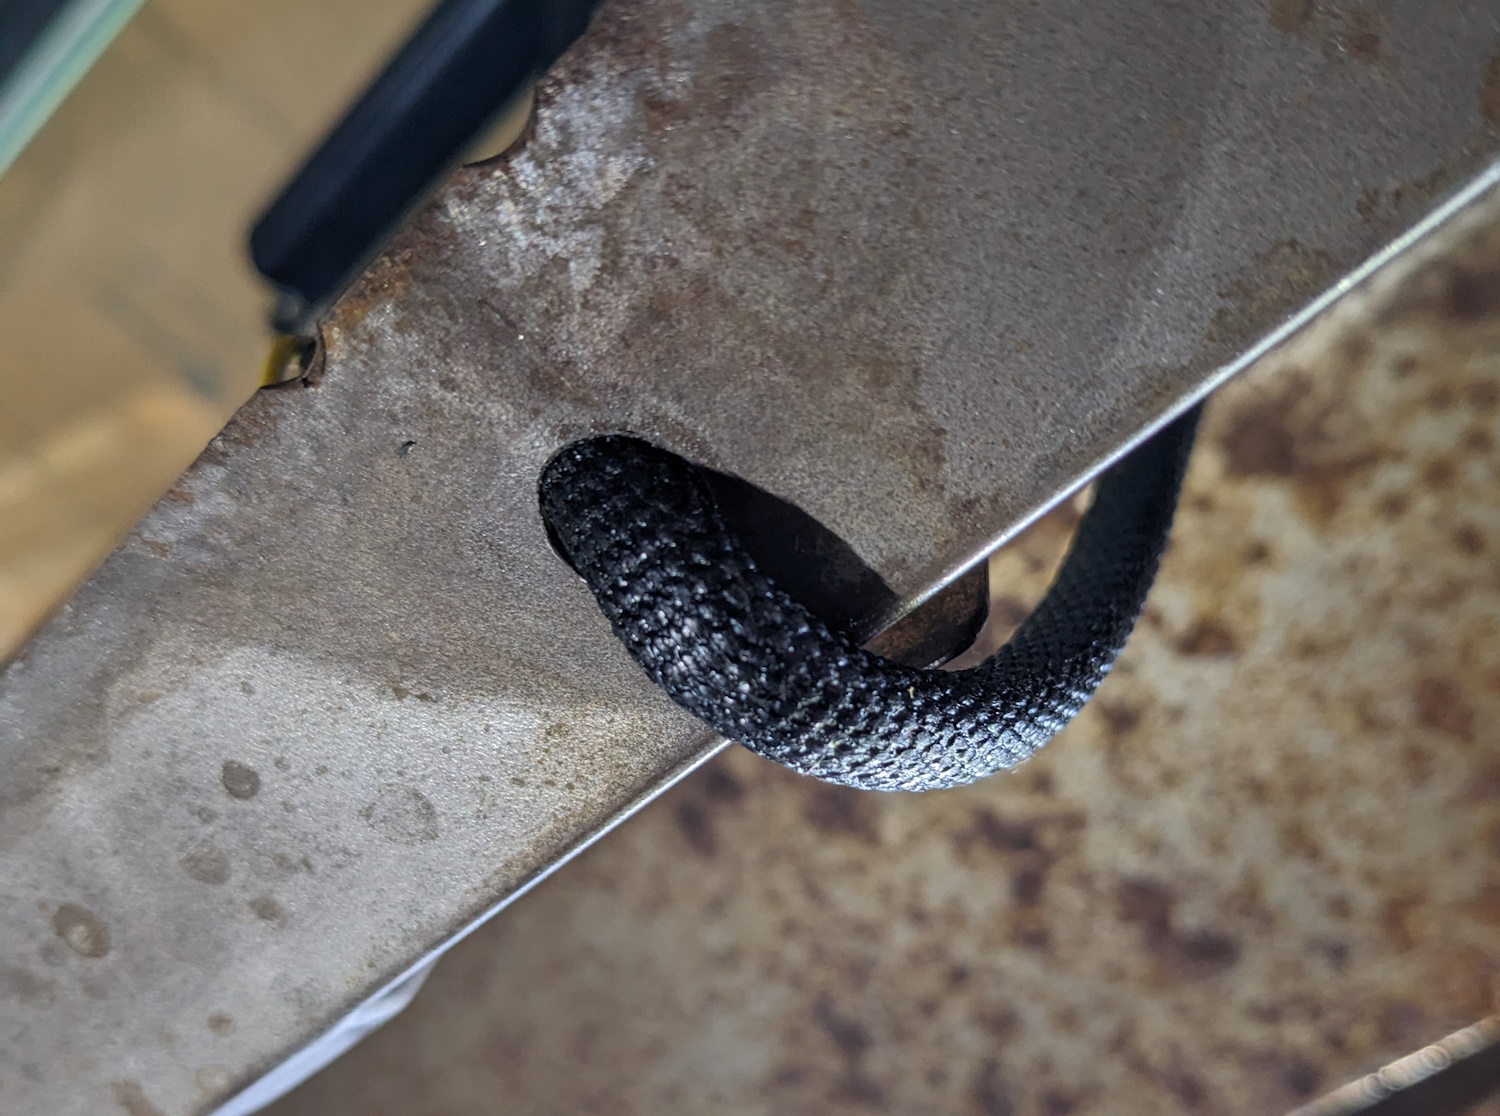
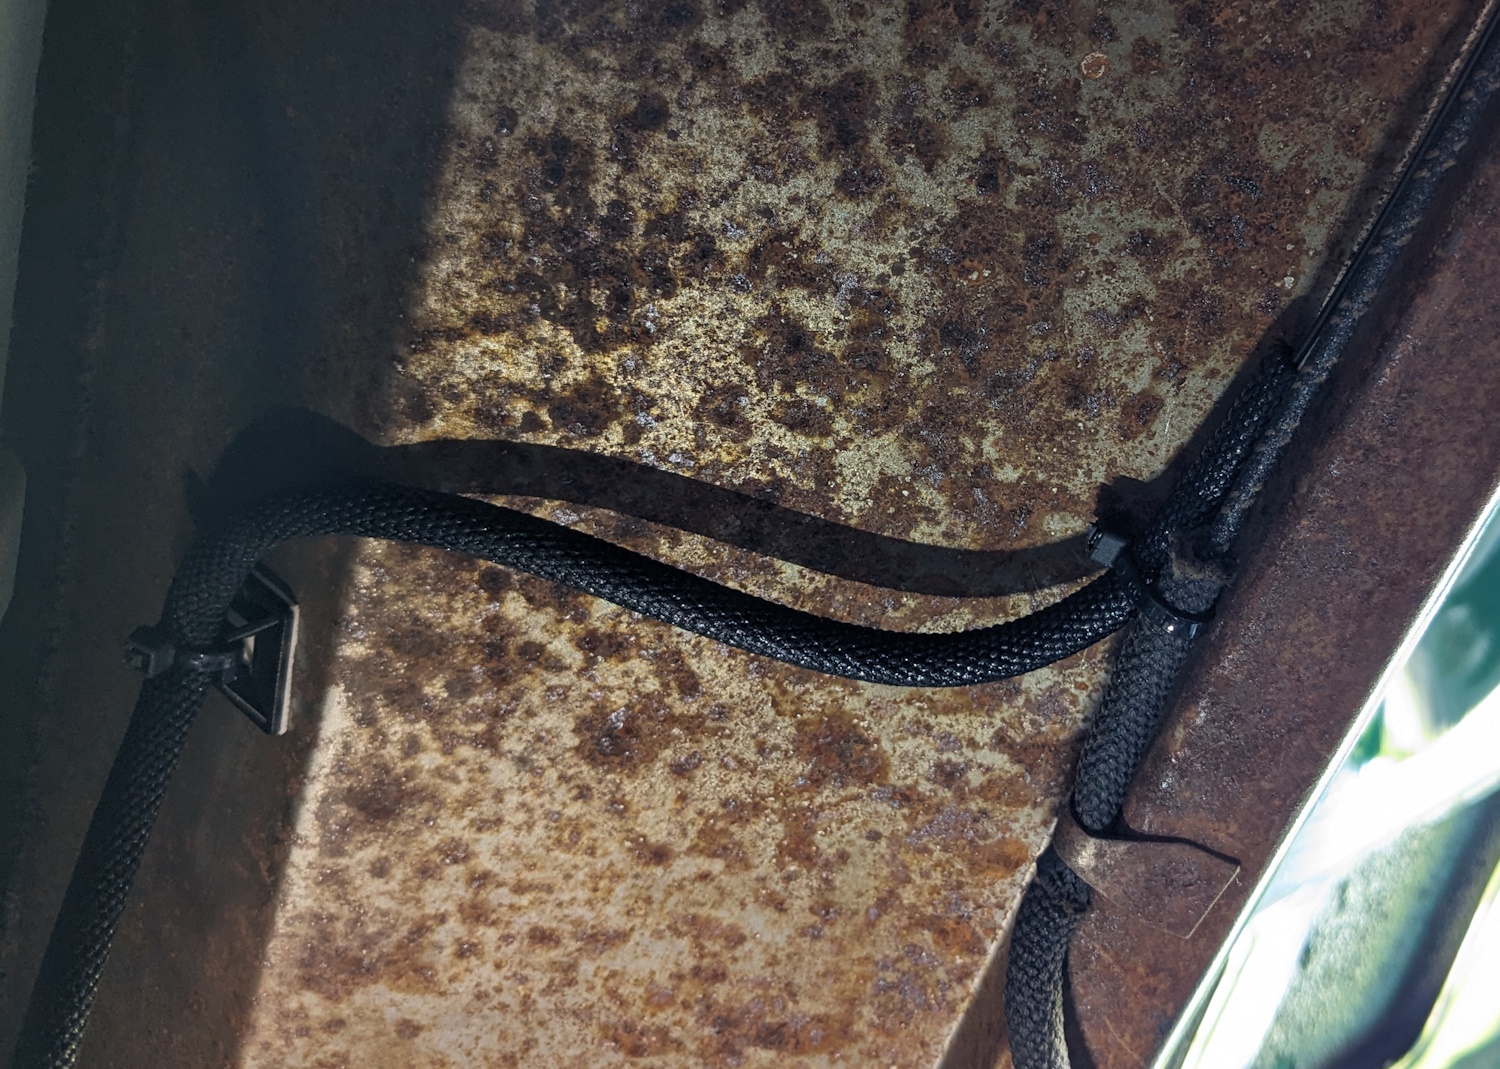
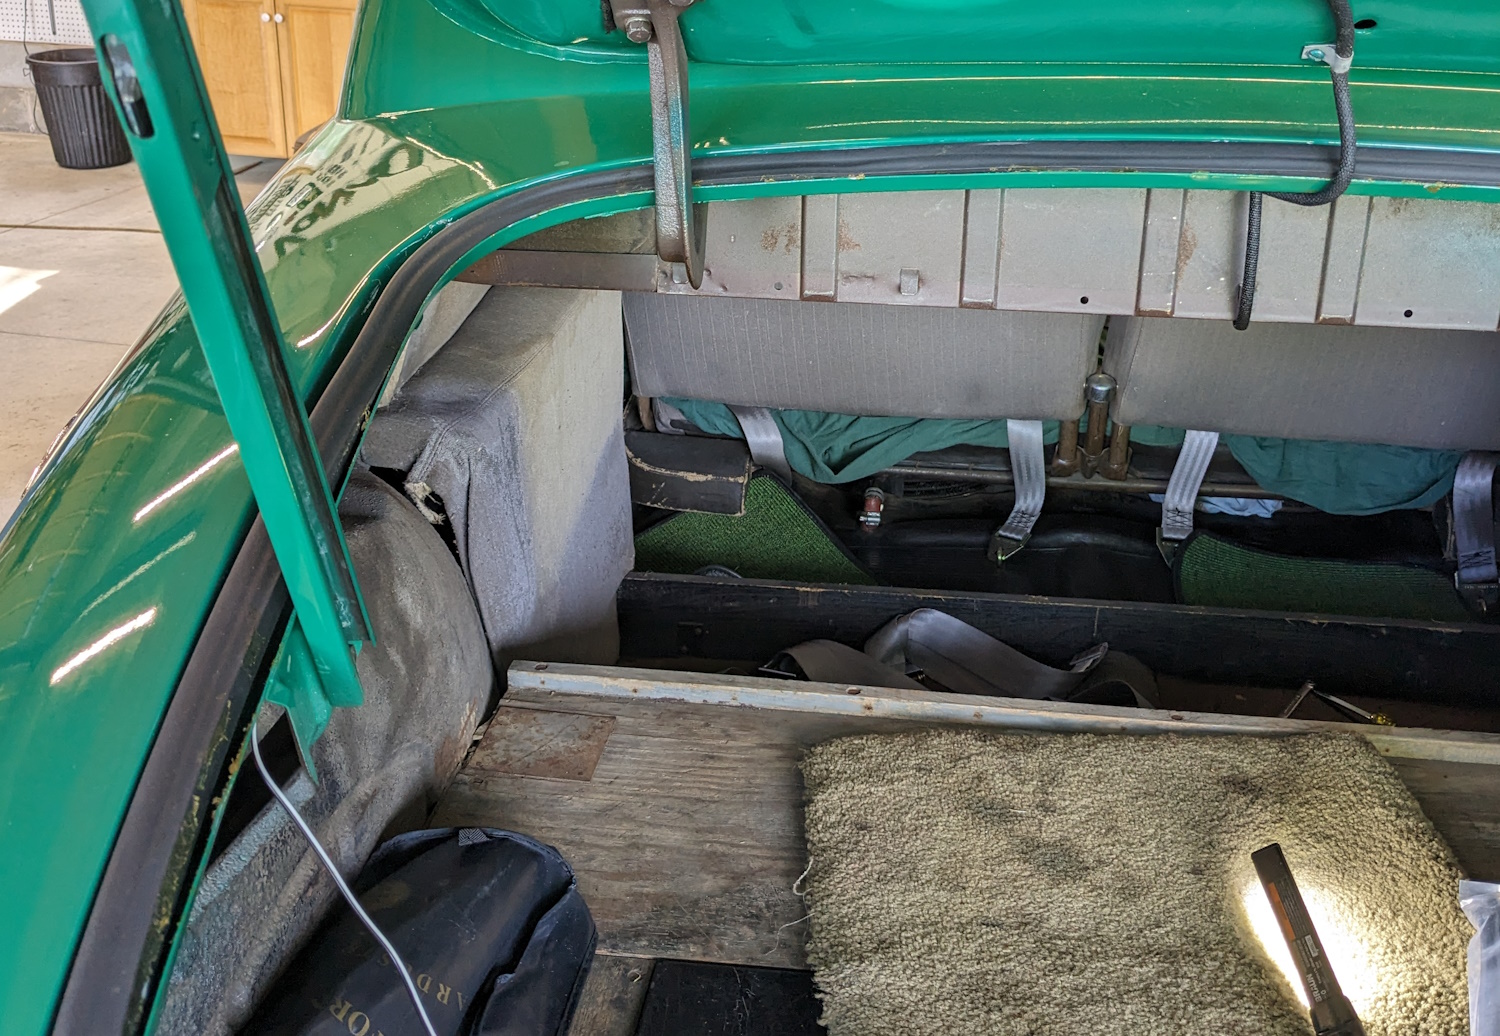
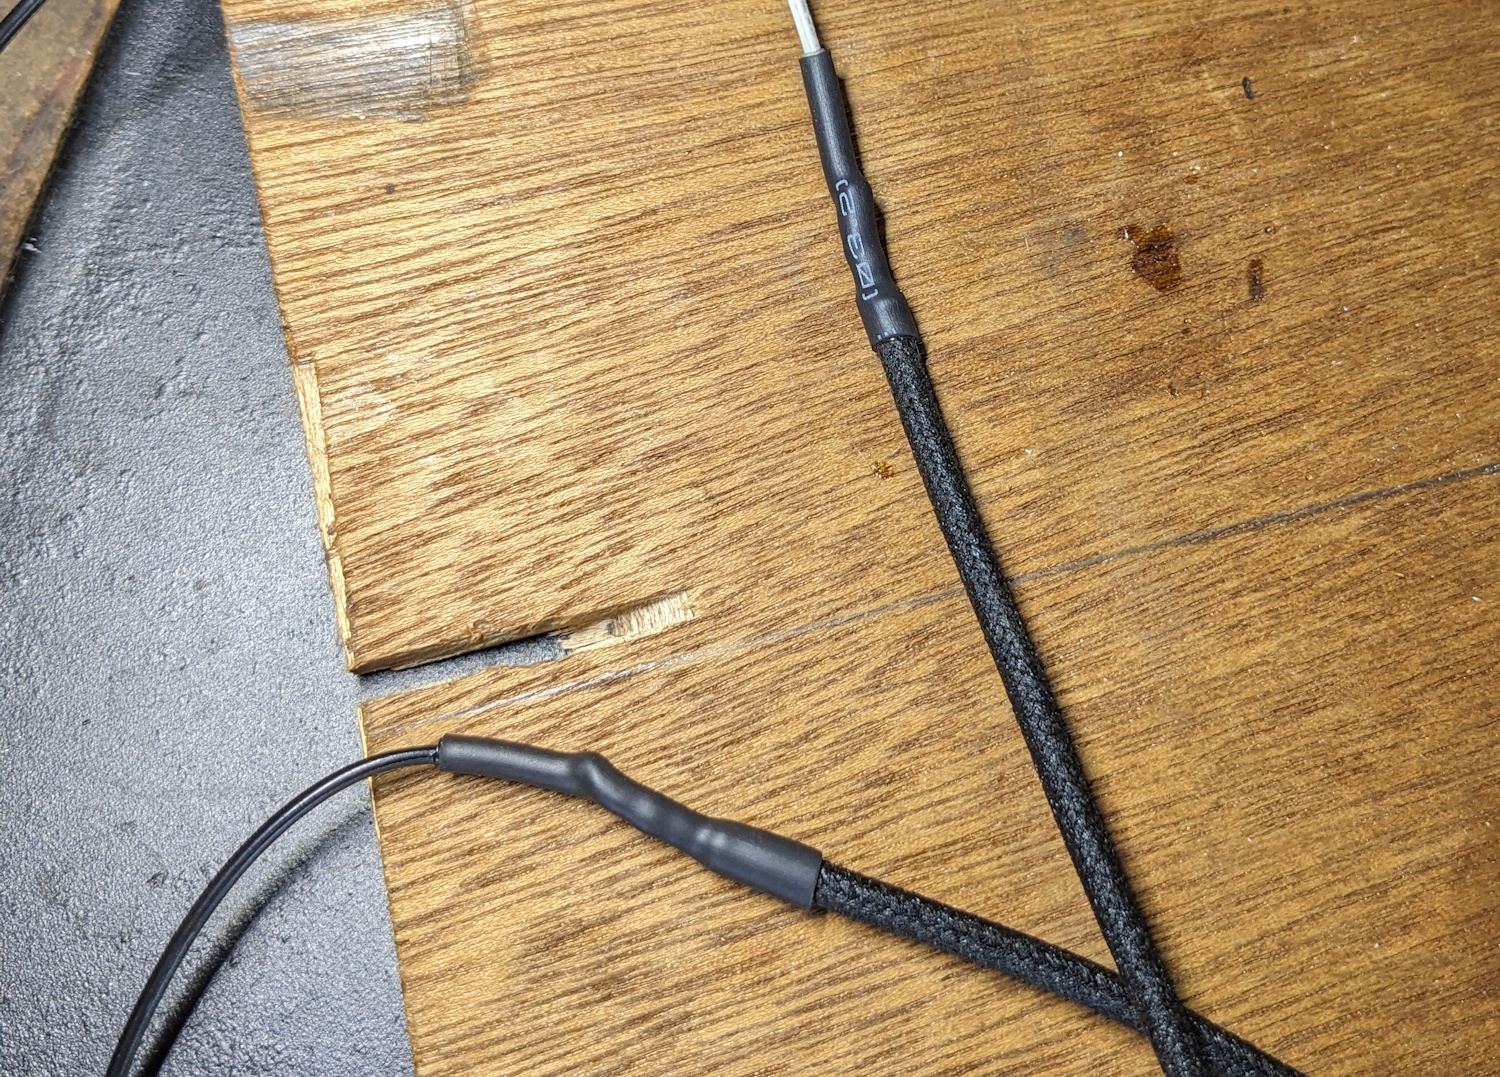
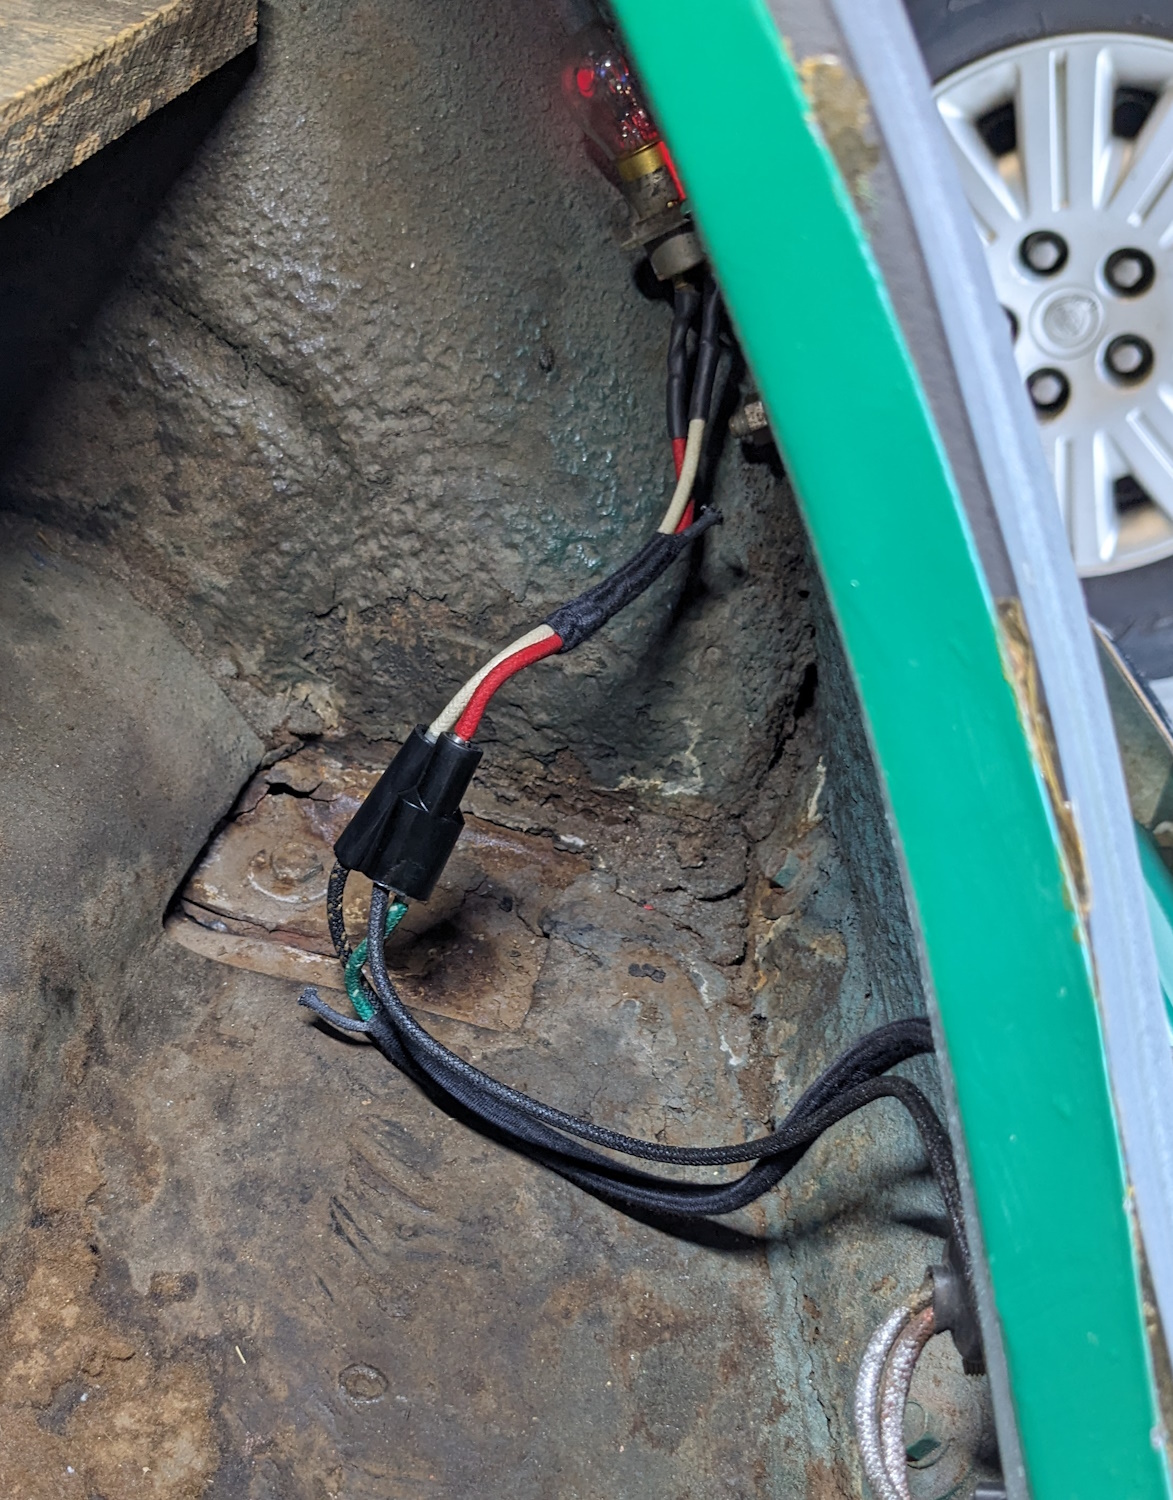
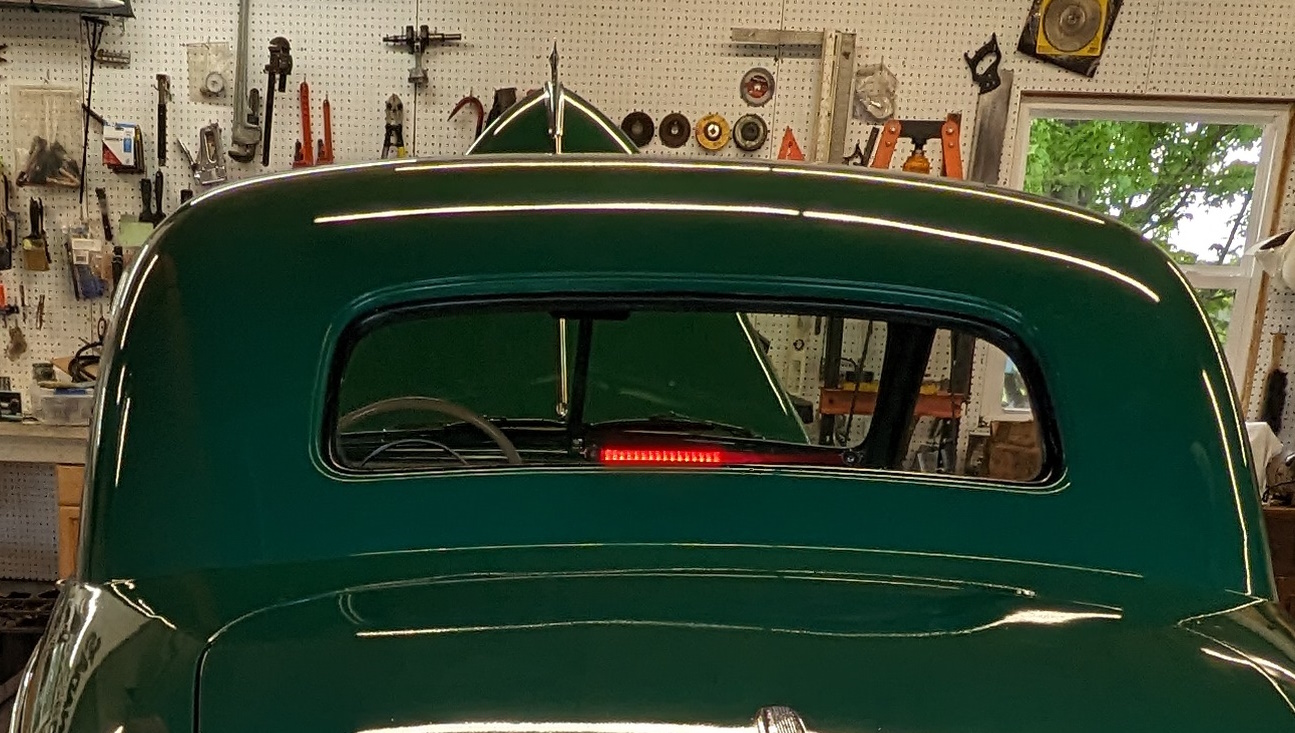
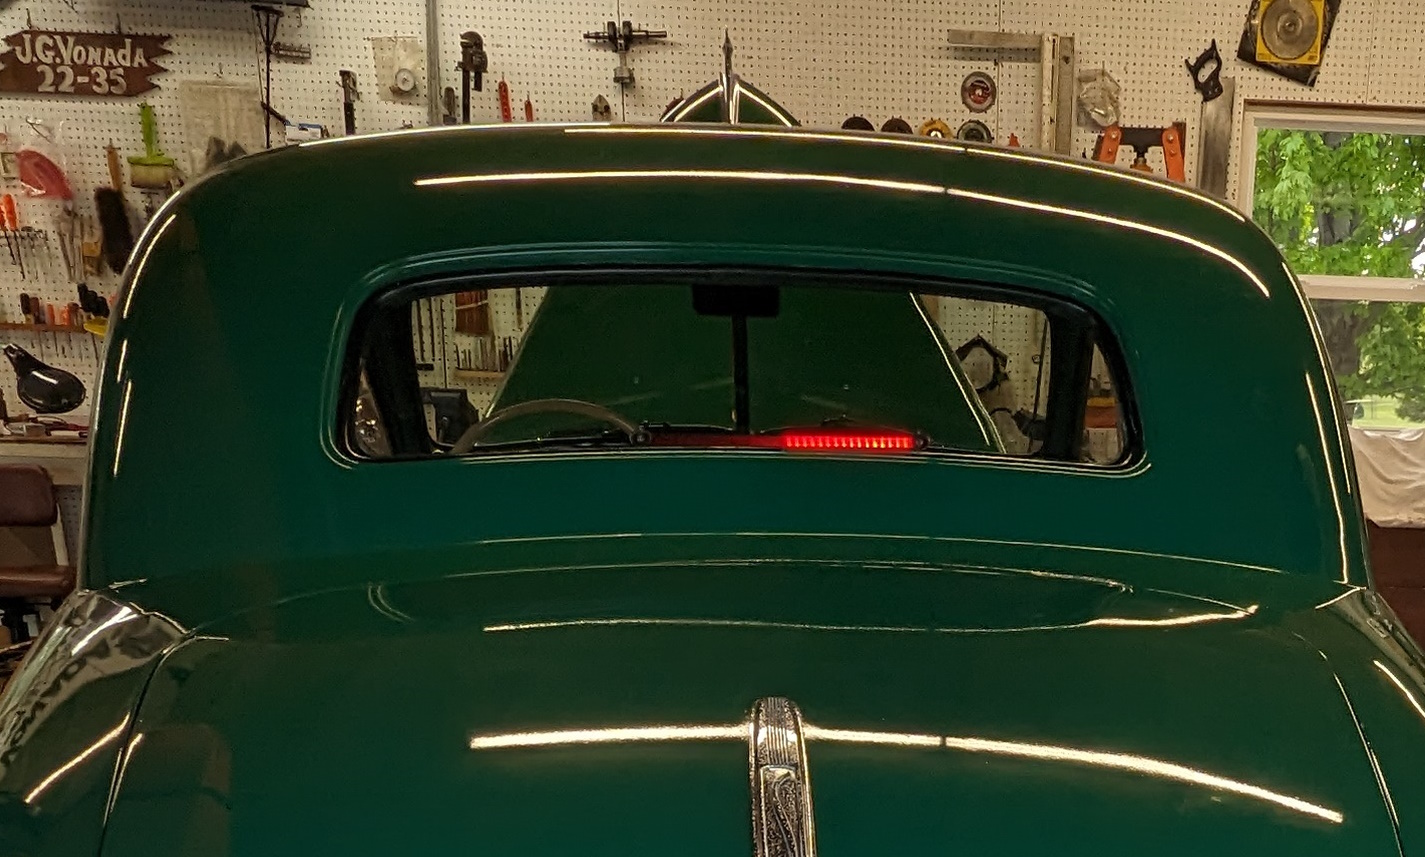
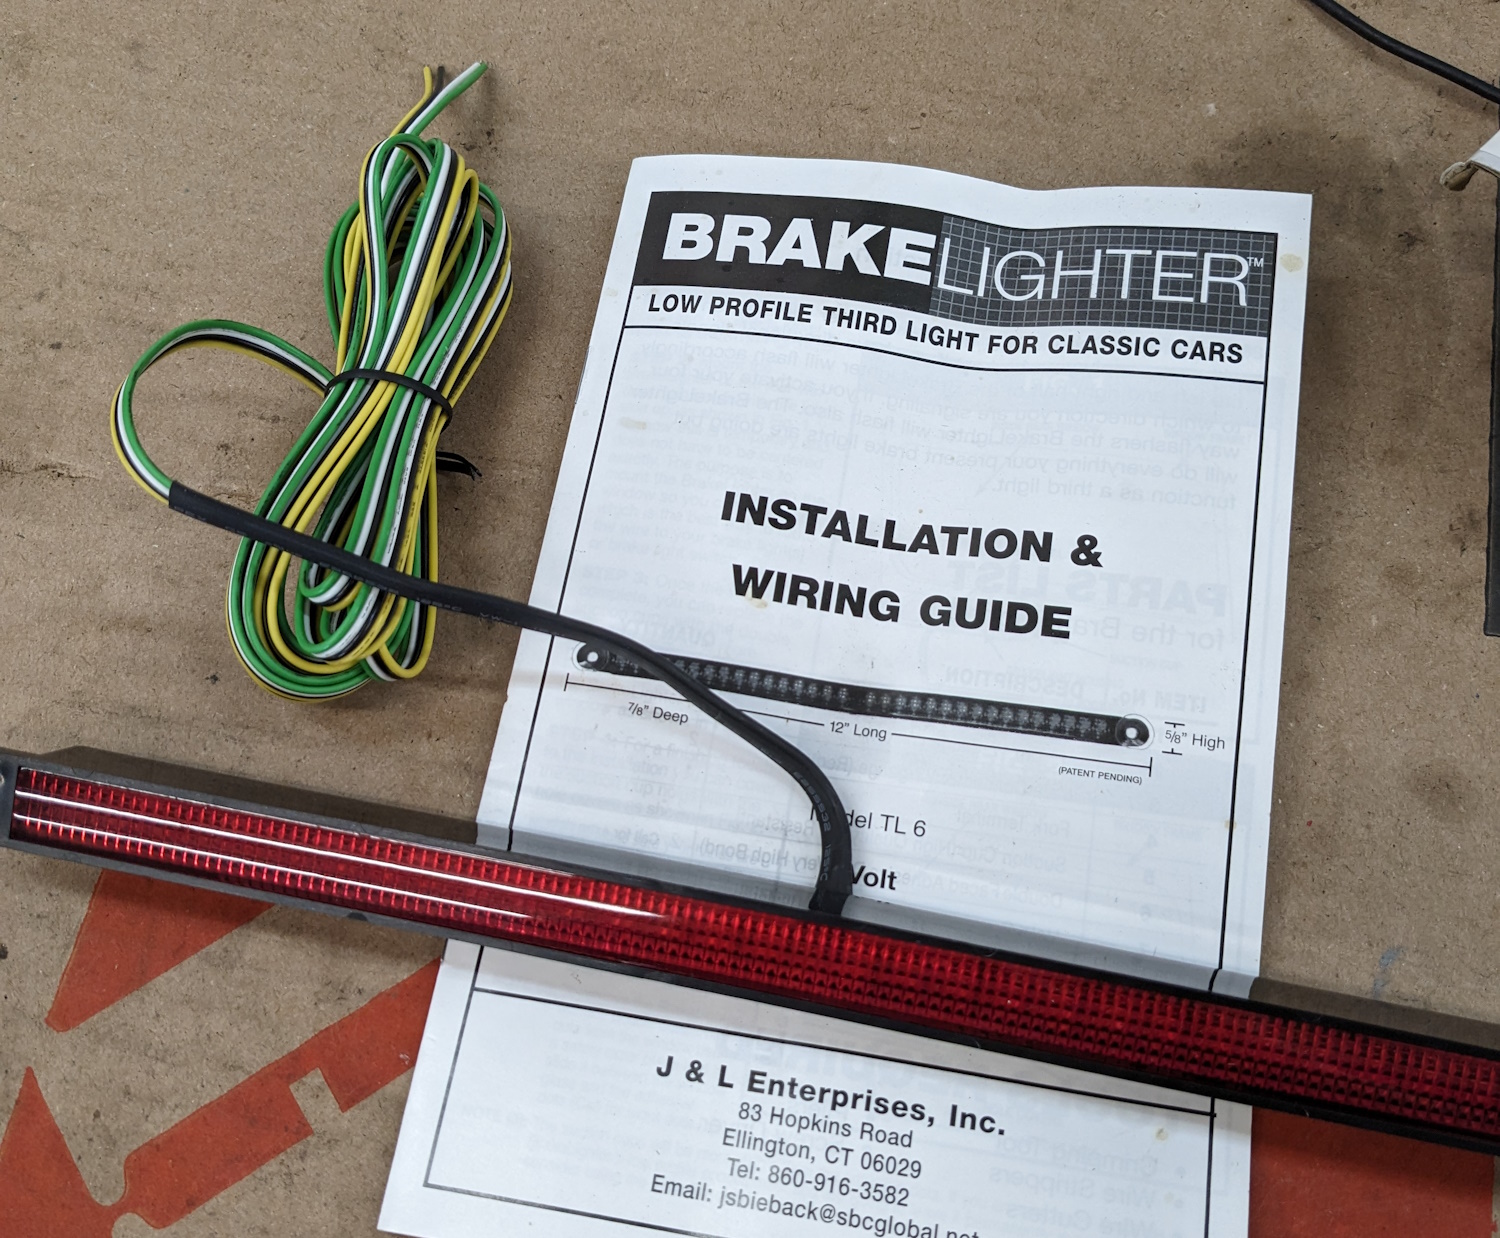
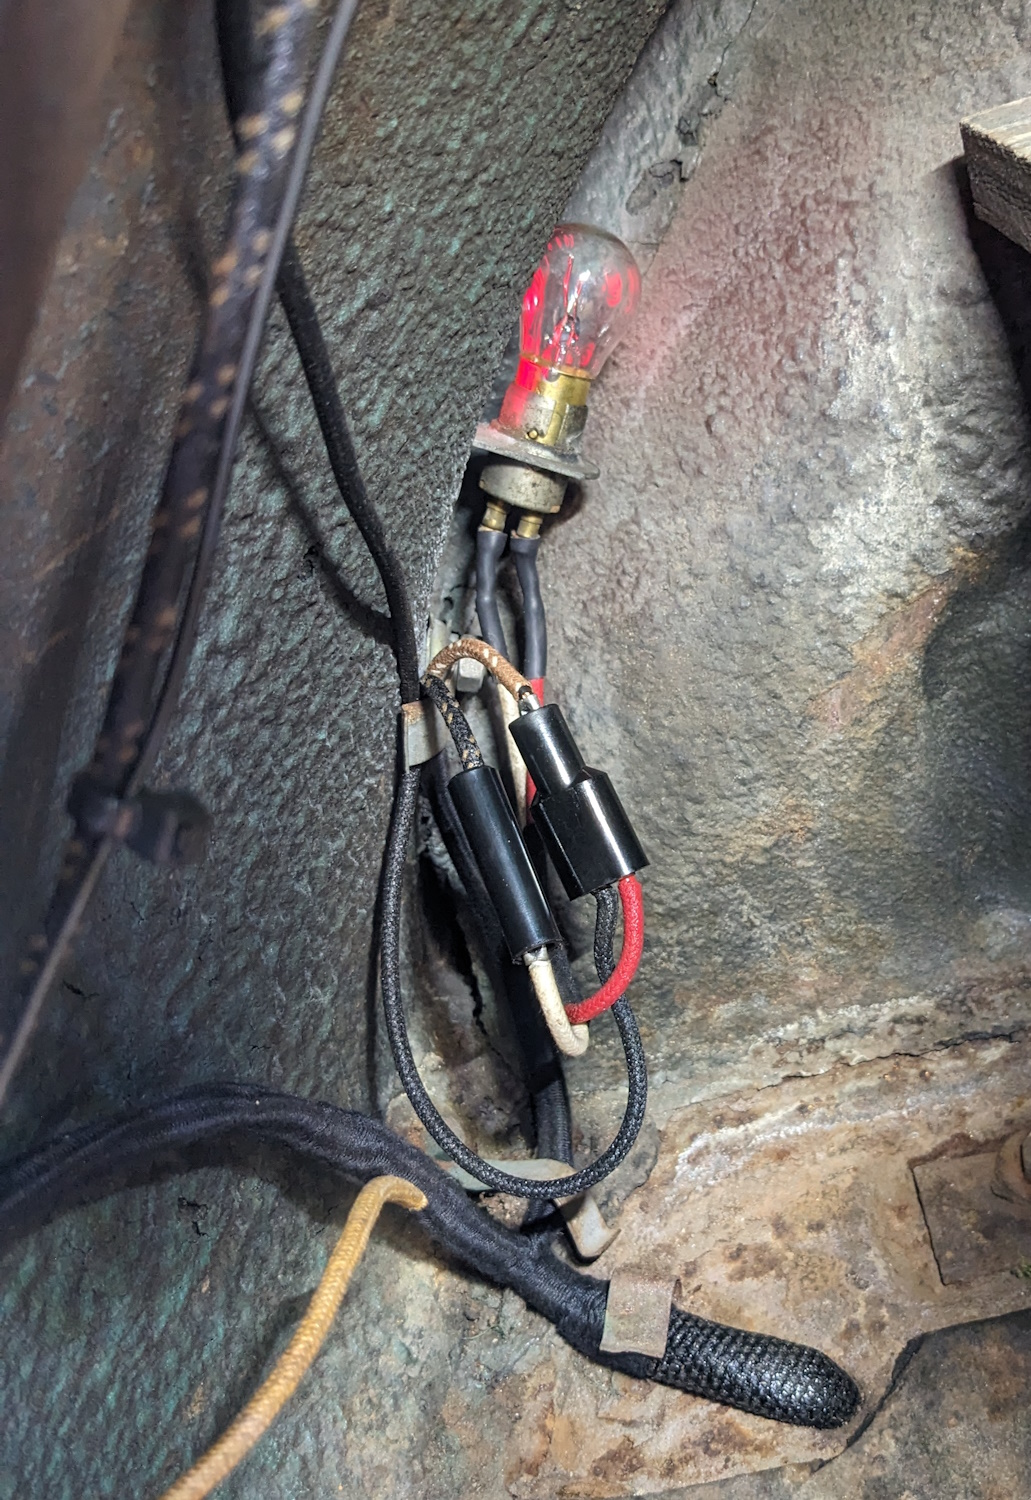
Otherwise known as a third brake light. Since my feeble attempt at LED taillights almost 20 years ago (!!!) I have been trying to figure out what to do about the pathetic dim taillights on this car. I finally found a solution I like.

This light is called a Brakelighter and is designed to solve this problem. Here is how it will be wired up. The catch is that I just spent a small fortune on an authentic-looking wire harness and I am not going to string multicolored vinyl wires around the car. So I did some shopping.
I had purchased extra wire when I did the wiring harness and the Brillman company had asphalt wire loom, 2-1 bullet connectors, and solder-on bullets.
The plan is to replace the existing bullet connector on the brake light bulbs with the 2-1 connector then tap the 3rd brake light in there. to keep the authentic loop I am going to hide the modern wire if I can. If I can’t, it will go in the asphalt loom. I will solder on fabric-covered wire and a bullet connector so everything looks right (except for the plastic-and-LED brake light itself of course).
First step is to remove the back seat. The seat cushion just lifts out, but the seat back is screwed to the floor with these brackets.
Wide open! Aftermarket companies actually made pickup truck beds and ambulance bodies that slid in here with the trunk lid removed. The two clips at the top are what the top of the seat back slots into. There was a fiberboard panel in this space separating the seat from the trunk but mine is in really bad shape and I have not been able to source a replacement yet.
There were already holes in the frame that holds the seat back. The right one in the center and is perfect for passing my wires though. The left one is a good place to get a ground. I used a step drill to open the hole up to 3/8 for a grommet.
At this point I realized I might have a problem. The back window actually has a pretty good slant to it (far from vertical). It does not matter how bright the light is if it is pointing up at the sky. So I wired it up to the battery. To my relief it is very bright at even very steep angles. I should be OK.
The unit already has about 5″ of black shrink tube, but it is about 8″ to the bracket and I don’t want any wire visible above the seat so I added some more shrink tube to make it long enough.
I measured off how much wire I need for the ground and found a ring terminal. I elected to solder it on.
Soldered and heat-shrunk. As a ground, this does not need insulated but it looks neater and provides some hopefully useless strain relief.
Now I can do some assembly. I put the light in the back window with the provided suction cups. I put a grommet in the center hole and snaked the black and white wires thought it. Finally I bolted the ground in the other hole with a screw , nut, and some washers. I like the plan so far!
So then I changed the plan. I needed something to hold the end of the wire loom and the hole worked perfectly without the grommet in there. Just in case I put some shrink tube under the loom to protect the wire.
To hold the loom in place I cheated and used an adhesive cable tie pad up under body. A couple of black zip ties where you can’t see them will keep everything in place.
Here is how it looks from behind. I have the wires routed around under the trunk lip in the holders for the license plate light wire. All invisible unless you crawl under there. When I replace the panel behind the back seat I will have to either move the wire somewhere else or notch the panel to let it through but it should be OK.
The visible parts of the wire will be fabric covered. I measured the length needed and soldered bullet terminals on the ends.
I soldered the fabric wires on to the vinyl wires and insulated them with shrink tube. Then I routed the wires out of sight to the taillights.
On the left (drivers) side the black wire runs right down to the taillight. I spliced it in with the 2-1 bullet connector.
On the right (passenger) side I routed the wire along the existing wire harness. I may have cheated with a couple black zip ties to keep everything in place. The second 2-1 connector tied it in to the brake light.
Time for some testing. Left turn.
Right turn. I can’t push the brake pedal and take a picture but that works too. Not bad! The current draw on this thing is basically nothing. We will see if the suction cups hold. If not, the light came with some VHB tape pads but I will try to avoid that. This way I can remove and clean it. I still need to put the seats back in but that can wait until tomorrow. I want some dinner now. And maybe a beer.

Leave a Reply

Your email address will not be published. Required fields are marked *