4/26/07-5/3/07, 7/5/07-7/11/07
What is behind the green door?
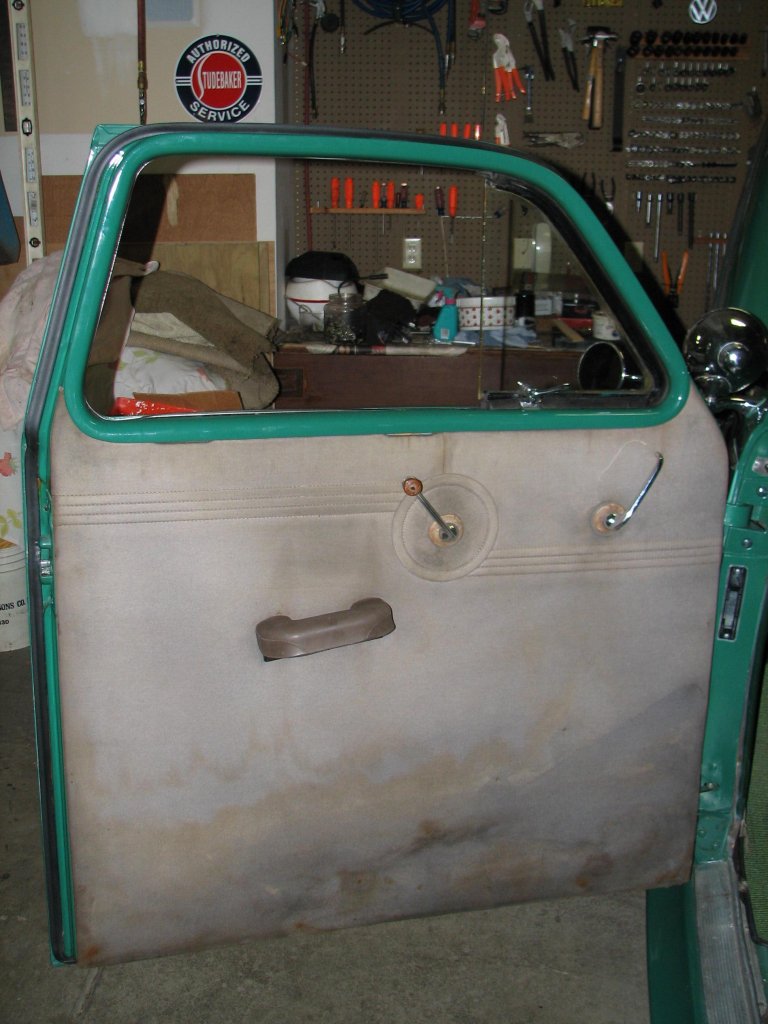
 All my life I have wondered what was under this green vinyl on the door panels. So I decided to find out. I also wanted to check out the window mechanism. The driver’s window goes up and down well but the passenger side is very rough. Both sides rattle a bit too. I recently scored an entire set of window regulators from e-Bay. Hopefully I can scavenge any parts I need off of these. All my life I have wondered what was under this green vinyl on the door panels. So I decided to find out. I also wanted to check out the window mechanism. The driver’s window goes up and down well but the passenger side is very rough. Both sides rattle a bit too. I recently scored an entire set of window regulators from e-Bay. Hopefully I can scavenge any parts I need off of these. |
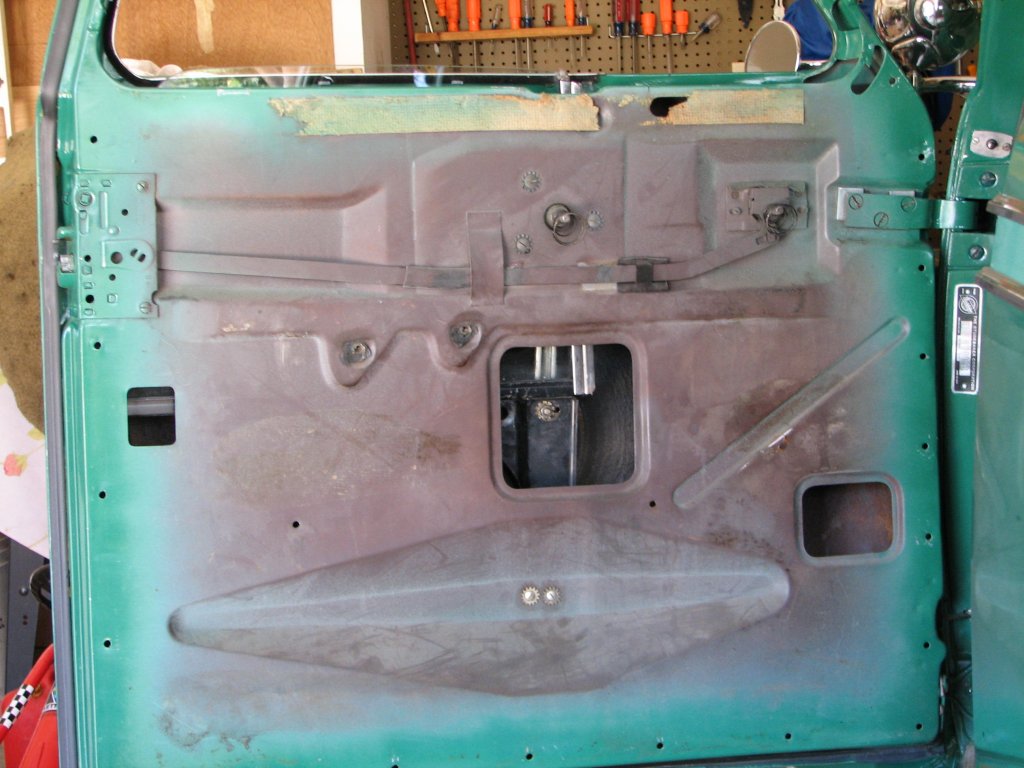 The inner window frame and vent window came out first. Then the door handles and arm rests. Finally I unsnapped the door panel and found some really nice metal. In the picture at right you can see the door latch mechanism on the left. This is connected by a flat rod to the handle pivot on the upper right of the door. The square hole shows the bottom of the door track with the black metal follower that attaches to the door glass.Also note the two shims on the upper door hinge. Those shims look like something my Dad would make. I will have to ask if he did them… The inner window frame and vent window came out first. Then the door handles and arm rests. Finally I unsnapped the door panel and found some really nice metal. In the picture at right you can see the door latch mechanism on the left. This is connected by a flat rod to the handle pivot on the upper right of the door. The square hole shows the bottom of the door track with the black metal follower that attaches to the door glass.Also note the two shims on the upper door hinge. Those shims look like something my Dad would make. I will have to ask if he did them… |
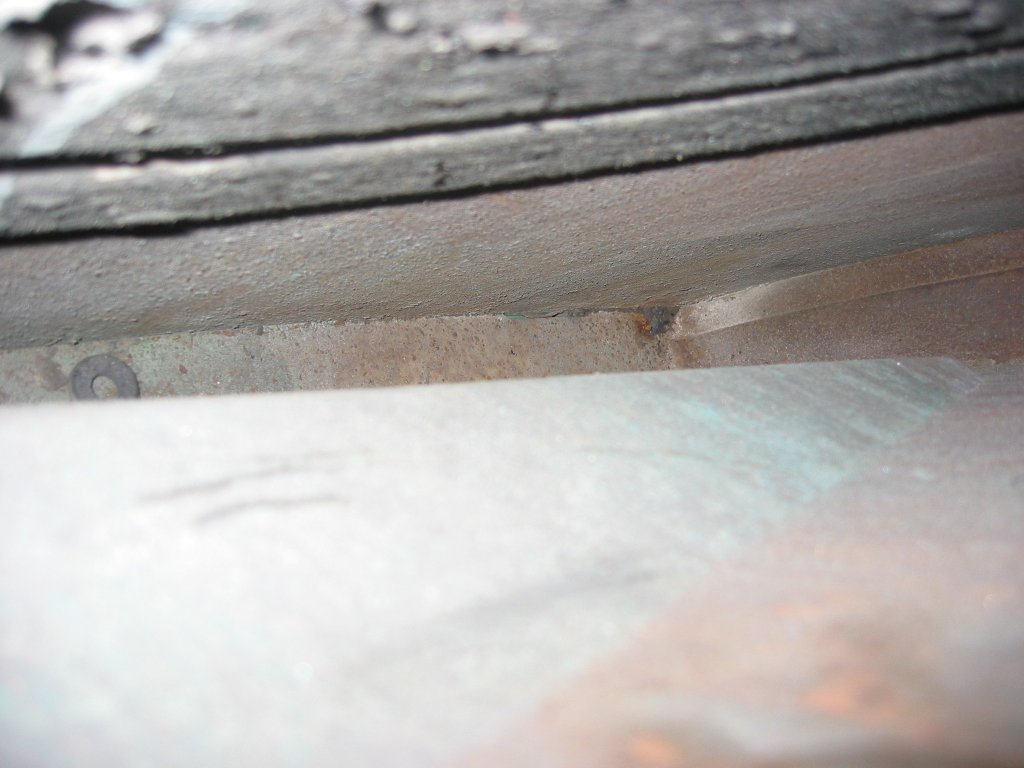
  Here are some shots of the inside of the door. The picture at left is from the top looking towards the hinge end of the door. Looks like a TINY amount of surface rust. I am not happy about that but it does not seem worth figuring out how to clean and paint the inside of the door. The picture on the right shows the adjusting bolts for the window glass. The backs of these bolts are sliders trapped in the window track. I dorked with these to try and get the window to rattle less and track better. I may have made it worse. It certainly is not much better. I cleaned and lubricated everything I could reach inside the door. I also smeared a little grease on the rustiest metal inside the door. Here are some shots of the inside of the door. The picture at left is from the top looking towards the hinge end of the door. Looks like a TINY amount of surface rust. I am not happy about that but it does not seem worth figuring out how to clean and paint the inside of the door. The picture on the right shows the adjusting bolts for the window glass. The backs of these bolts are sliders trapped in the window track. I dorked with these to try and get the window to rattle less and track better. I may have made it worse. It certainly is not much better. I cleaned and lubricated everything I could reach inside the door. I also smeared a little grease on the rustiest metal inside the door. |
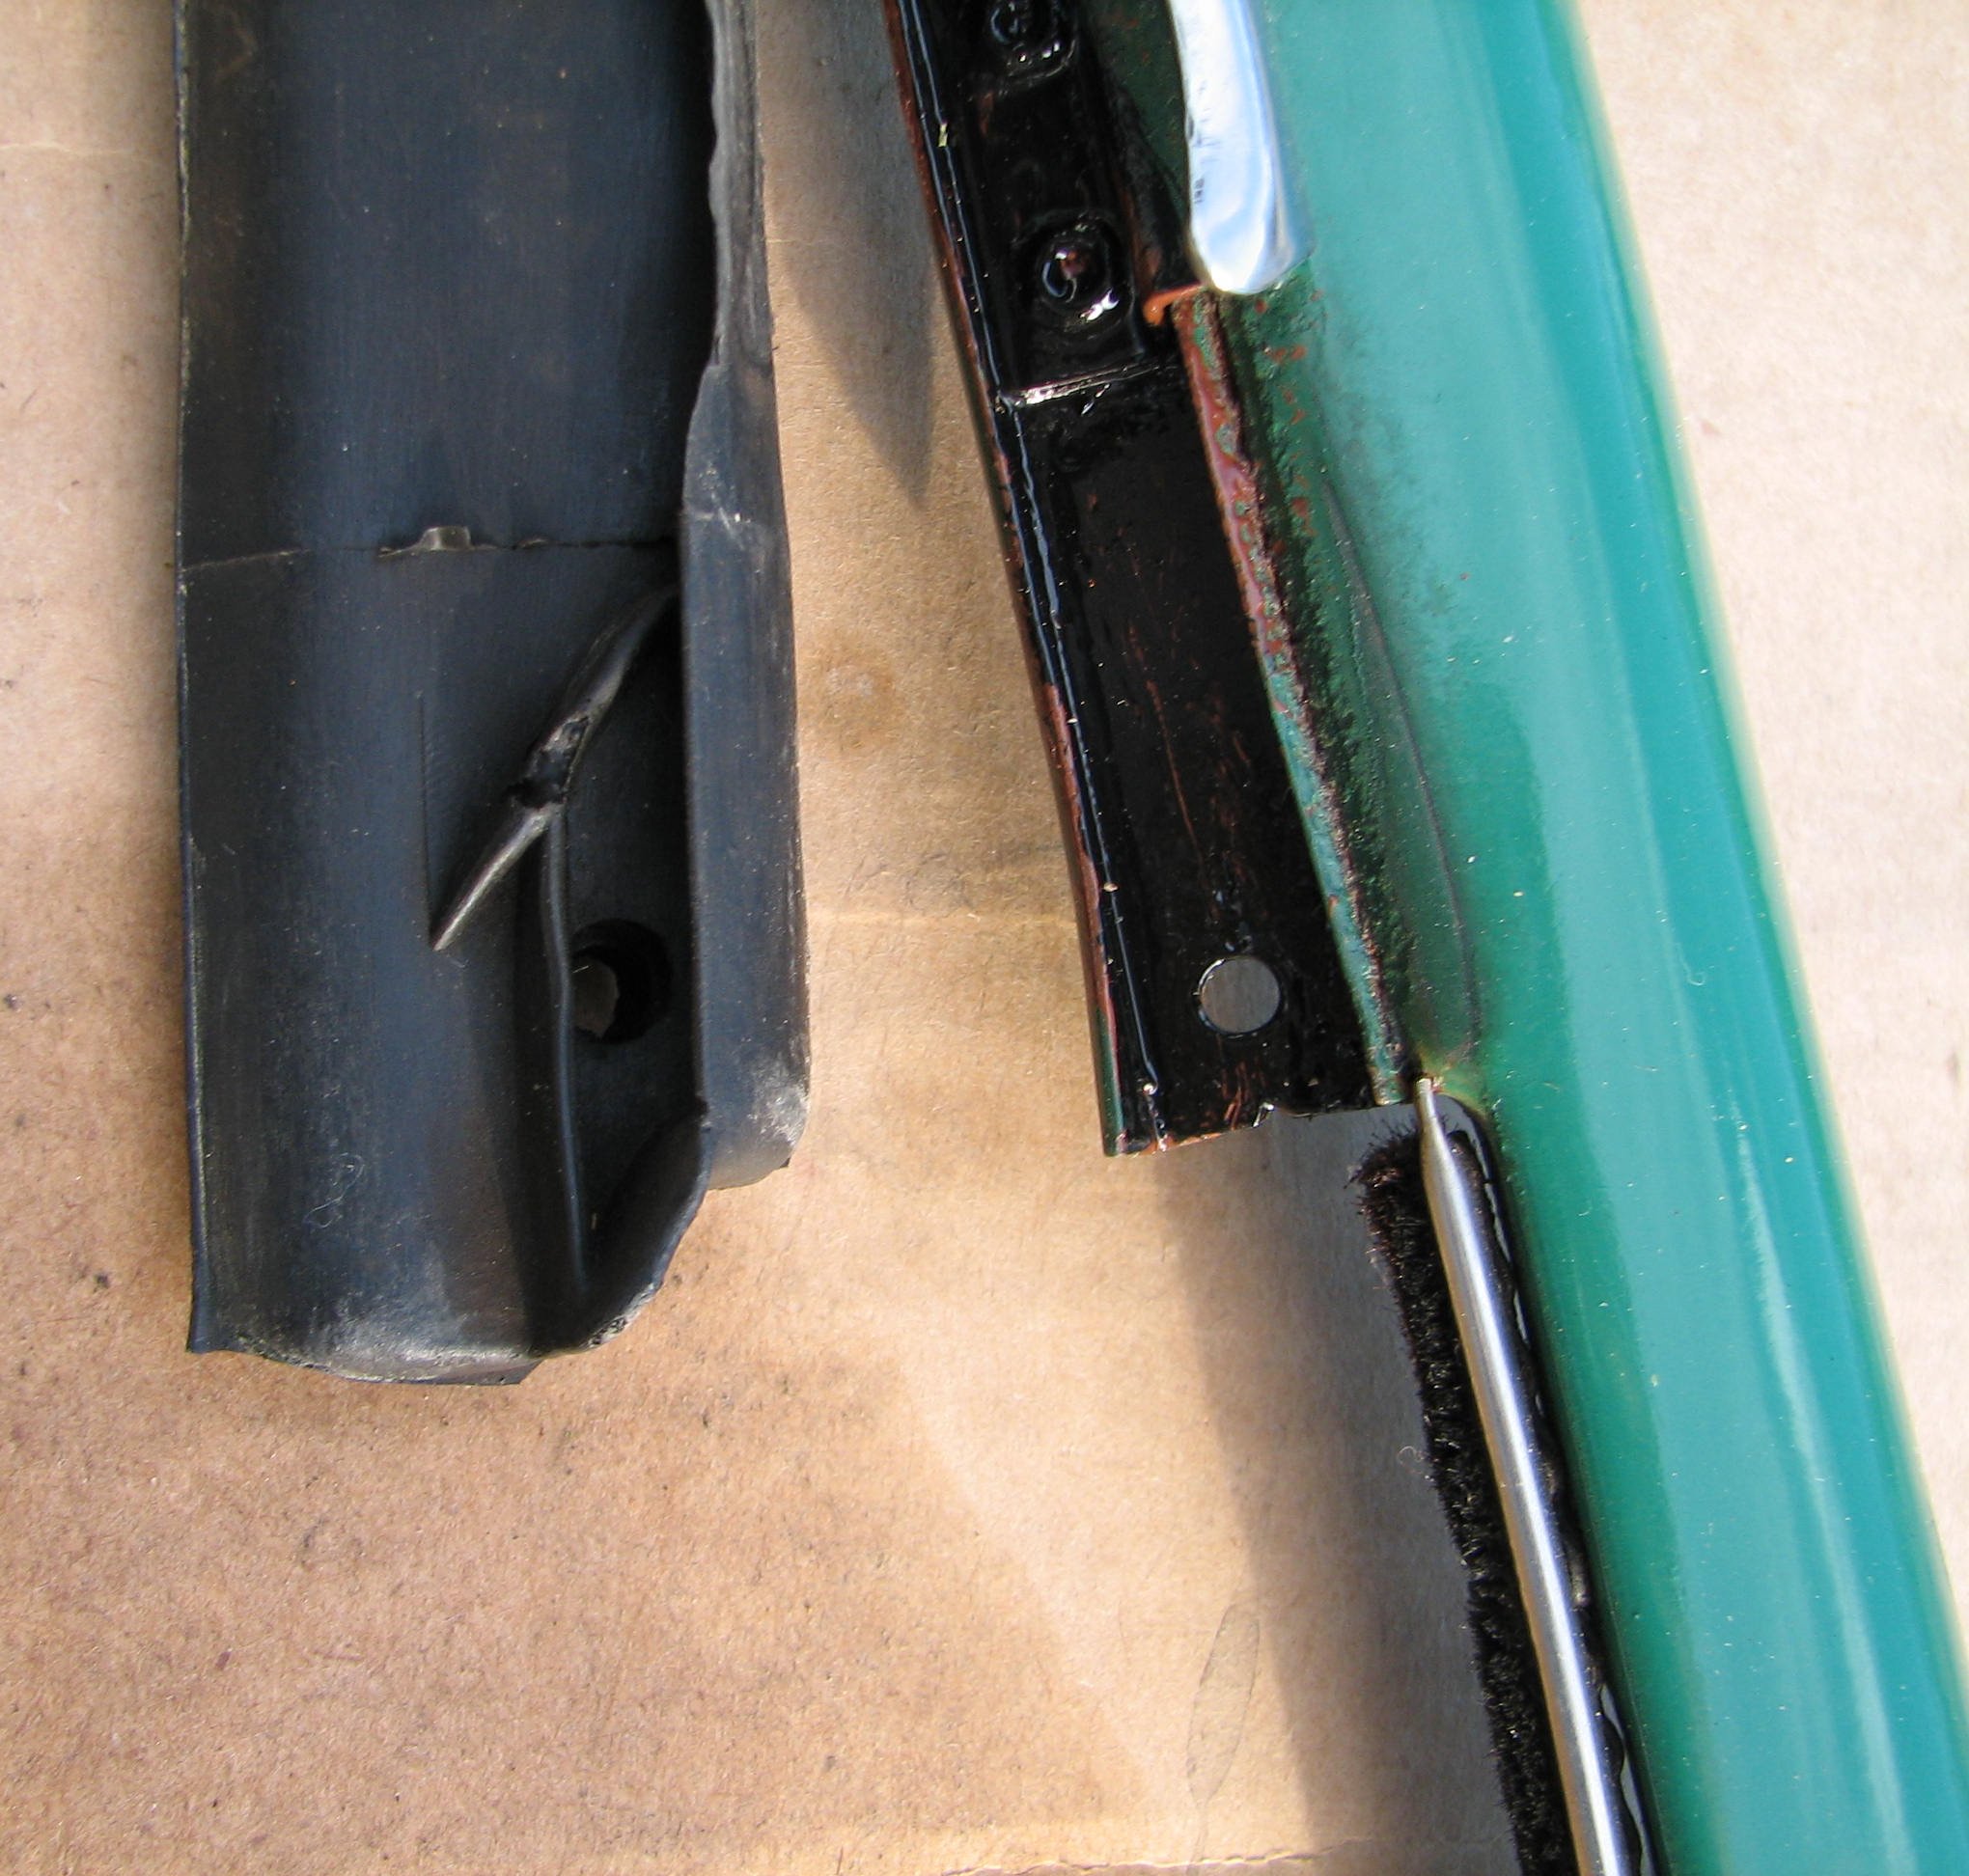
  There was a little rust inside the seal channel of the vent window. Just surface corrosion. I primed it and painted it. The clips that hold the door panel on were also pretty rusty. They got wire-brushed (hard on my fingers), primed and painted. A couple were missing entirely. I will add them to my want-list of parts. There was a little rust inside the seal channel of the vent window. Just surface corrosion. I primed it and painted it. The clips that hold the door panel on were also pretty rusty. They got wire-brushed (hard on my fingers), primed and painted. A couple were missing entirely. I will add them to my want-list of parts. |
|
|
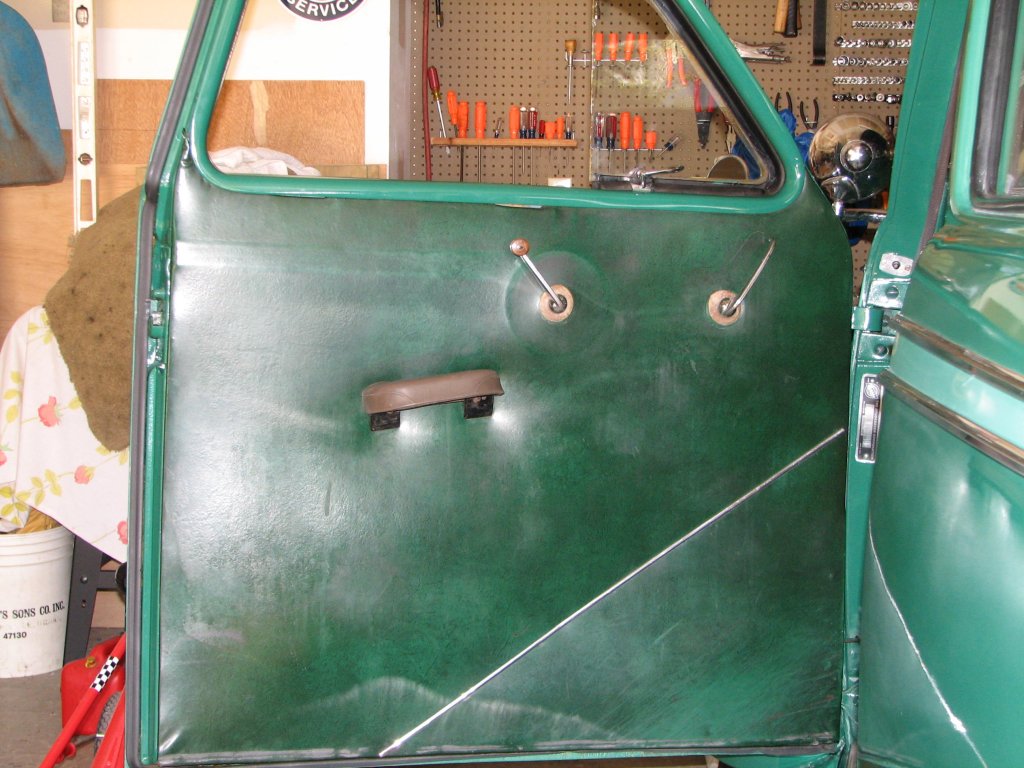
Now the vinyl comes off. .. Ugh. OK, so it is faded, water-stained, rust-stained, and moldy. However I really like the style. I did the best job I could cleaning it up and I will install the panel without the vinyl. Time to find an upholstery shop. .. Ugh. OK, so it is faded, water-stained, rust-stained, and moldy. However I really like the style. I did the best job I could cleaning it up and I will install the panel without the vinyl. Time to find an upholstery shop. |
|
|
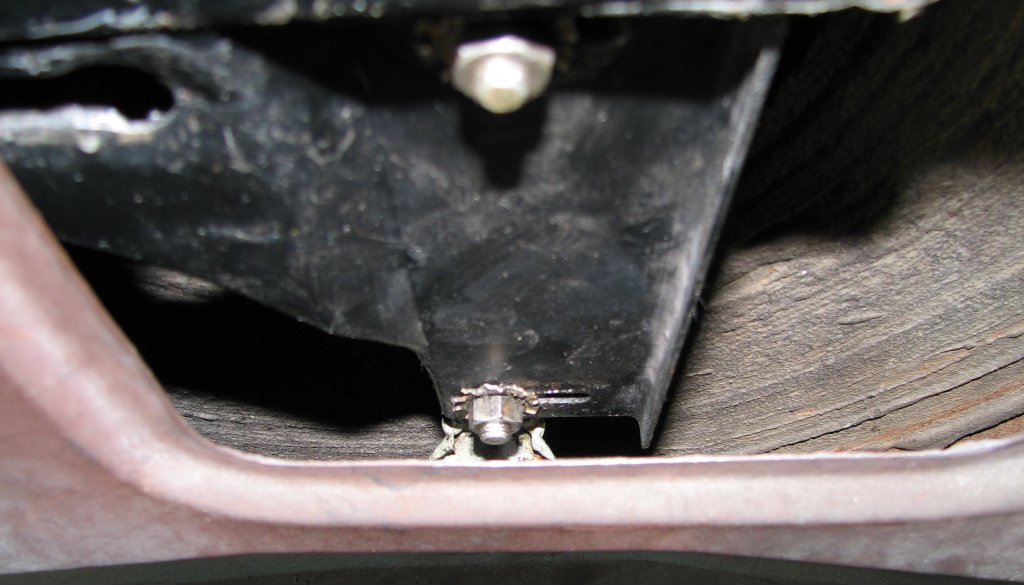
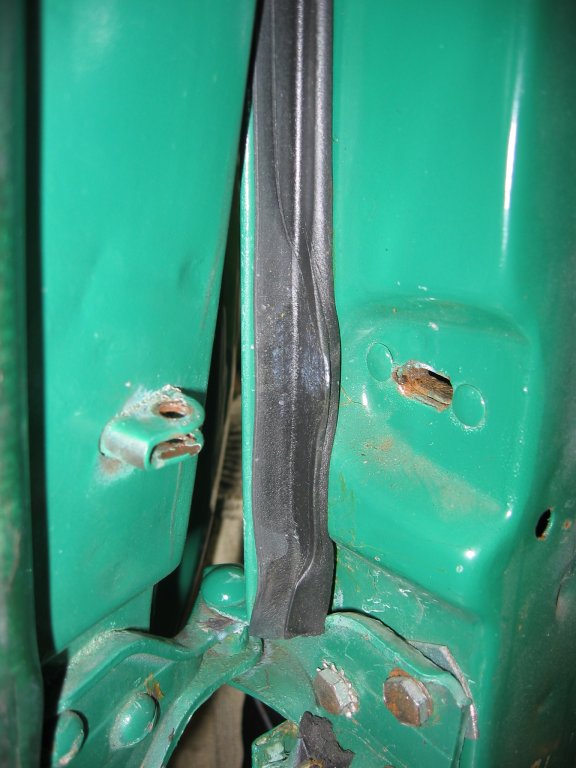 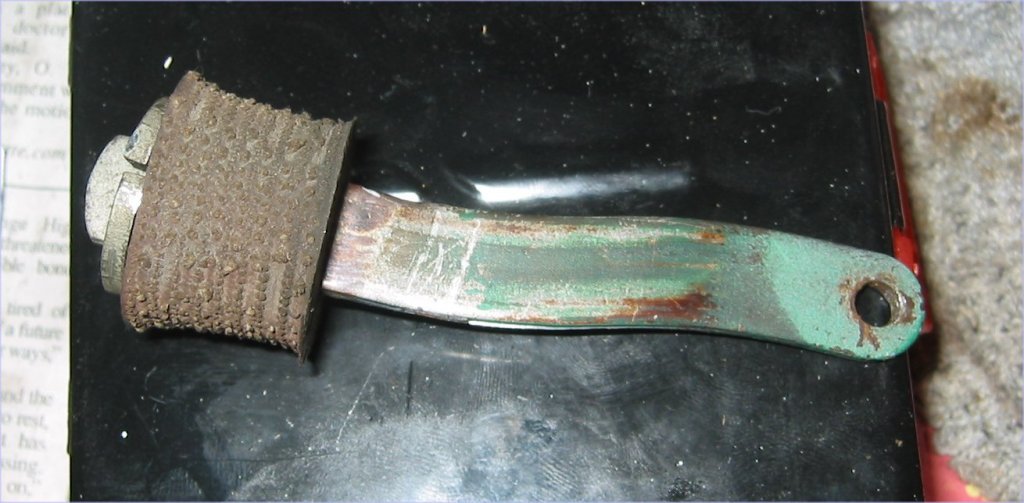 OK, passenger side time (only two months later!). The passenger side has three major problems. They are the green vinyl, a window that operates poorly, and the door will not stay open on any sort of incline. I will hit the last problem first. The door strap at right goes through a rubber damper in the door and ties with a pin to the door frame. You can see the rubber-lined slot in the shot at left. The rubber in the slot has worn to the point where it no longer “grabs”. It looks like someone tried to address the problem by bending the door strap. I don’t see that working. The rubber in the door is too worn. OK, passenger side time (only two months later!). The passenger side has three major problems. They are the green vinyl, a window that operates poorly, and the door will not stay open on any sort of incline. I will hit the last problem first. The door strap at right goes through a rubber damper in the door and ties with a pin to the door frame. You can see the rubber-lined slot in the shot at left. The rubber in the slot has worn to the point where it no longer “grabs”. It looks like someone tried to address the problem by bending the door strap. I don’t see that working. The rubber in the door is too worn. |
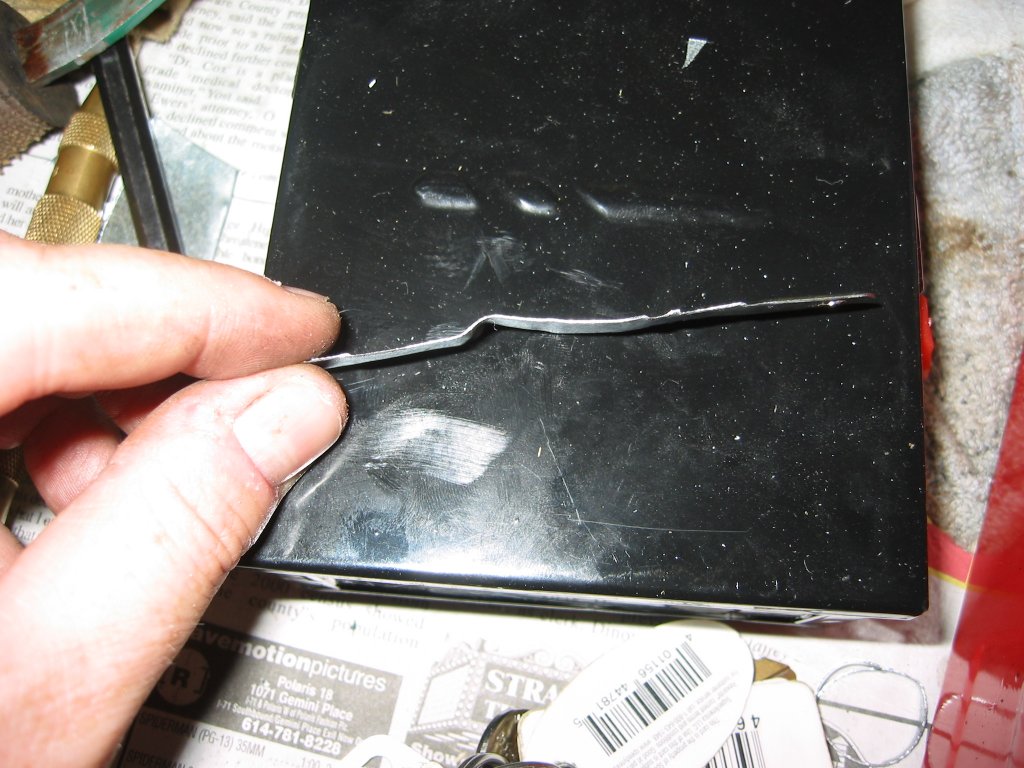 This is my idea. Using the door strap as a pattern I cut a thin strip of galvanized steel to the same shape. Then I put a “bulge” in the part to act as a catch for the door. This is my idea. Using the door strap as a pattern I cut a thin strip of galvanized steel to the same shape. Then I put a “bulge” in the part to act as a catch for the door. |
 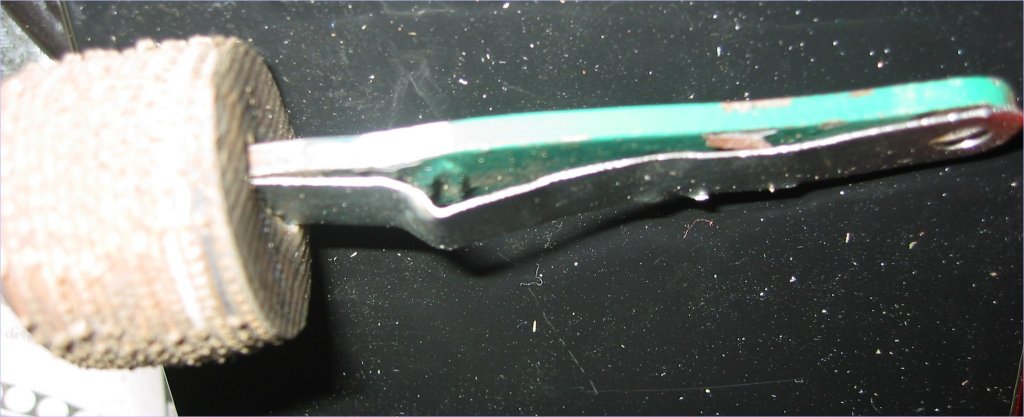 On end of the strip is trapped by the rubber bumper on the door strap. The other end I drilled out so the pin on the door frame will hold it. This works but I am not sure how long my bulge will last. I may have to prop it up eventually… On end of the strip is trapped by the rubber bumper on the door strap. The other end I drilled out so the pin on the door frame will hold it. This works but I am not sure how long my bulge will last. I may have to prop it up eventually… |
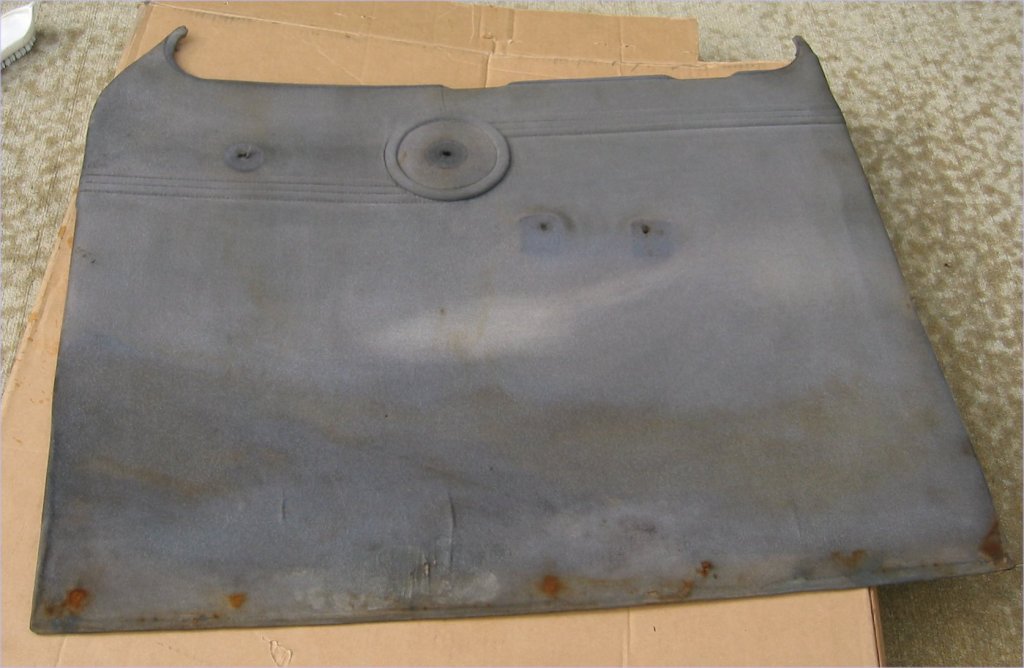 Green vinyl is gone. This is the door panel after cleaning. This door is in much worse shape than the driver’s side. The fabric is worn very thin with a couple holes. Worse yet the panel itself is warped and a bit mangled. But I think it can be saved. Green vinyl is gone. This is the door panel after cleaning. This door is in much worse shape than the driver’s side. The fabric is worn very thin with a couple holes. Worse yet the panel itself is warped and a bit mangled. But I think it can be saved. |
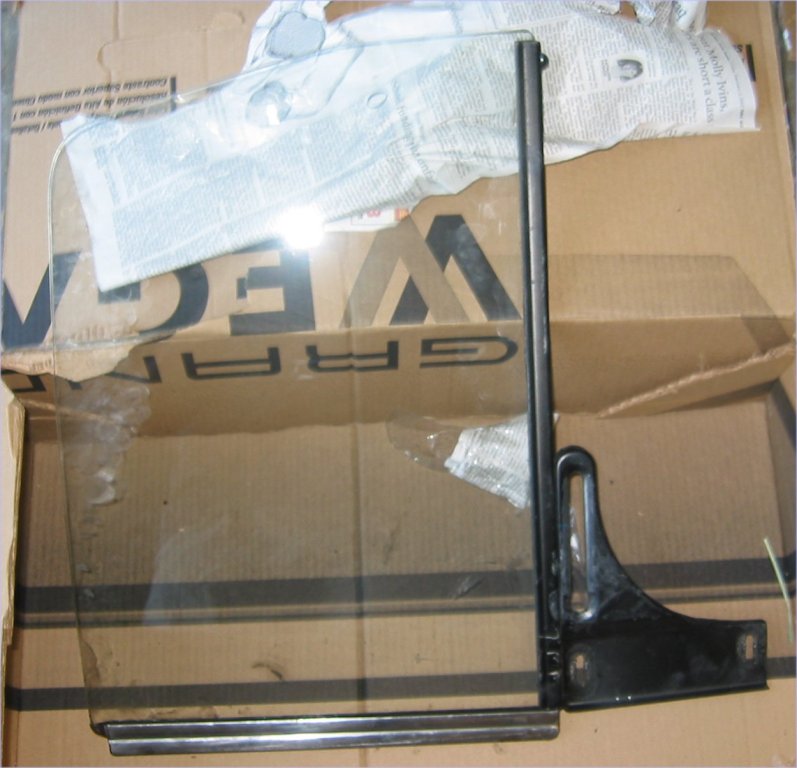 Next I tackled the window regulator. I decided to remove everything for cleaning, inspection, and lubrication. A little persuasion and I had the window out. Here is the window and the window channel. The channel has two holes (bottom right in the picture) that bolt to the vertical track in the window. The long slot is where the window regulator slides as it pushes the window up and down in the track. Next I tackled the window regulator. I decided to remove everything for cleaning, inspection, and lubrication. A little persuasion and I had the window out. Here is the window and the window channel. The channel has two holes (bottom right in the picture) that bolt to the vertical track in the window. The long slot is where the window regulator slides as it pushes the window up and down in the track. |
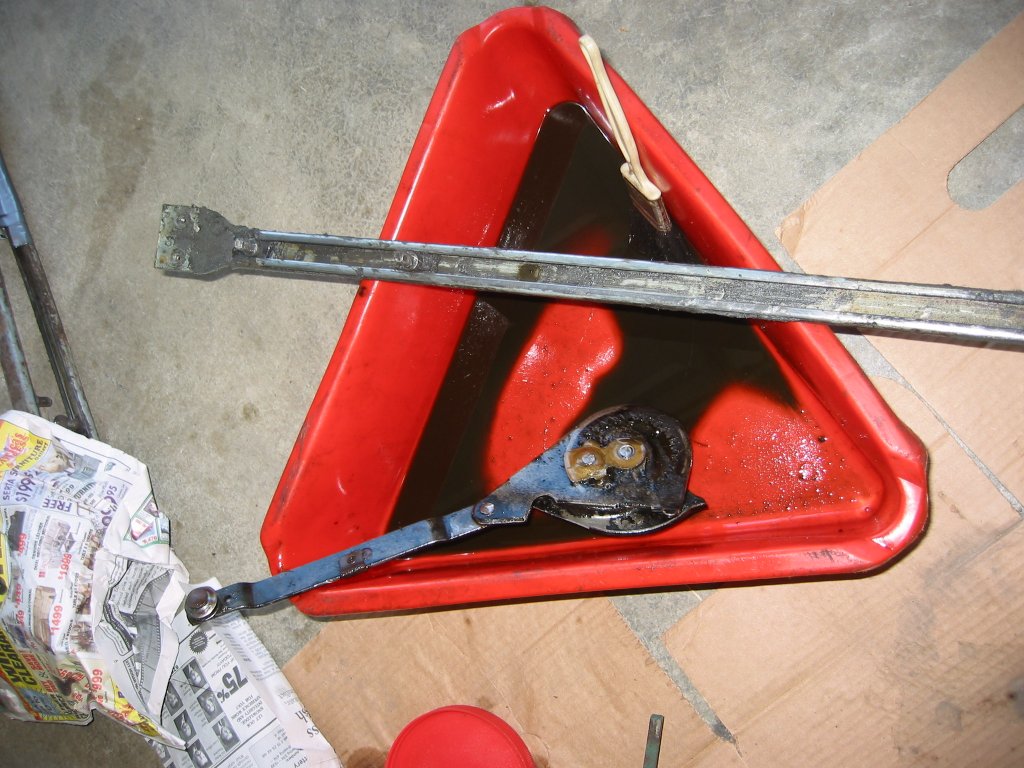 Here is the vertical track and regulator being cleaned. There was a lot of gunk in there. The little button on the end of the regulator arm is what snaps into the slot in the window channel. Here is the vertical track and regulator being cleaned. There was a lot of gunk in there. The little button on the end of the regulator arm is what snaps into the slot in the window channel. |
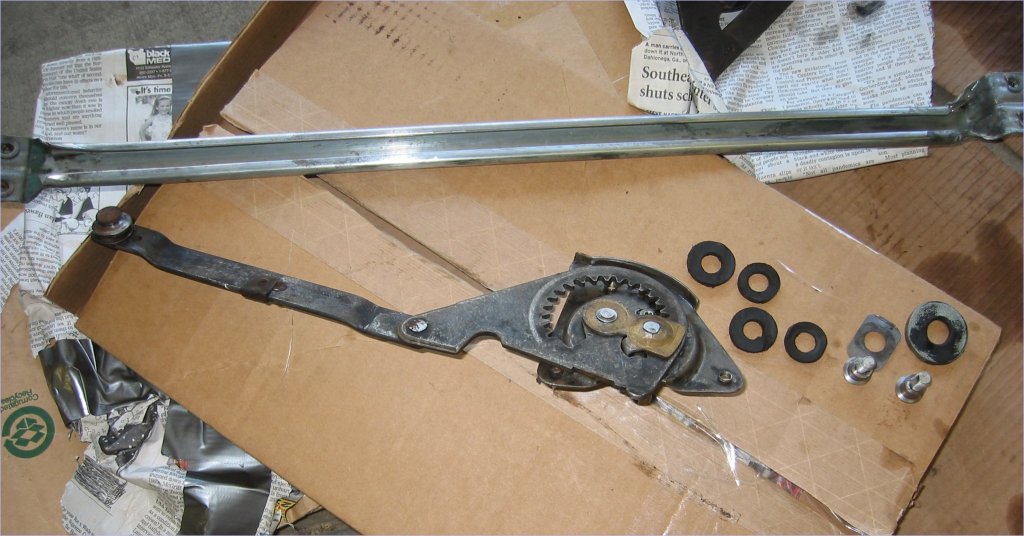 Here are all the cleaned parts. The black washers go on the sliders in the track to keep the mechanism from rattling around. The washers appear to be made of leather and are in excellent shape. Here are all the cleaned parts. The black washers go on the sliders in the track to keep the mechanism from rattling around. The washers appear to be made of leather and are in excellent shape. |
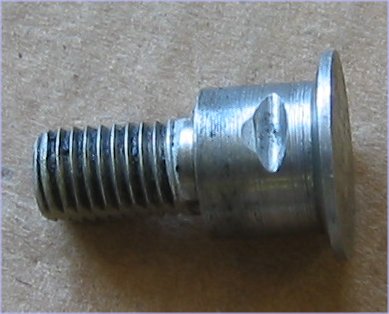 In fact all the parts seem to be in really good shape. The only problem I found was with the lower of the two sliders that ride in the track. It had a groove worn in the side from the track. Luck for me I have the set of regulators I bought on e-Bay. The sliders on the e-Bay set had some wear as well but not as much as this one. I picked out the best of the lot and used that. I also used the spare set for a lock washer that was broken on my regulator. In fact all the parts seem to be in really good shape. The only problem I found was with the lower of the two sliders that ride in the track. It had a groove worn in the side from the track. Luck for me I have the set of regulators I bought on e-Bay. The sliders on the e-Bay set had some wear as well but not as much as this one. I picked out the best of the lot and used that. I also used the spare set for a lock washer that was broken on my regulator. |
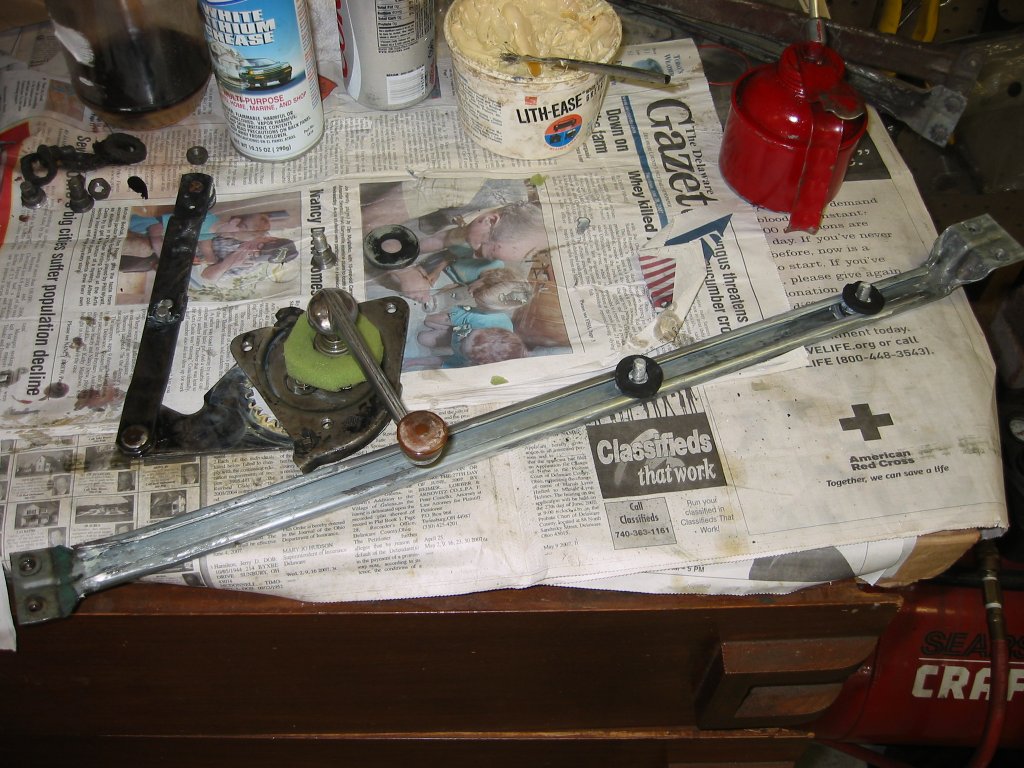 Here is the regulator and track ready to put back in the car. The green doughnut is some foam rubber I cut from an old shop vac filter. There was something similar on the regulator when I took it out of the car. It was too deteriorated to see exactly what it looked like but I think it was just a wind seal to keep air from rushing in around the window crank. You can also see the sliders and the leather anti-rattle washers in place. I lubricated everything with white lithium grease. Here is the regulator and track ready to put back in the car. The green doughnut is some foam rubber I cut from an old shop vac filter. There was something similar on the regulator when I took it out of the car. It was too deteriorated to see exactly what it looked like but I think it was just a wind seal to keep air from rushing in around the window crank. You can also see the sliders and the leather anti-rattle washers in place. I lubricated everything with white lithium grease. |
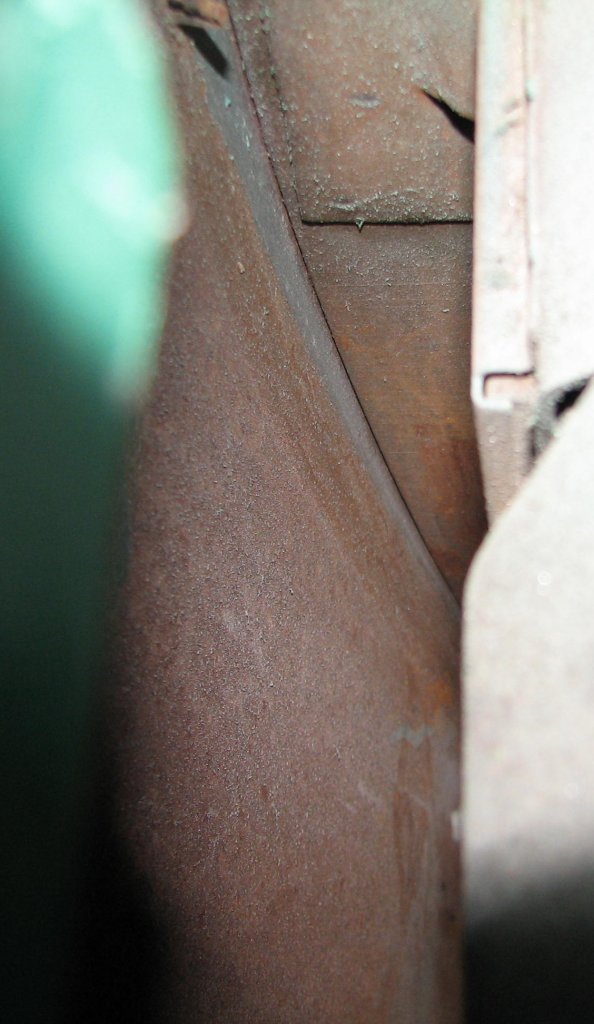
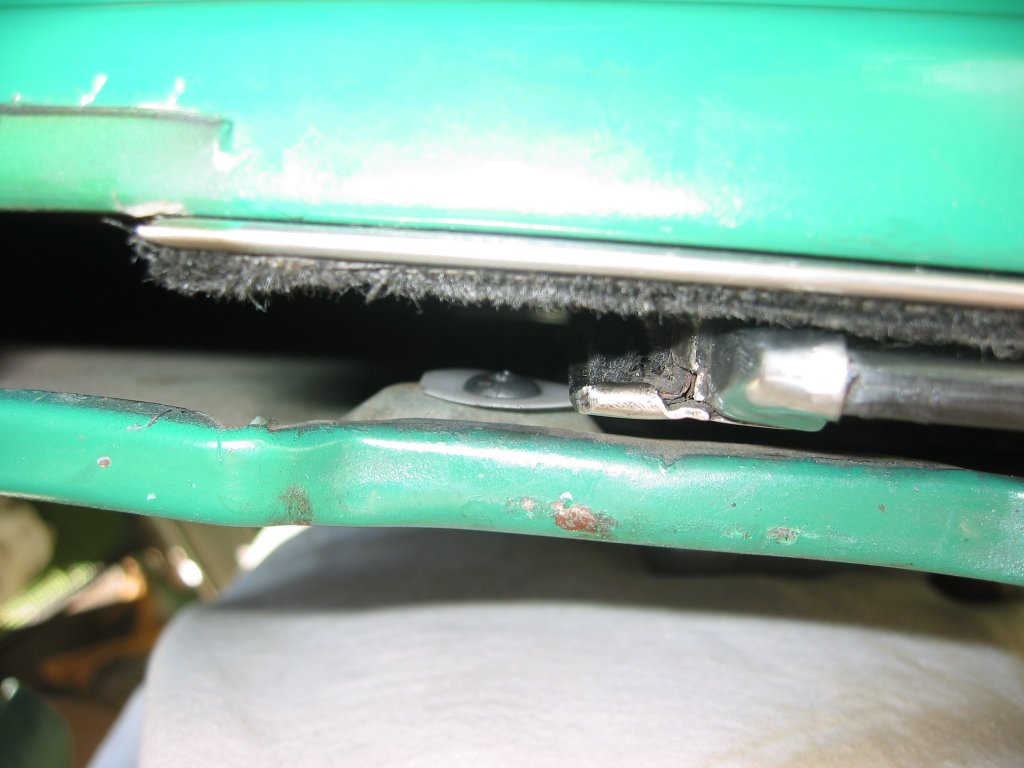
  Here are two pictures from inside the door. The picture on the left shows the end of the door strap and the plate the lower door hinge bolts to. The picture on the right is the outside corner of the door. You can see another of those leather washers laying down there. It was probably dropped when the car was painted 20 years ago. Whoever dropped it replaced it with a rubber washer. I put it back. As you can see there is a bit of surface rust but nothing bad for almost 70 years. I masked off the door and tried to spray a little paint in here with mixed results. Here are two pictures from inside the door. The picture on the left shows the end of the door strap and the plate the lower door hinge bolts to. The picture on the right is the outside corner of the door. You can see another of those leather washers laying down there. It was probably dropped when the car was painted 20 years ago. Whoever dropped it replaced it with a rubber washer. I put it back. As you can see there is a bit of surface rust but nothing bad for almost 70 years. I masked off the door and tried to spray a little paint in here with mixed results. |
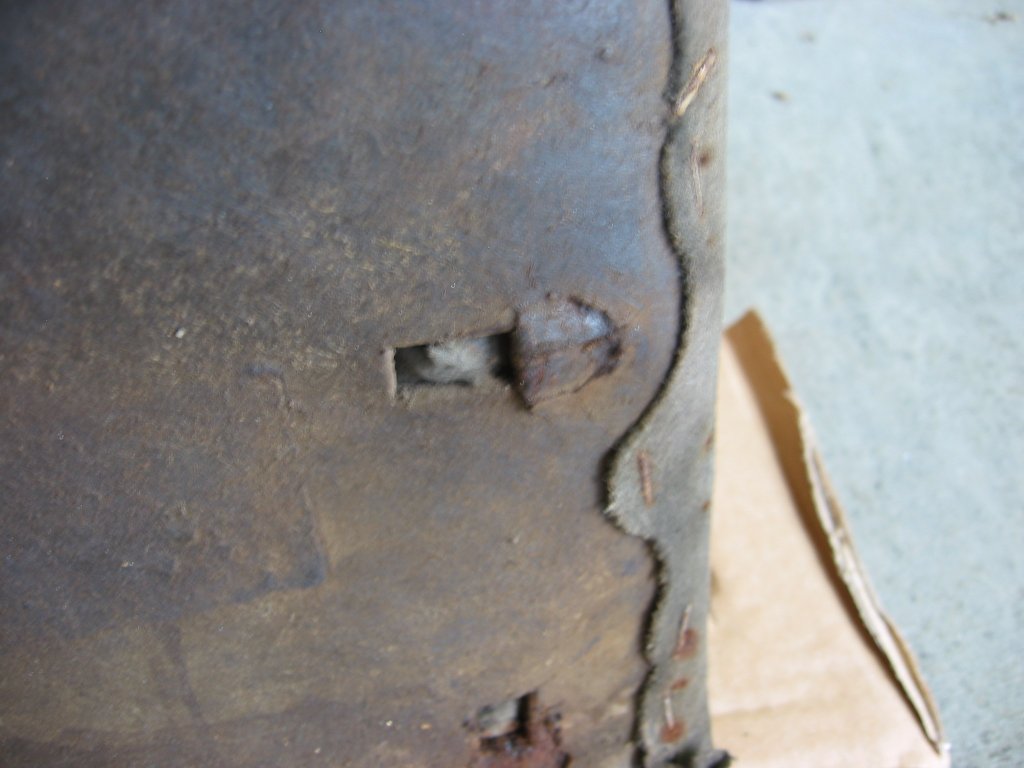
 Time to re-assemble. I temporarily replaced the inner window frame and adjusted the window. That was a true hassle. I also broke a part. See the little hole in the door right under the chrome strip on the front end of the window? That hole used to have a rubber button in it to keep that chrome from rattling against the door. The button was in sorry shape and my fiddling around broke it. Time to re-assemble. I temporarily replaced the inner window frame and adjusted the window. That was a true hassle. I also broke a part. See the little hole in the door right under the chrome strip on the front end of the window? That hole used to have a rubber button in it to keep that chrome from rattling against the door. The button was in sorry shape and my fiddling around broke it. |
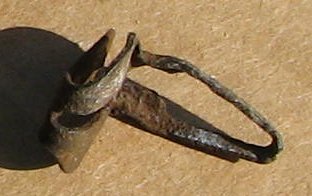
 Here are the remains of the rubber button. It has a very strange shape with a very wide head for the size of the mounting stem. I racked my brains for something to use to replace it and thought of my little bag of grommets. The grommet on the right fits well in the hole but it is too small in diameter to do the job of the button. Here are the remains of the rubber button. It has a very strange shape with a very wide head for the size of the mounting stem. I racked my brains for something to use to replace it and thought of my little bag of grommets. The grommet on the right fits well in the hole but it is too small in diameter to do the job of the button. |
  Here is my solution. I took a plastic milk jug and cut a circle out of it. I then punched a hole in the center and put the grommet in that. The result is a close match to the old button. The picture at right shows my contraption installed in the door. Here is my solution. I took a plastic milk jug and cut a circle out of it. I then punched a hole in the center and put the grommet in that. The result is a close match to the old button. The picture at right shows my contraption installed in the door. |
 The last step was to re-install the door panel. I had the clips cleaned and painted but the slots the clips go in are pretty torn up on this door panel. The shot at right is a little fuzzy but you can see how the panel is almost torn out where the clip goes. I was not sure what to do about that so I took the remains of my handy-dandy milk back out. The last step was to re-install the door panel. I had the clips cleaned and painted but the slots the clips go in are pretty torn up on this door panel. The shot at right is a little fuzzy but you can see how the panel is almost torn out where the clip goes. I was not sure what to do about that so I took the remains of my handy-dandy milk back out. |
 I cut little strips of plastic to fit under the clips. Maybe this will help spread the load? Two holes were too torn up to use again. I cut little strips of plastic to fit under the clips. Maybe this will help spread the load? Two holes were too torn up to use again. |
 |