
April 18, 2010 – April 24, 2010
Catching up on some overdue work. I want to inspect the brakes (they have not been apart for a couple of years). I also need to change the brake fluid, fix a water leak, and grease the chassis.
  It occurs to me that I have not ever showed the steps involved in getting at the brakes. Step one: Pull the hubcaps. With painted wheels this requires care. The trick is to use the slots in the wheels that the hubcap clips emerge through. Insert screwdriver and pry gently. I still have to be careful or the paint will chip like you can see in the picture on the right. It occurs to me that I have not ever showed the steps involved in getting at the brakes. Step one: Pull the hubcaps. With painted wheels this requires care. The trick is to use the slots in the wheels that the hubcap clips emerge through. Insert screwdriver and pry gently. I still have to be careful or the paint will chip like you can see in the picture on the right. |
 Step two: Loosen the lug nuts. The only tricky bit here is on the driver’s side of the car. Notice the little “L” stamped on the stud. These are left hand thread! Lefty tighty right loosy! Step two: Loosen the lug nuts. The only tricky bit here is on the driver’s side of the car. Notice the little “L” stamped on the stud. These are left hand thread! Lefty tighty right loosy! |
 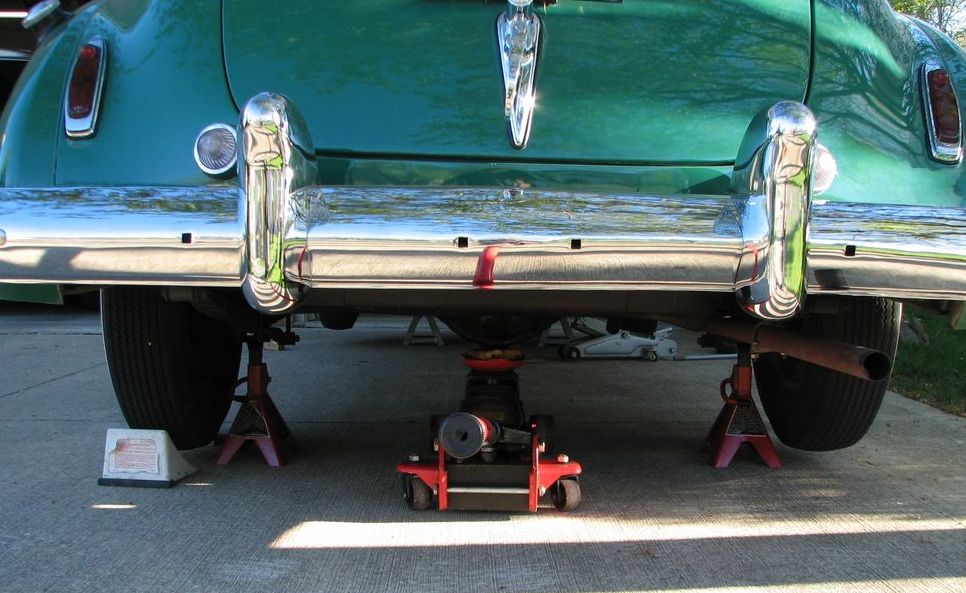 Step Three: Jacking. Block the wheels then jack up the front of the car. I like to use two floor jacks to get a more even lift and avoid tilting the car on the jack stands. Then I jack up the back on the differential and put jack stands under the spring mounts. Step Three: Jacking. Block the wheels then jack up the front of the car. I like to use two floor jacks to get a more even lift and avoid tilting the car on the jack stands. Then I jack up the back on the differential and put jack stands under the spring mounts. |
 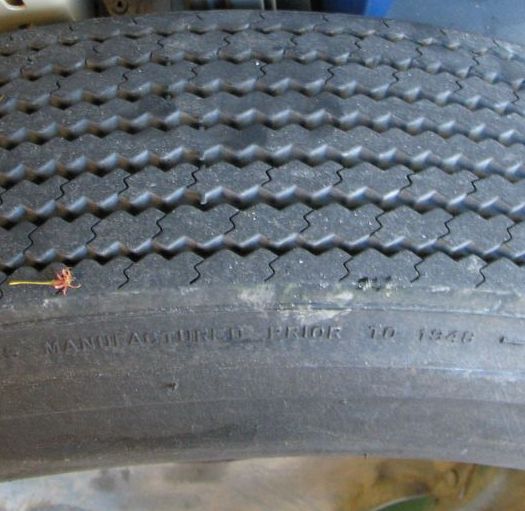 Wow. Look at the tires! The shot on the left is from the front. The shot on the right is from the rear. It seems like the car wears a lot more on the front than the back. That make sense because I don’t spin my tires much in this car. I don’t put many miles on the car but the tires are very old and the rubber is hard so they wear quickly. I will rotate the tires and keep an eye on it. Probably I will need new tires in a year or two.I also cleaned the wheels inside and out and waxed both the wheels and the hubcaps. Wow. Look at the tires! The shot on the left is from the front. The shot on the right is from the rear. It seems like the car wears a lot more on the front than the back. That make sense because I don’t spin my tires much in this car. I don’t put many miles on the car but the tires are very old and the rubber is hard so they wear quickly. I will rotate the tires and keep an eye on it. Probably I will need new tires in a year or two.I also cleaned the wheels inside and out and waxed both the wheels and the hubcaps. |
 Now I can pull the rear hubs. Like most cars prior to 1960 or so Studebaker used a tapered axle. Essentially the axle is tapered on the end and has a keyway ground in it. A matching taper and keyway is machined into the hub. The nut (tightened to 175 ft/lbs) forces the tapers together and the key locks it in place. This worked OK but was prone to failure in high-torque situations and is a royal pain in the a$$ to take apart. In this picture you can see that I took the axle nut off and reversed it to help keep the end of the axle intact. Now I can pull the rear hubs. Like most cars prior to 1960 or so Studebaker used a tapered axle. Essentially the axle is tapered on the end and has a keyway ground in it. A matching taper and keyway is machined into the hub. The nut (tightened to 175 ft/lbs) forces the tapers together and the key locks it in place. This worked OK but was prone to failure in high-torque situations and is a royal pain in the a$$ to take apart. In this picture you can see that I took the axle nut off and reversed it to help keep the end of the axle intact. |
 Next install the puller. This hub puller installs on the lug nuts and should pop the hub. I have had these apart before so I did not expect a big problem. In a spasm of innovation I put a scrap of aluminum plate between the jack screw and the axle to avoid damage. The jack handle is to keep the entire assembly from rotating as I crank on it. Next install the puller. This hub puller installs on the lug nuts and should pop the hub. I have had these apart before so I did not expect a big problem. In a spasm of innovation I put a scrap of aluminum plate between the jack screw and the axle to avoid damage. The jack handle is to keep the entire assembly from rotating as I crank on it. |
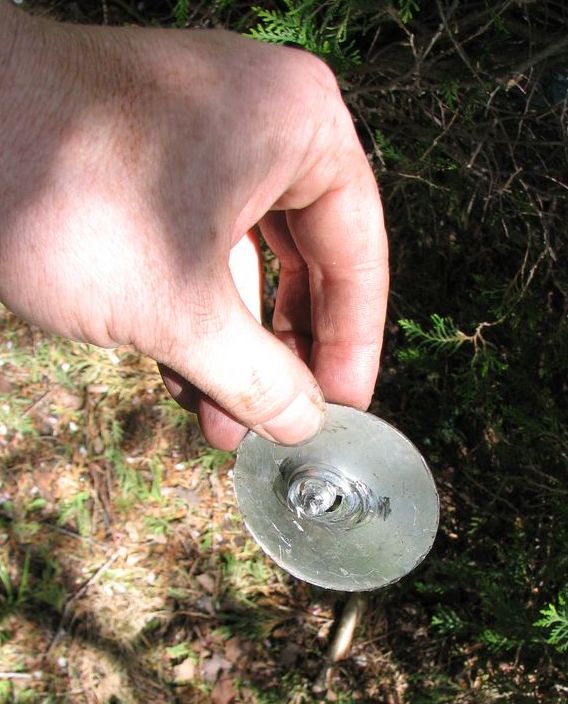  It quickly became obvious that the aluminum scrap was a stupid idea. The jack screw chewed right through it. So I replaced it with a chunk of 3/8″ steel plate. About the time I was using a three-foot pipe on the end of my wrench to crank on the puller I realized I was grinding though the plate as well. EPIC FAIL!! It quickly became obvious that the aluminum scrap was a stupid idea. The jack screw chewed right through it. So I replaced it with a chunk of 3/8″ steel plate. About the time I was using a three-foot pipe on the end of my wrench to crank on the puller I realized I was grinding though the plate as well. EPIC FAIL!! |
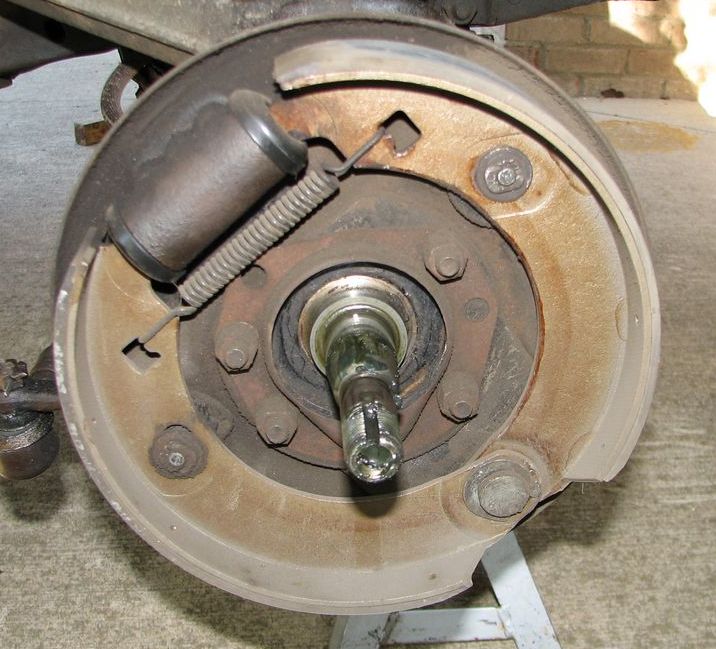 The fronts are much easier to get apart so I decided to take a look there and only fight with the backs if the fronts had an issue. As you can see everything looks just about perfect. The fronts are much easier to get apart so I decided to take a look there and only fight with the backs if the fronts had an issue. As you can see everything looks just about perfect. |
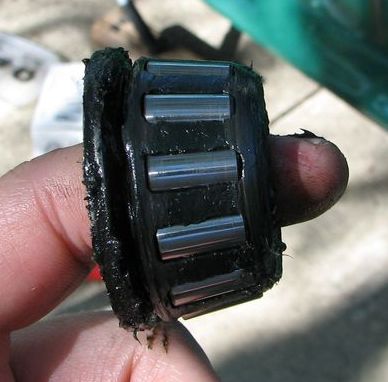  Bearings, races, and drums look good too. Put it together and call it a day. I replaced the drums, removed the puller, threw it across the room and adjusted the brakes. Bearings, races, and drums look good too. Put it together and call it a day. I replaced the drums, removed the puller, threw it across the room and adjusted the brakes. |
| I should have taken more pictures of the next steps but I was annoyed at the rear hubs and forgot. I used a vacuum hand pump to drain the master cylinder then using fresh brake fluid I bled all four brakes. Brake fluid absorbs water over time and will rust the system. It is also cheap so swapping fluid every two years is cheap insurance.I also greased the chassis. The kingpins should be greased with the weight of the car off the wheels to help the grease get into the top bearing. Lots of grease fittings on this car. Modern cars are all sealed and have 0 grease fittings. |
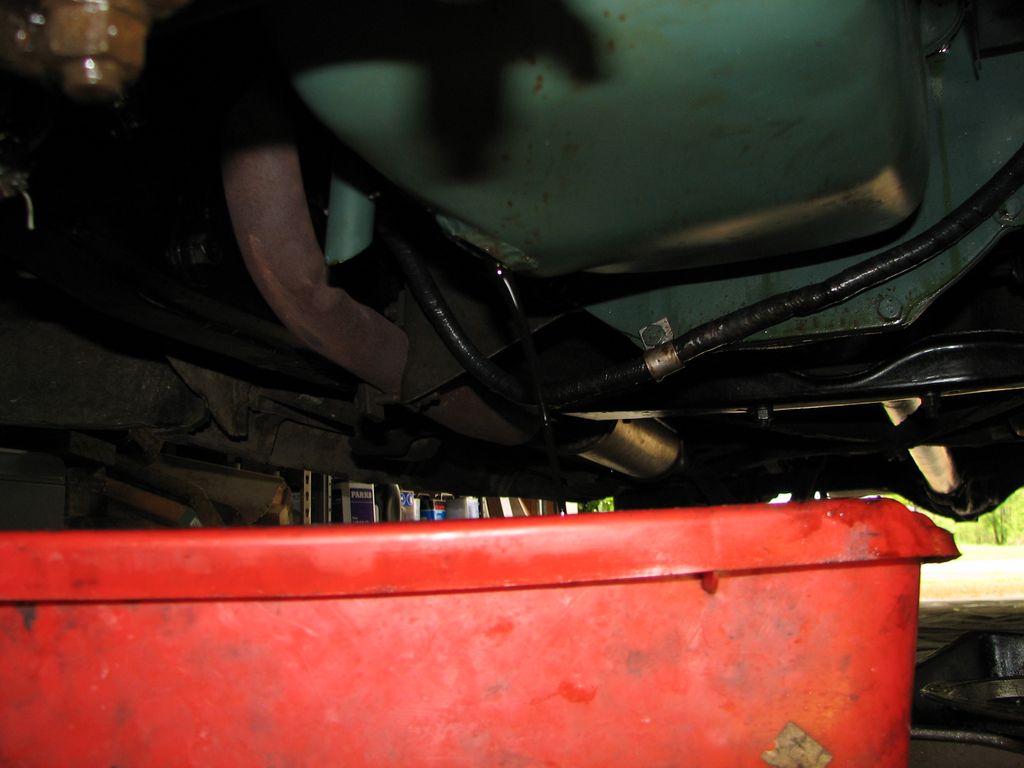
 Ever since the great engine pull I have been finding this in my garage. The coolant leak is slow (this is about 1 months worth) and I thought I found it when I found the lower radiator hose dripping and tightened the clamp. This slowed the leak but did not stop it. So while the car was on stands I crawled under to take a look. Ever since the great engine pull I have been finding this in my garage. The coolant leak is slow (this is about 1 months worth) and I thought I found it when I found the lower radiator hose dripping and tightened the clamp. This slowed the leak but did not stop it. So while the car was on stands I crawled under to take a look. |
 This horrid picture shows what I found. This is the radiator from the bottom looking up at a drop of coolant on the top radiator hose. Looks like I need to go back to hose clamp school. I tightened them all up this time and I bet the leak stops. This horrid picture shows what I found. This is the radiator from the bottom looking up at a drop of coolant on the top radiator hose. Looks like I need to go back to hose clamp school. I tightened them all up this time and I bet the leak stops. |
  Next time to check the rear end. Simple enough-just pop the plug out and fill with 80W-90 HP gear lube (GL-5). It only took a squirt before it started running out. Replace the plug and we are done. Next time to check the rear end. Simple enough-just pop the plug out and fill with 80W-90 HP gear lube (GL-5). It only took a squirt before it started running out. Replace the plug and we are done. |
  The transmission is next. Care is needed here. Modern GL-4 and GL-5 gear lubes contain high pressure molybdenum and sulfur compounds. These can attack bronze components in older transmissions. This transmission needs straight SAE 90 GL-1 gear oil. NAPA still stocks it but I had to give them the part number before they could find it. Remove the top plug. Now how do you get the oil into this very tight spot? The transmission is next. Care is needed here. Modern GL-4 and GL-5 gear lubes contain high pressure molybdenum and sulfur compounds. These can attack bronze components in older transmissions. This transmission needs straight SAE 90 GL-1 gear oil. NAPA still stocks it but I had to give them the part number before they could find it. Remove the top plug. Now how do you get the oil into this very tight spot? |
 How about an old hand-lotion bottle? I just stick the nozzle in the hole and pump the bottle up and down. Again it only took a little to fill this up. How about an old hand-lotion bottle? I just stick the nozzle in the hole and pump the bottle up and down. Again it only took a little to fill this up. |
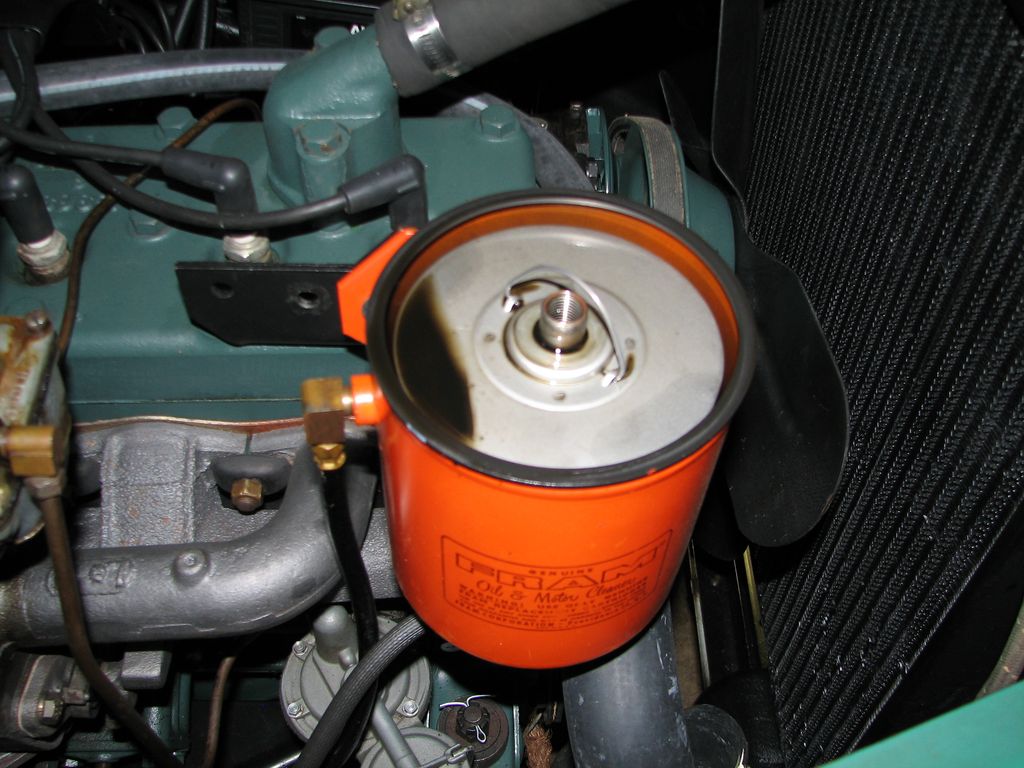
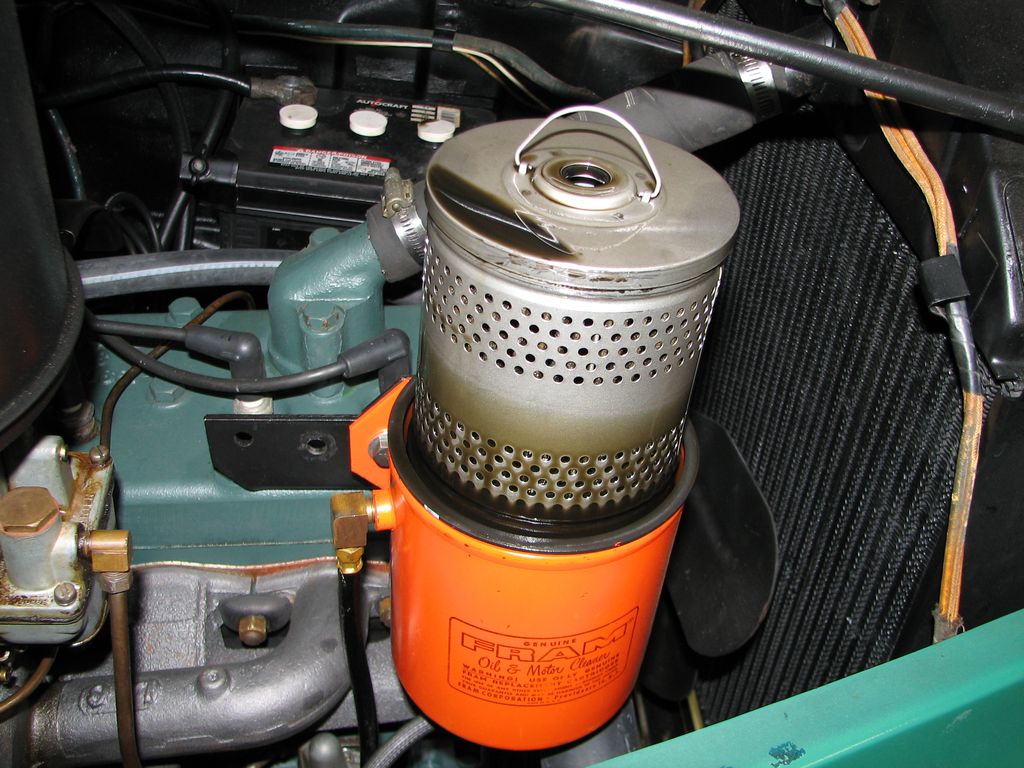
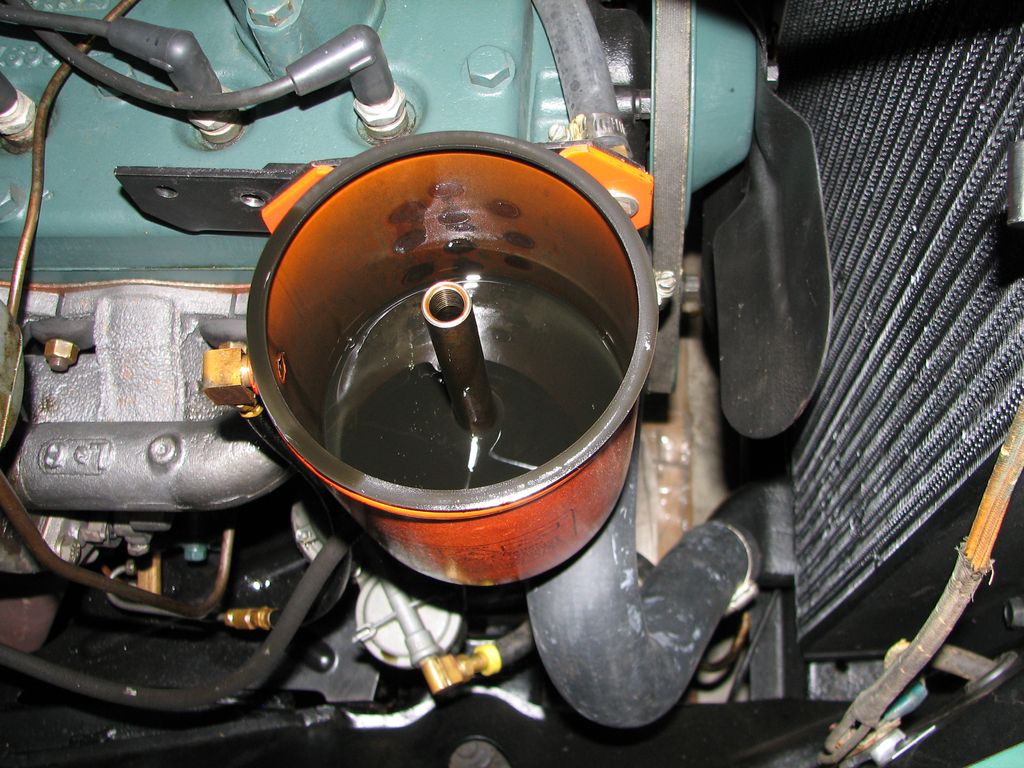
  OK, oil time. The oil plug is huge (1″). Pop it out and things drain in no time. This is the easy part. The sequence below shows how to remove the oil filter. Unscrew the cap, use the handy handle to pull out the filter cartridge, then stare in dismay at the 3/4 quart of oil trapped in the can OK, oil time. The oil plug is huge (1″). Pop it out and things drain in no time. This is the easy part. The sequence below shows how to remove the oil filter. Unscrew the cap, use the handy handle to pull out the filter cartridge, then stare in dismay at the 3/4 quart of oil trapped in the can |
    |
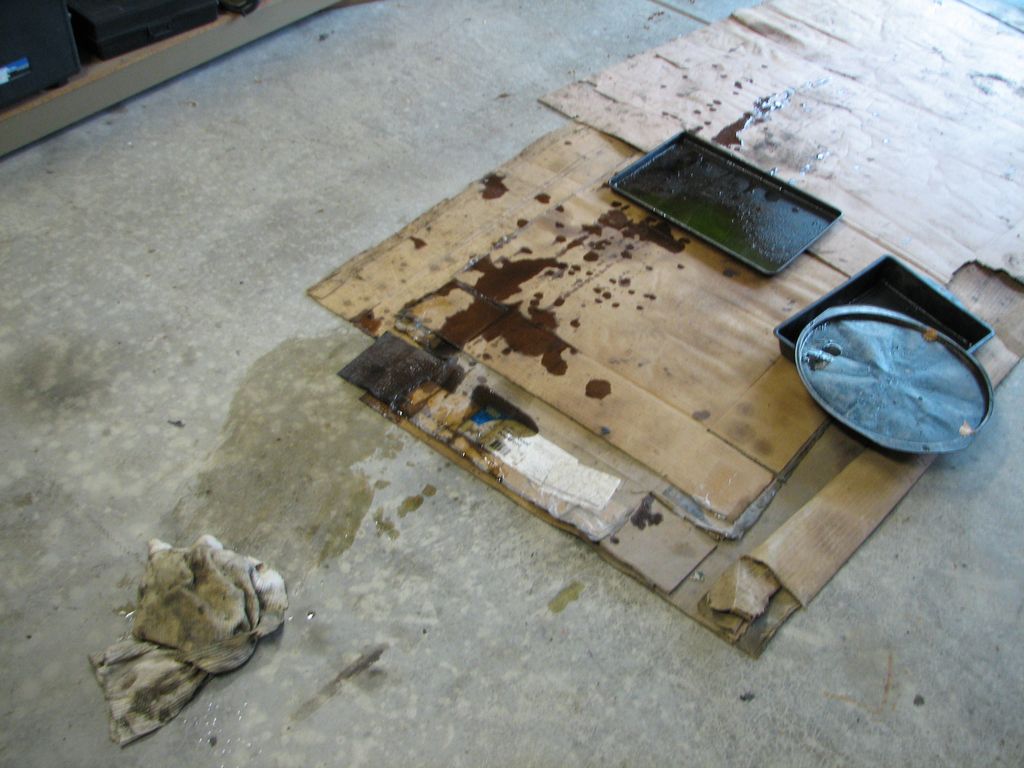
 So we use a hand vacuum pump to empty the filter. #1 daughter is helping because I was starting to make a mess at this point. I filled up the container about 4 times. So we use a hand vacuum pump to empty the filter. #1 daughter is helping because I was starting to make a mess at this point. I filled up the container about 4 times. |
 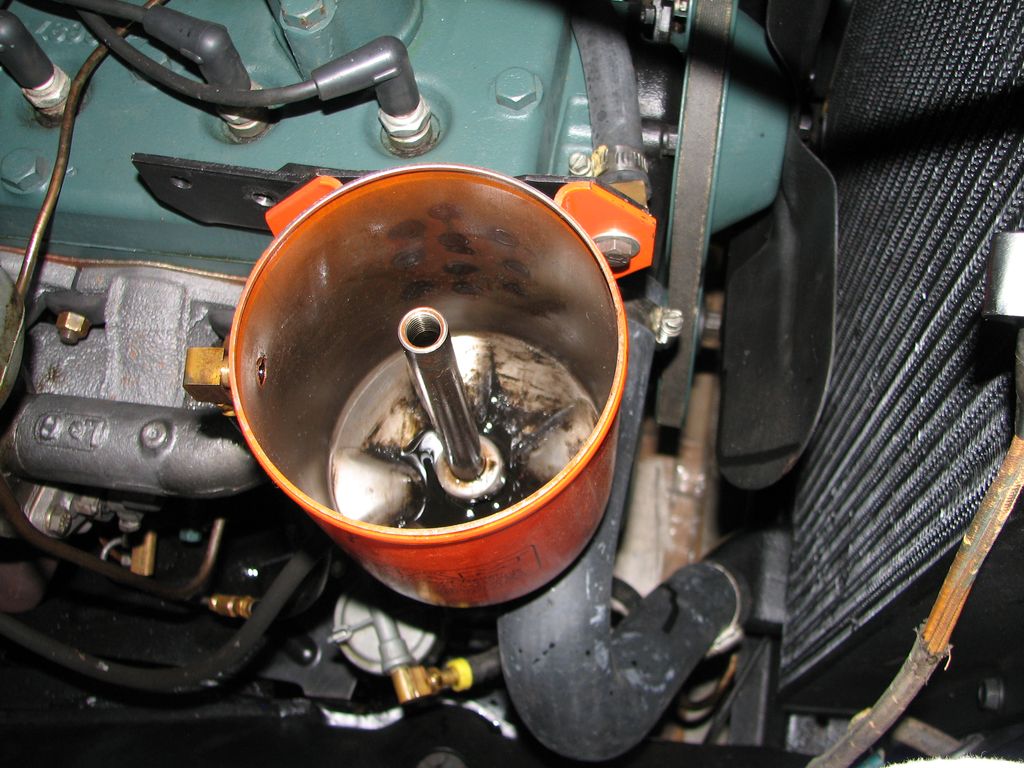 >Eventually all that is left is some sludge in the bottom. A rag is handy here. Then put in a new cartridge and gasket and replace the cap. Be SURE to get the gasket in right (foreshadowing alert!). >Eventually all that is left is some sludge in the bottom. A rag is handy here. Then put in a new cartridge and gasket and replace the cap. Be SURE to get the gasket in right (foreshadowing alert!). |
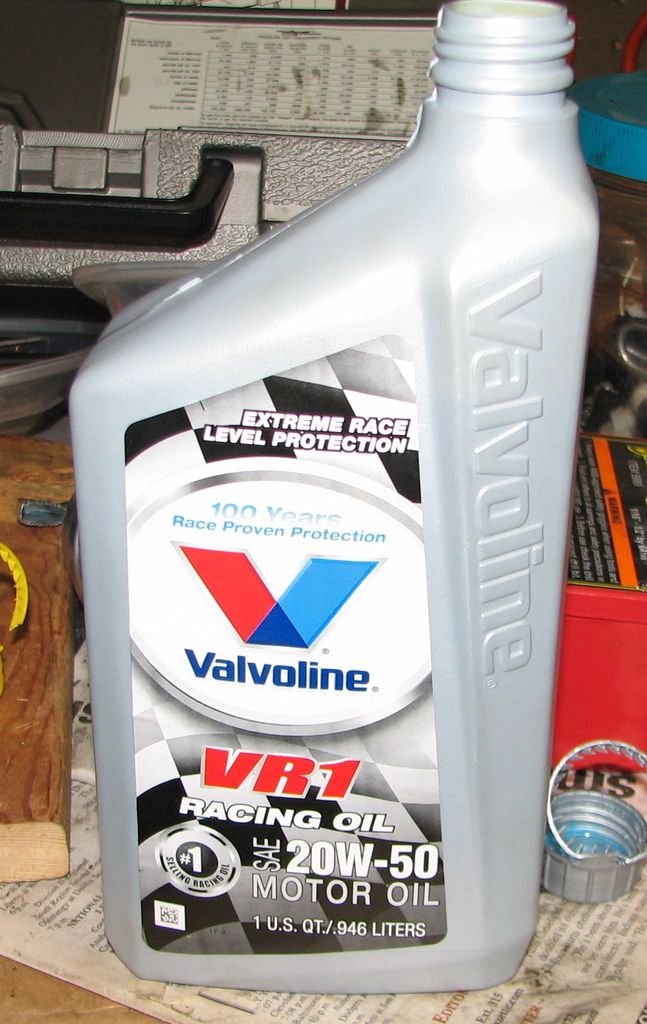  There is a fairly huge oil controversy out there right now. Oils are graded by APIservice grade. For example straight SAE-30 non-detergent oil is SB. Most modern cars require SH, SJ, or the latest standard of SM. Grades are changed to improve efficiency and reduce emissions. But there is a dark side. For many years cars used “flat” tappets where the cam lobes push on a hardened steel surface to operate the valves. This creates a sliding, high-pressure, metal-on-metal wear surface. To prevent premature failure a compound called zinc diethyldithiophosphate(or ZDDP) was added to oil. This metallic compound is toxic and can damage catalytic converters but was necessary. But modern cars use “roller” lifters where the cam pushes on a wheel to created a much lower friction valve train. So the amount of ZDDP has been reduced in later API service grades to the point where current SM oils have none.So anyone running an old engine needs to worry about premature engine wear caused by improper oil. There are a couple of solutions. Specialty oil makers make older formulations but these can be hard to find. You can also find additives to replace the ZDDP. Or you can buy Valvoline VR1. Since it is designed for racing (where older engine designs are common) it has ZDDP. But it costs a bit. See this article for more information. There is a fairly huge oil controversy out there right now. Oils are graded by APIservice grade. For example straight SAE-30 non-detergent oil is SB. Most modern cars require SH, SJ, or the latest standard of SM. Grades are changed to improve efficiency and reduce emissions. But there is a dark side. For many years cars used “flat” tappets where the cam lobes push on a hardened steel surface to operate the valves. This creates a sliding, high-pressure, metal-on-metal wear surface. To prevent premature failure a compound called zinc diethyldithiophosphate(or ZDDP) was added to oil. This metallic compound is toxic and can damage catalytic converters but was necessary. But modern cars use “roller” lifters where the cam pushes on a wheel to created a much lower friction valve train. So the amount of ZDDP has been reduced in later API service grades to the point where current SM oils have none.So anyone running an old engine needs to worry about premature engine wear caused by improper oil. There are a couple of solutions. Specialty oil makers make older formulations but these can be hard to find. You can also find additives to replace the ZDDP. Or you can buy Valvoline VR1. Since it is designed for racing (where older engine designs are common) it has ZDDP. But it costs a bit. See this article for more information.
My engine has run for decades on SAE-30 oil. But just to be safe I did a mix of 2 qts. VR1 and 3 qts. 10w-30. Maybe this is a mistake but it turns out it did not matter anyway (more foreshadowing!). |
  OK, the first rule of oil changes is always check for leaks. Instead I just jumped in the car and drove off. I kept smelling burning oil but thought it was just the couple drops I spilled on the exhaust manifold. Then I pulled back into the driveway and saw blue smoke billowing out from under the hood. I opened the hood and found everything covered in oil. The oil filter gasket did not set properly and about two quarts of oil were pumped into the environment by way of the cooling fan. What a mess. I especially like the cloud of smoke on the left… OK, the first rule of oil changes is always check for leaks. Instead I just jumped in the car and drove off. I kept smelling burning oil but thought it was just the couple drops I spilled on the exhaust manifold. Then I pulled back into the driveway and saw blue smoke billowing out from under the hood. I opened the hood and found everything covered in oil. The oil filter gasket did not set properly and about two quarts of oil were pumped into the environment by way of the cooling fan. What a mess. I especially like the cloud of smoke on the left… |
  OK, so how do you get a thick coating of oil off your car? Engine degreaser! I let the engine cool while I mopped up the mess in the garage and wiped up as much of the mess as I could. I then hosed everything down with the degreaser and waited 5 minutes. Then I washed the soap, oil, and much of my carefully applied green paint. I guess that satin spray paint does not resist oil very well. Dammit. Thus ends my most eventful oil change ever. After I recover a bit I will re-lube all the wear points under the hood (that degreaser degreased it all). OK, so how do you get a thick coating of oil off your car? Engine degreaser! I let the engine cool while I mopped up the mess in the garage and wiped up as much of the mess as I could. I then hosed everything down with the degreaser and waited 5 minutes. Then I washed the soap, oil, and much of my carefully applied green paint. I guess that satin spray paint does not resist oil very well. Dammit. Thus ends my most eventful oil change ever. After I recover a bit I will re-lube all the wear points under the hood (that degreaser degreased it all). |
Pingback: Engine painting and front brakes | 1941 Studebaker Champion
Pingback: Rear brake cylinders | 1941 Studebaker Champion