
6/20/2009 to 6/23/2009
Time to put the engine back in.
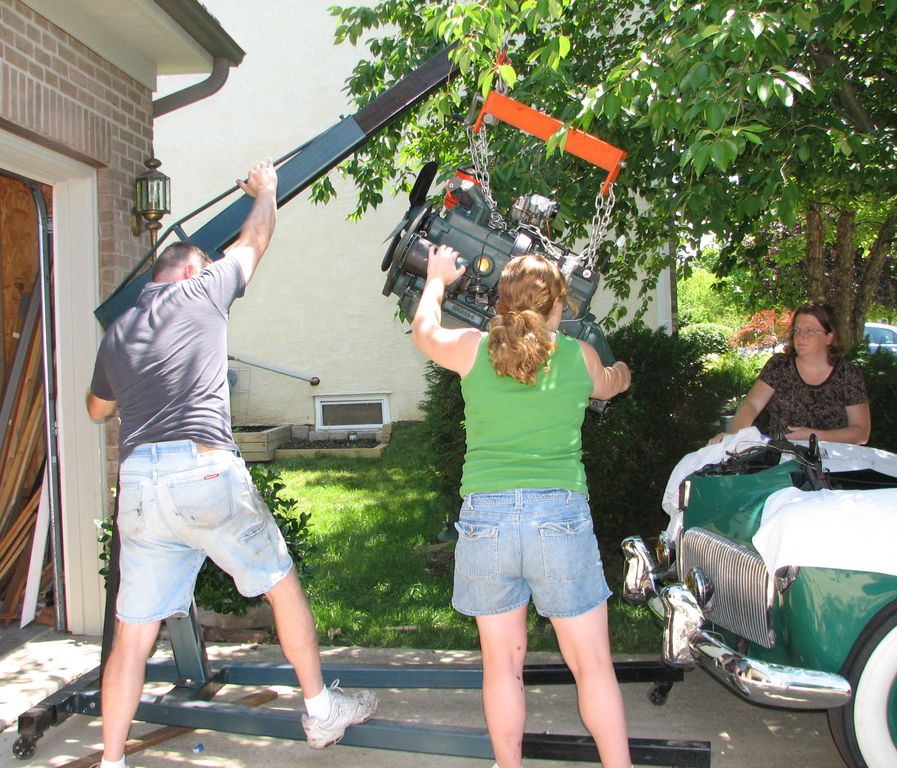 We Wechained the engine to the hoist and removed the stand. When we removed the engine there was not enough tilt adjustment to easily remove it. This time we tried to start off with more tilt. But it was still not enough. We ended up getting the engine halfway in then pulling it out again. After adjusting the chains things went much better. My daughter and wife are keeping the engine from swinging |
 Down Downshe goes. We quickly realized the key is to remember the hoist arm moves in an arc rather than straight up and down. |
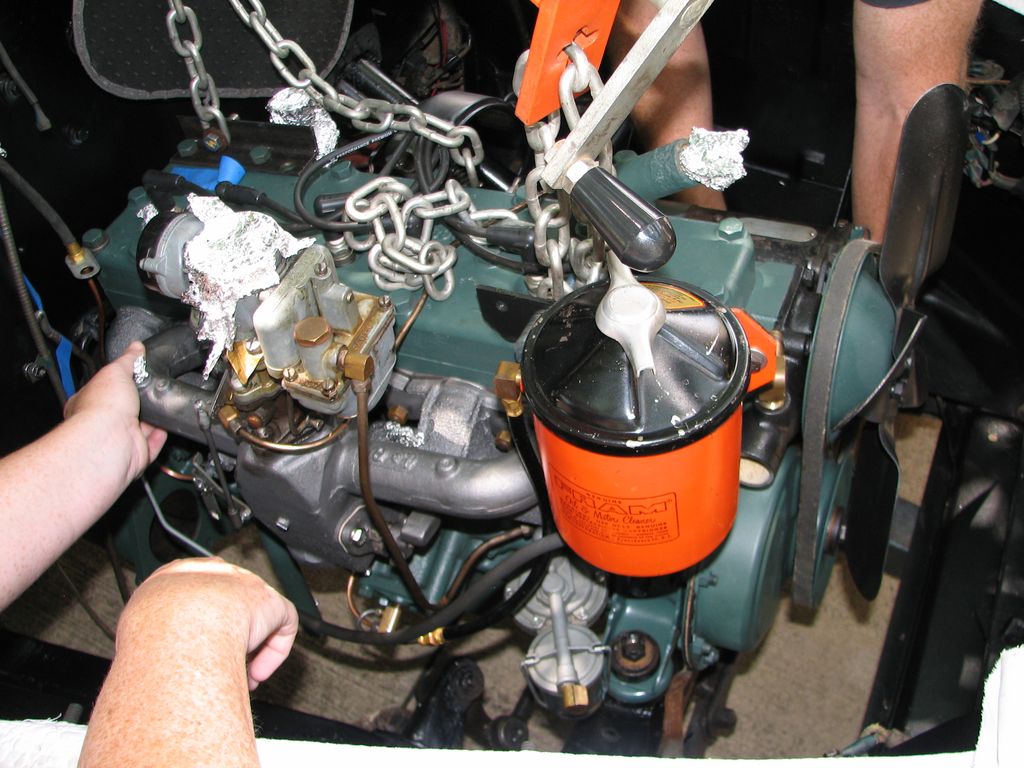 Once Oncethe engine is at the right level we used the spreader bar to level the engine and position it over the motor mounts. Here I have the passenger side mount loosely installed and I am trying to get the other side started. On the other side the generator is in the way which makes it much harder. |
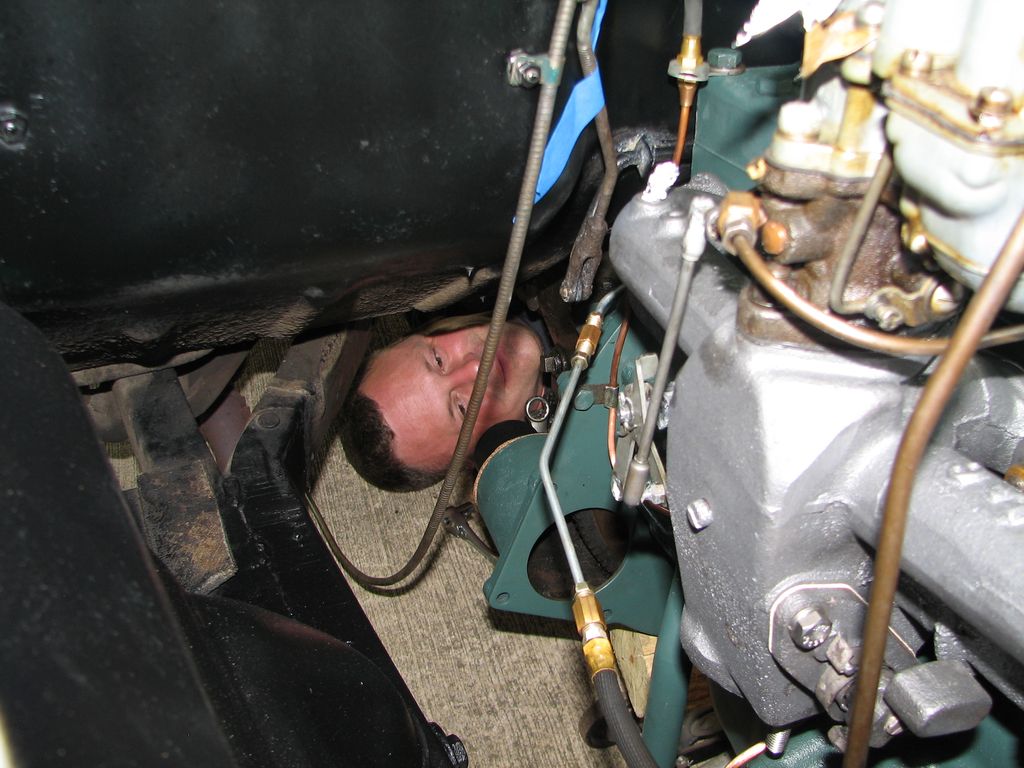 Once Oncethe front mounts located the engine I put a floor jack under the back and lowered the hoist. I then installed the transmission, rear cross-member, and rear motor mount. Here is a scary shot of me putting transmission bolts in. I think it is possible to get the engine and transmission in as a unit but I suspect this is easier. I have a replacement NOS rear engine mount but I could |
|
|
 I Ireplaced all the rubber grommets under the hood. Most were standard parts but the coil wire needed this funky grommet. Fortunately Shrock Brothers in PA makes a reproduction part. It fit perfectly. |
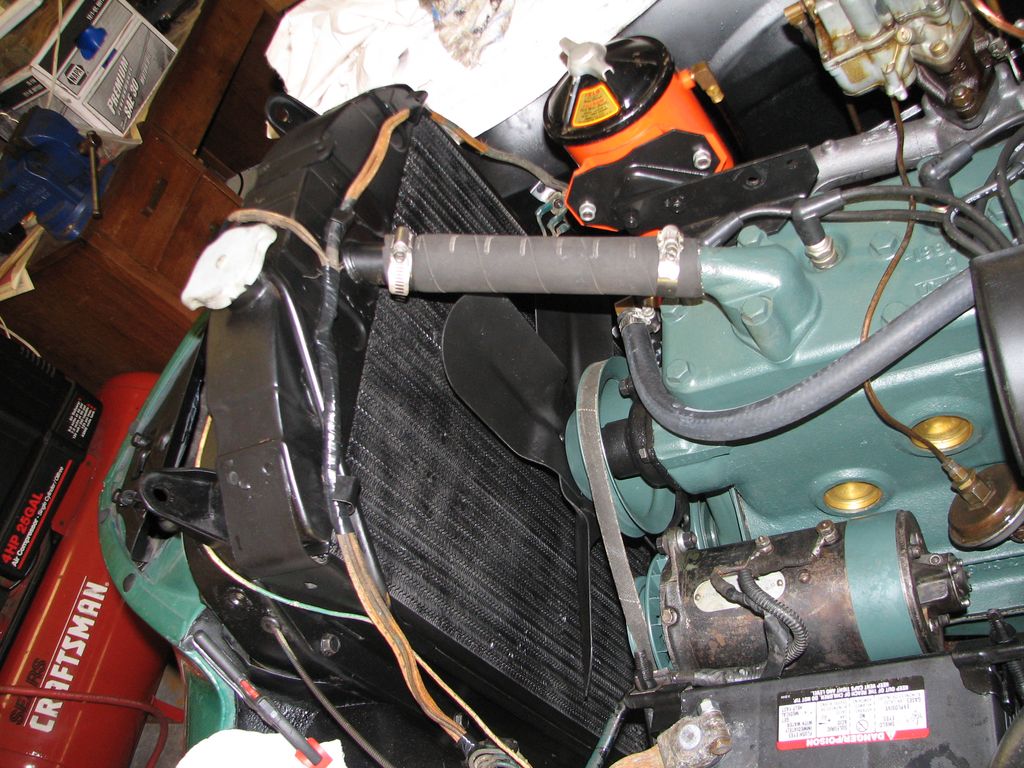
 I Iput some thought and planning into the assembly order to prevent painting myself into a corner. The hood latch plate, horns, and horn relay were much easier to install before the radiator goes in. Note the hoist chains are still bolted to the engine. |
 Now NowI can put the radiator in. The radiator also holds part of the wiring harness so it has to go in before we can finish wiring. I also re-torqued all the head bolts since several have been out for the cleanup. |
 Once Oncethe hoses were in I filled up the system with plain water. I will do antifreeze after I test everything. After hooking up the wiring and getting a fire extinguisher I installed the battery for a smoke-test. No smoke and everything seems to work! I think it might be time to run this car. I cranked the car several times with the ignition off to check for problems and get oil in the bearings and fuel in the carb. We then checked for spark (which was fine). Time to run it. |
She Lives! |
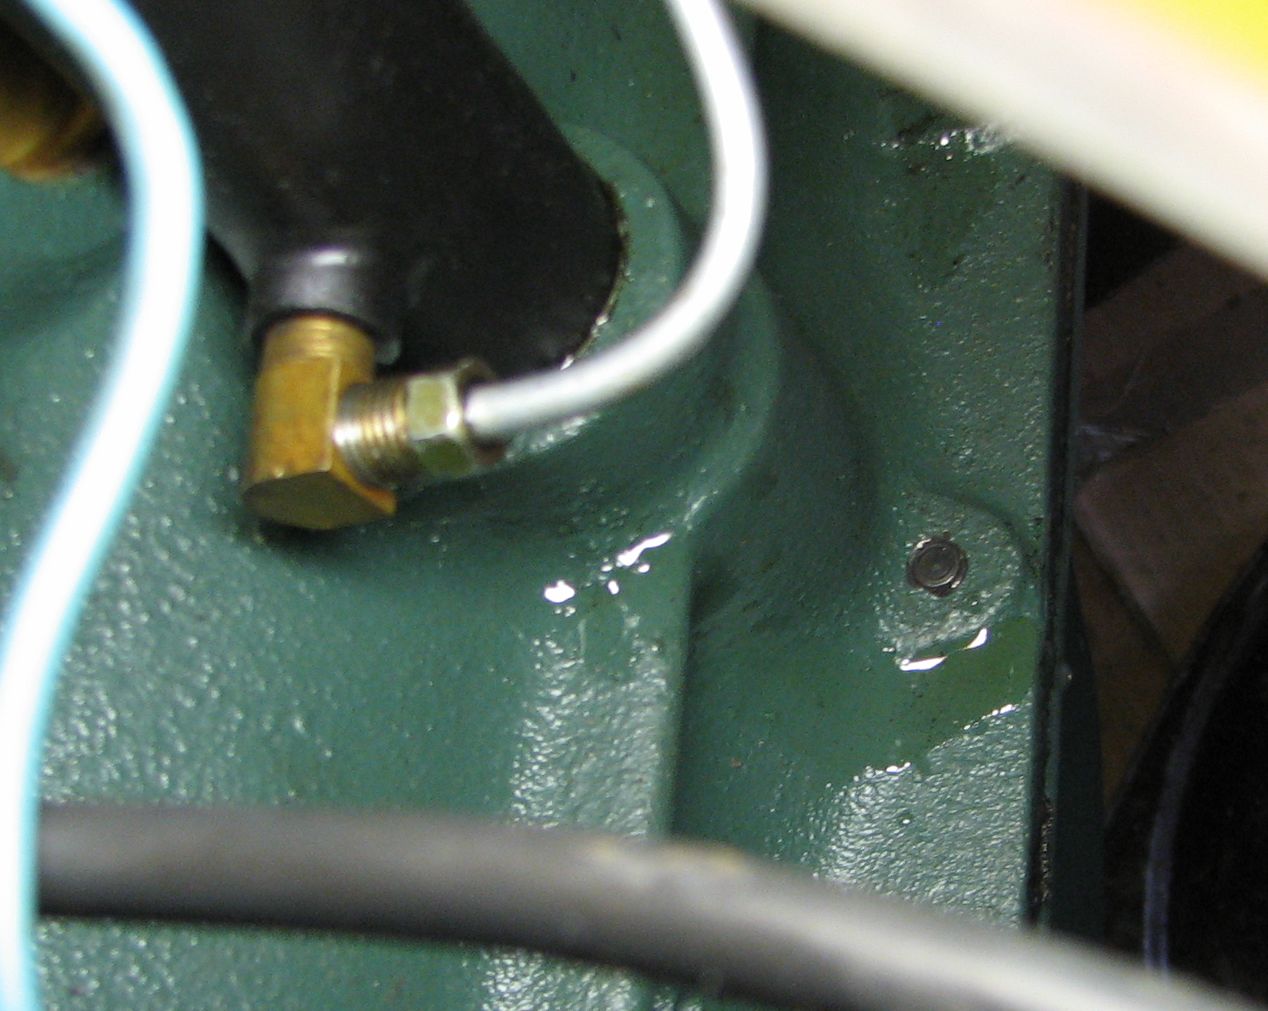 Well, Well,mostly. I quickly noticed a small puddle of oil on the floor. Seems like some idiot forgot to tighten the oil return line from the oil filter. |
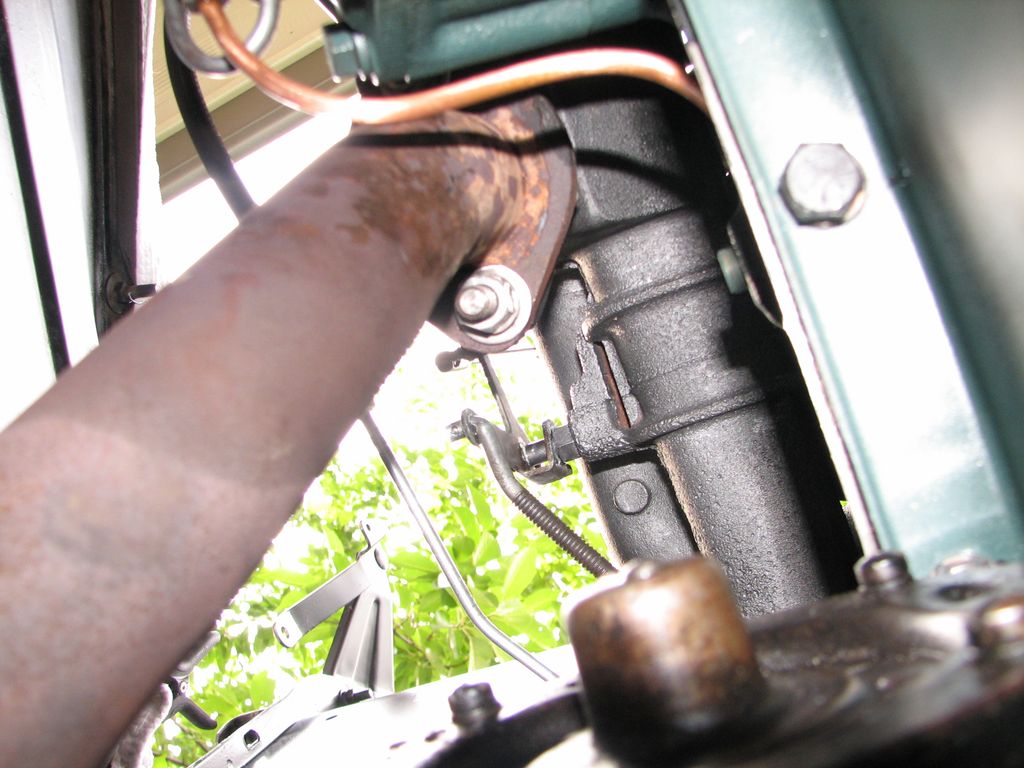
This is a bigger problem. Notice the white smoke. Looks like steam to me. I might have buggered up the head gasket. Only time will tell. The good news is everything else seems fine, the engine runs well, and the gauges all still work. |
Hello,
I am french. I restore a Flight Hawk (a rare hardtop one).This is practically the same engine (185 c.i)
I have the same symptoms at the start, with engine cold. There is condensation in the exhaust pipe and the white smoke.
When the engine is warm everything is OK
I hope that now every thing are O.K
It’s a very nice car
Bests regards Gerard