Headlights

November, 2004

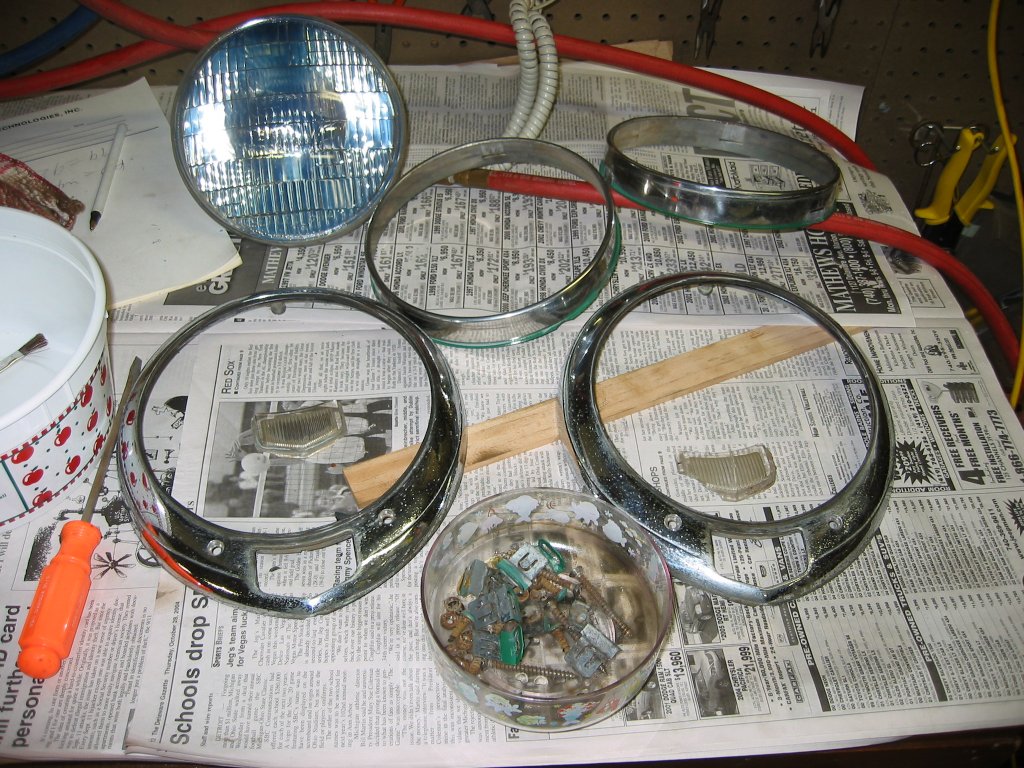
I had a few problems with the headlights. First of all the rubber seals are ancient and pretty bad. Second the passenger side headlight was cracked. Finally the drivers side headlight was burned out. I ordered the rubber parts from Stephen Allen Studebaker and Studebaker Parts Online. The local NAPA had a 6V headlight. Finally I found the parking light lens on e-Bay. I ended up buying a lot of headlight bezels but all I really wanted from it was the lens.

Here is the headlight (passenger side). You can see the crack in the parking light. This crack is actually worse than it looks.

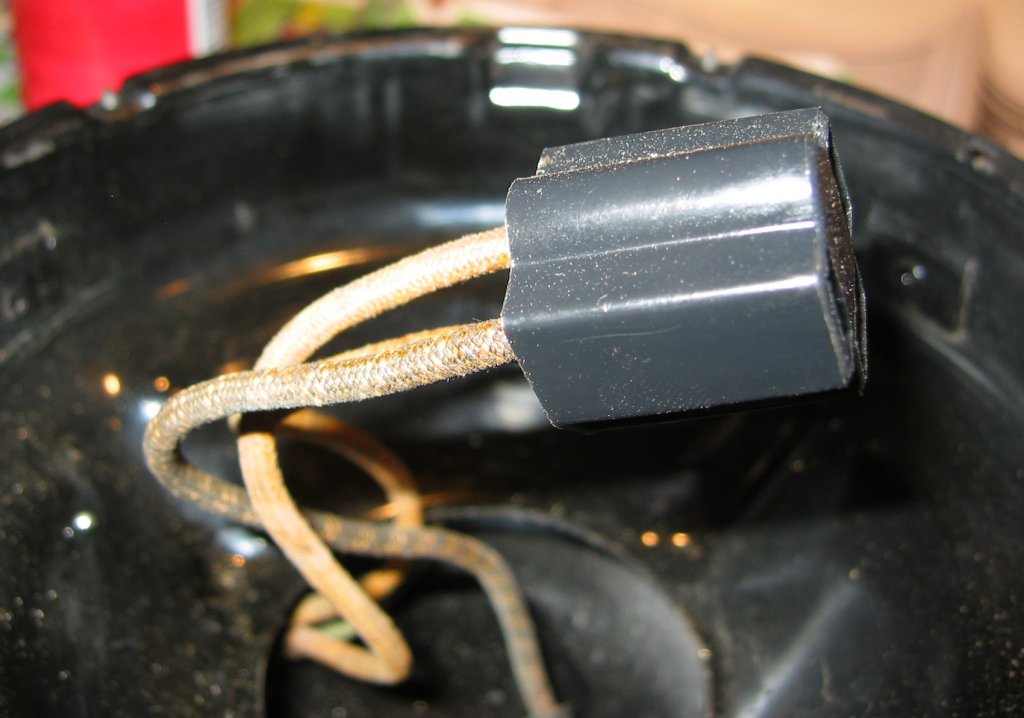
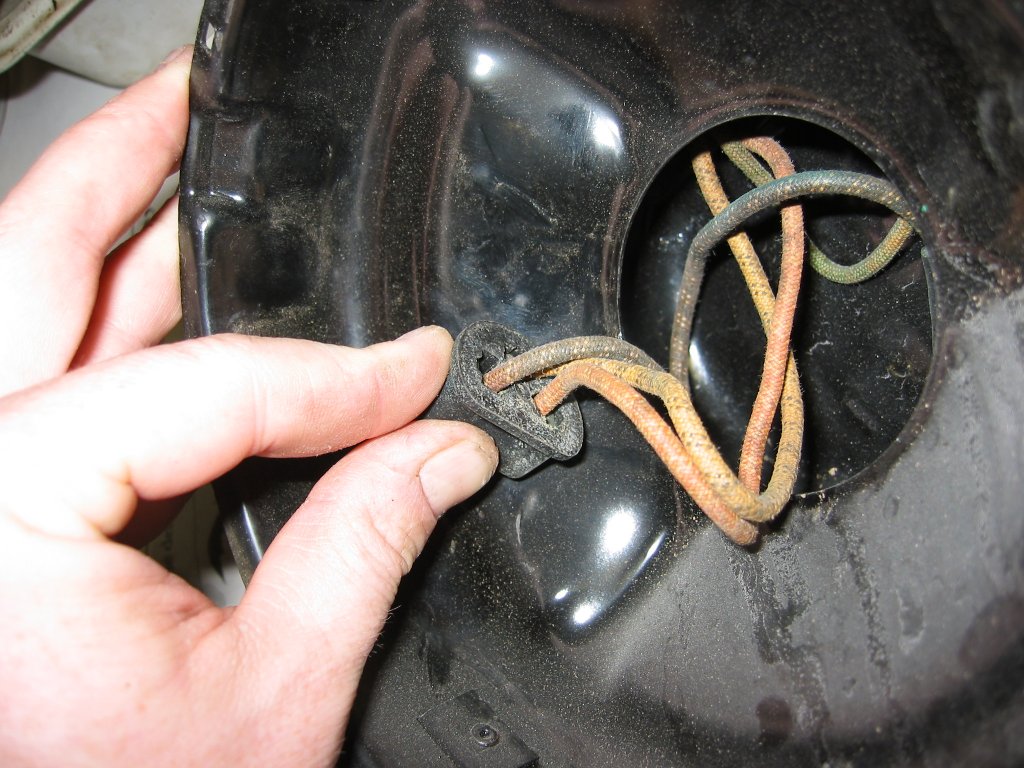
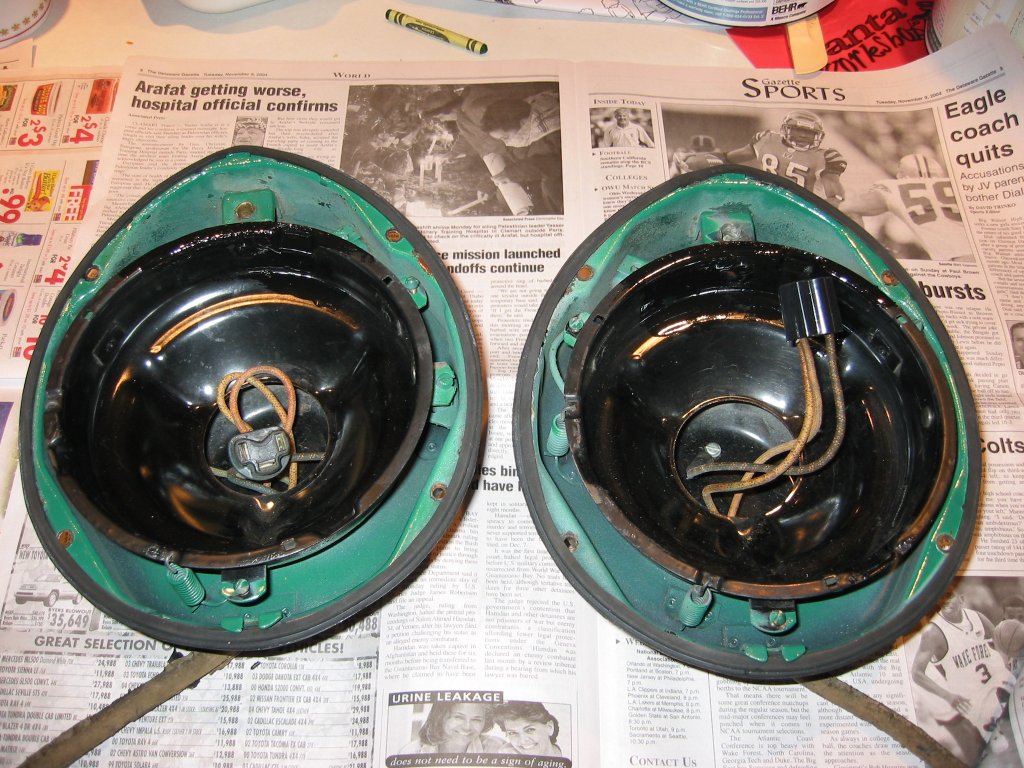
I removed the bezel and the bulb. Notice there is a little rust in the headlight housing. I then disconnected the wiring from the junction blocks inside the fenders. It is a little hard to see but the picture at right shows the passenger side wheel well under the hood. The bracket and two bolts on the left are the radiator. The wires coming from above are the car wiring and the wires going to the left are going through a grommet to the headlights.
Here is the gaping hole on the driver’s side! The picture at right is the back of one of the headlights. The tops of the headlights (where the wires come out) had a good 1/2″ of dirt and road grime caked on. The rest of the headlight was undercoated at some point (probably with some horribly eco-unfriendly stuff–remember “Better living through chemistry”?). There is no serious rust thanks to that. The wiring runs through a molded rubber conduit that is a little dry-rotted but still flexible and in remarkably good shape. The grommets were shot but I have a couple new grommets that will work. Don’t ask why I have a can of grommets. If you don’t have one yourself you would not understand.
Pile of bits and pieces. You can see a little green overspray on the headlight retaining rings. I stripped this off with some chemical paint stripper. The rings are stainless and seem perfect.
Now this is a problem. The drivers side headlight connector was half melted and one wire was loose. The bulb and contacts showed no damage so I suspect the center wire broke off some time in the past and the melting was the result of some bozo trying to fix it with a soldering iron. Either way the connector is shot. So I picked up a new one at the local auto-parts store.
As usual with this car there is a catch. The new connector came with 16-gauge leads on it. That is fine in a 12-volt system but in this car’s 6-volt system the wires need to be thicker to minimize the resistance (and thus the voltage drop) across the wiring. This picture shows the original wire on the bottom and the new pigtail on the top. The old wire is about a 12-gauge.A side issue is that the vinyl-covered leads of the new connector just don’t look right! The original wiring is all insulated with rubberized fabric.
So why do it the easy way when you can make it hard? I used a thin tool to pop female spade terminals out of the headlight connector. Using some very small wire cutters and pliers I un-crimped the terminal from the wire. The picture at left shows the result.I then stripped the original wires and soldered them to the spade terminal. This turned out to be a chore because these old wires are really corroded. I ended up separating the individual strands of the wire and cleaning them with a stainless steel brush. That got enough corrosion off for the acid-core solder to stick. .Once the terminals cooled I re-inserted them into the connector. This picture shows the result. Looks like a new one!
The passenger side connector and wiring were just fine. The picture at right shows the back of the passenger side headlight connector. I cleaned the contacts on the connector and on the parking light lamp sockets. I also cleaned up the ring terminals and headlight terminal blocks under the hood.
Time to fix up the bezels. Here are the three parking light lenses. Obviously the top two are the best. To keep them intact I got out my favorite hunk of inner tube and made rubber gaskets to go between the lens and the bezel. The picture at right shows the inner cut of the gasket. I trimmed this to about 1/8″ wide.
Before and after for one bezel. The little clips that hold the lens down were coated with some rubbery stuff that has pretty much turned rock-hard. To help protect the lens I wrapped the coated end of the clip with a thin strip of electrical tape. Looking good!I did not take a picture of it but I also put the seal in that goes inside the inner rim of the bezel between the headlight retaining ring and the bezel.
Here are the headlights with the rusty spots cleaned, primed, and painted. The new rubber seal is installed around the outside edge. The rubber seals are reproductions and while they work they are not perfect. They have a slightly different width and there are some molding artifacts on them that had to be trimmed off. I can’t complain too much though. Since the old seals came out in very small pieces it was a good thing I was able to find replacements.
I put everything back together and smoke-tested the system. The parking light is on at left and the headlight at right. Notice that the parking light is off while the headlight is on. This is due to the aftermarket turn signals in the car. But everything works.It was a real chore getting the bezels on with the new seals. The bezel is held on by a post at the top that hangs on a hook on the headlight. Then two screws hold it in at the bottom. The seals wanted to get bunched up under the bezel as it slid onto the hook. It also was difficult to get the bezel to pivot on the hook over the headlight with the new inner seals. But I got them on without breaking anything.
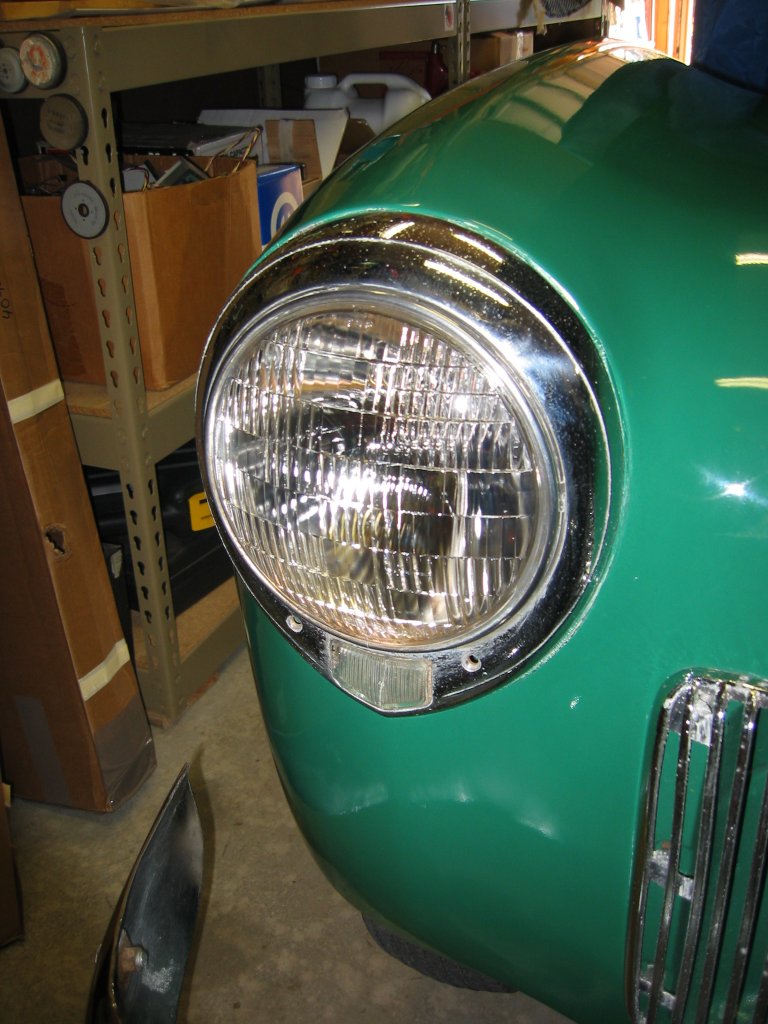
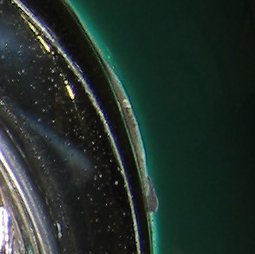
This picture shows a detail from on of the pictures above. When the car was painted the headlights were left on the car and simply masked off. Since the old seals were a bit of a mess there was not a clean and even paint line along the old seals. To make things worse the new seals are not quite as wide as the old ones. As you can see there are a couple of spots where the paint ends before the seal begins.
I do have some of the paint used to paint the car but it is 18 years old and no longer useful. I might try to get some touch-up paint mixed for it but it will never be an exact match. I just need to relax and deal with it.
You can also see the pitting in the chrome. This can be fixed but it is quite expensive. Good thing this is not a show car.

Leave a Reply

Your email address will not be published. Required fields are marked *