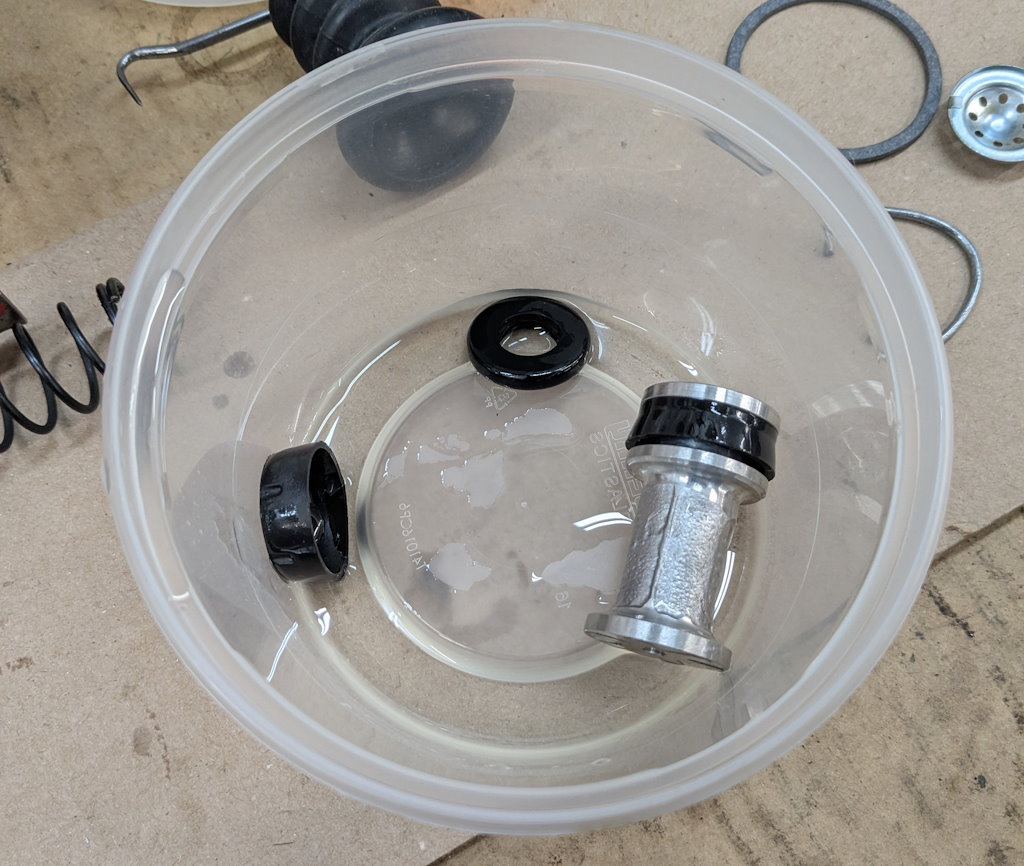
I decided to go ahead and use the parts as-is and rebuild the master cylinder. I put all the rubber parts in clean brake fluid, then lubed the cylinder bore with brake fluid.Continue reading →
I hit some roadblocks yesterday and today. First, it was really, really cold. My shop is insulated but not heated. When the temperature hits single digits. it gets chilly in there. But I am getting ahead of myself.
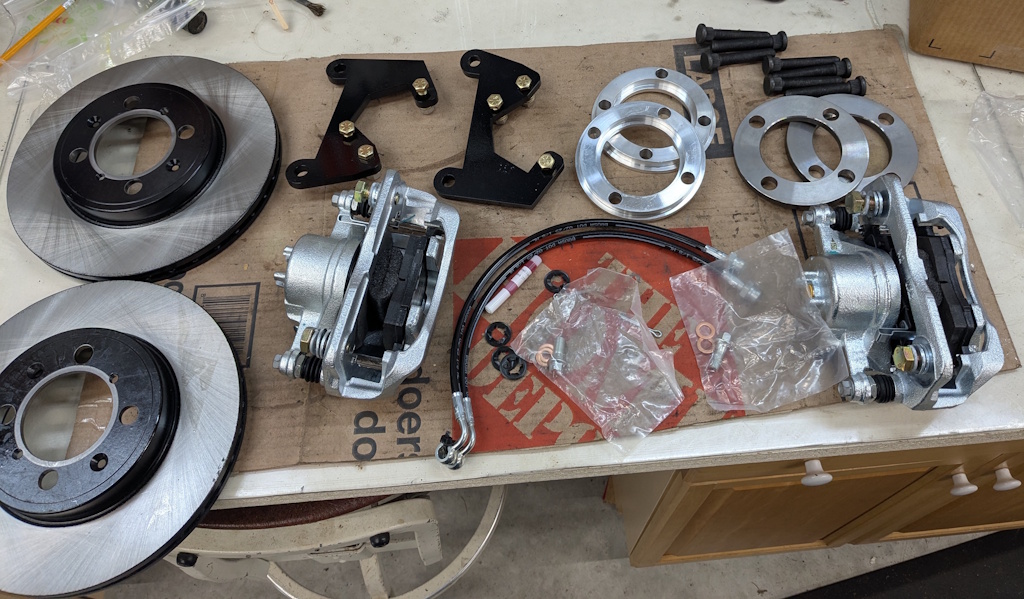
It has been a while since the car got any work. I have been dealing with some family health problems. But I need to get back into it. After all the tweaking and brake work this car still has really mediocre brakes. Turner Brakes makes a disc brake conversion kit for this car. It does not involve any irreversable alterations so I pulled the trigger.
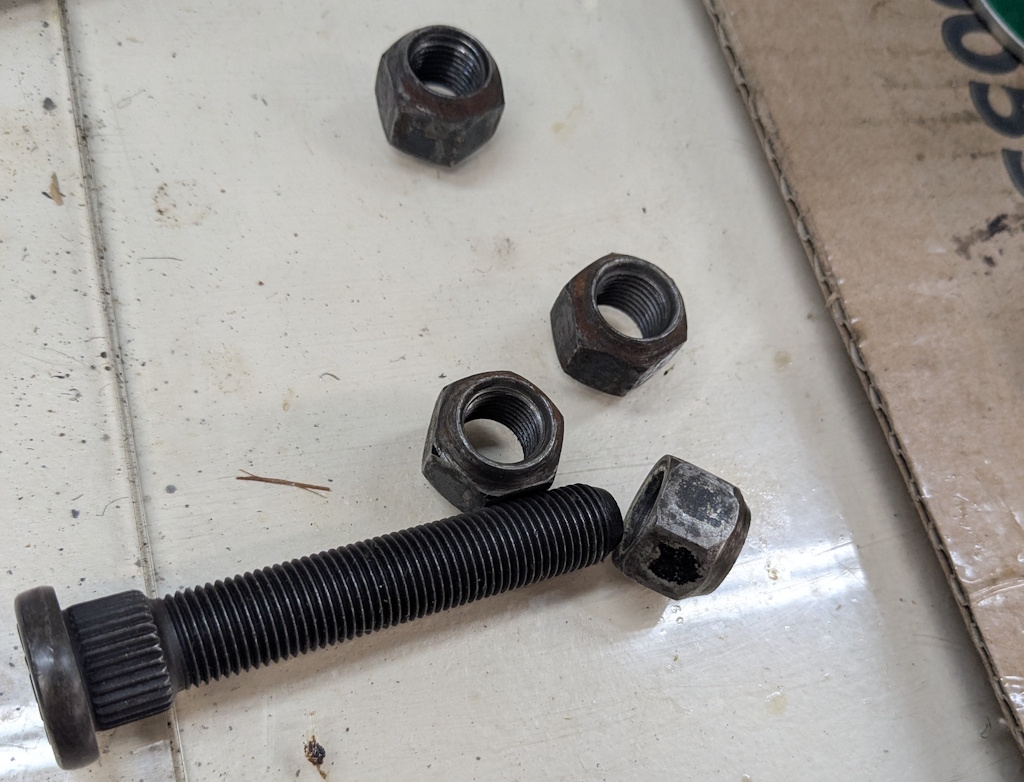
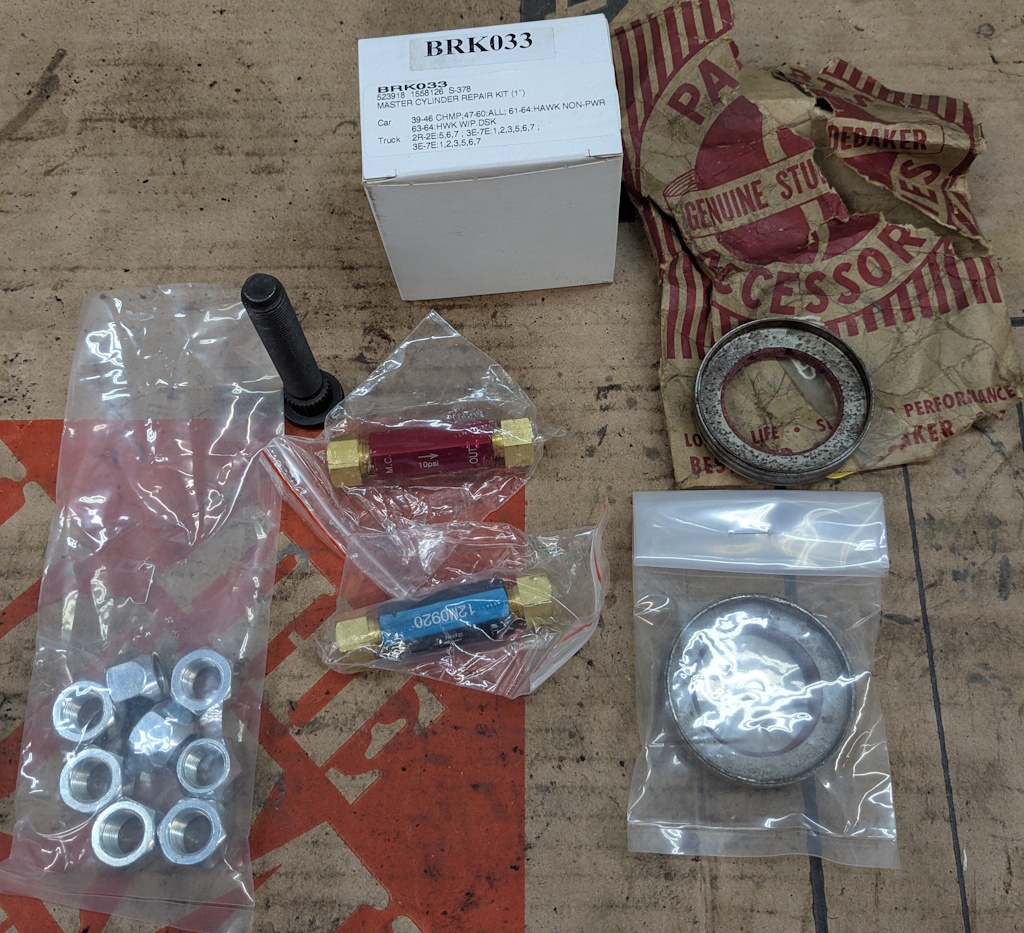
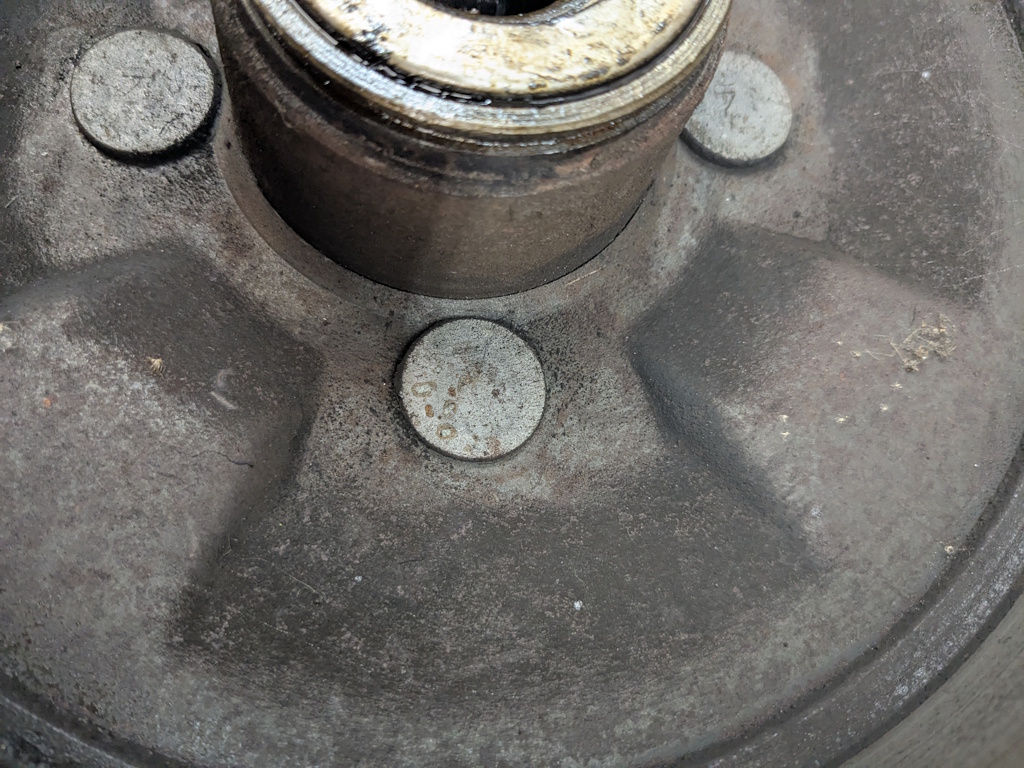
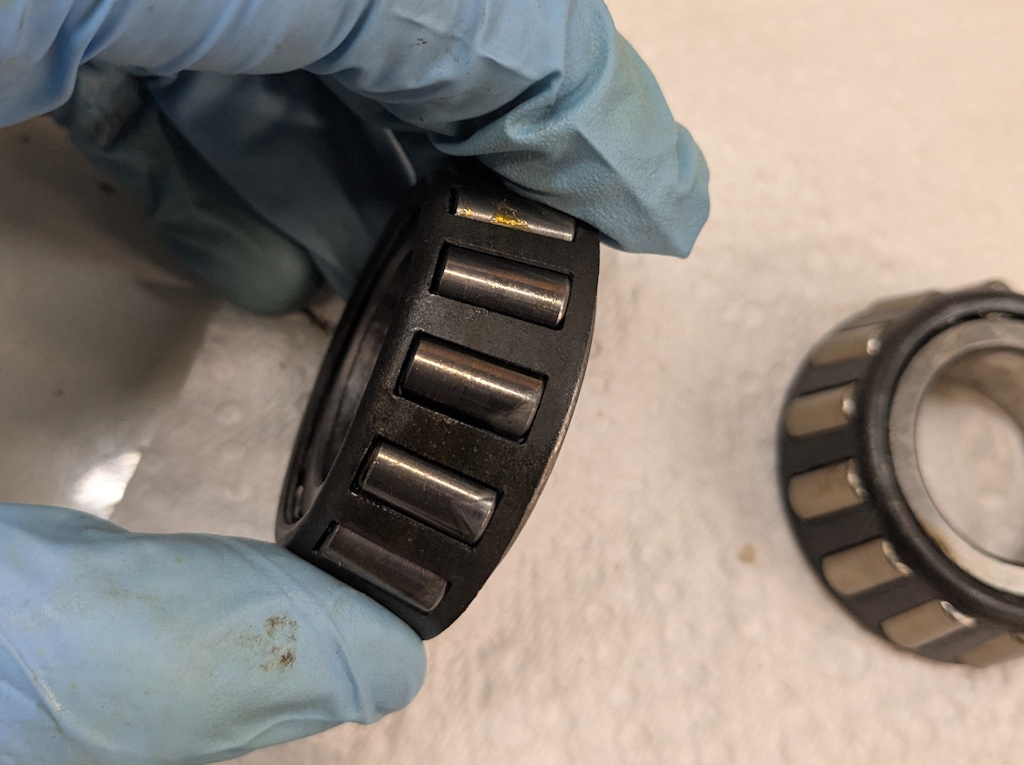
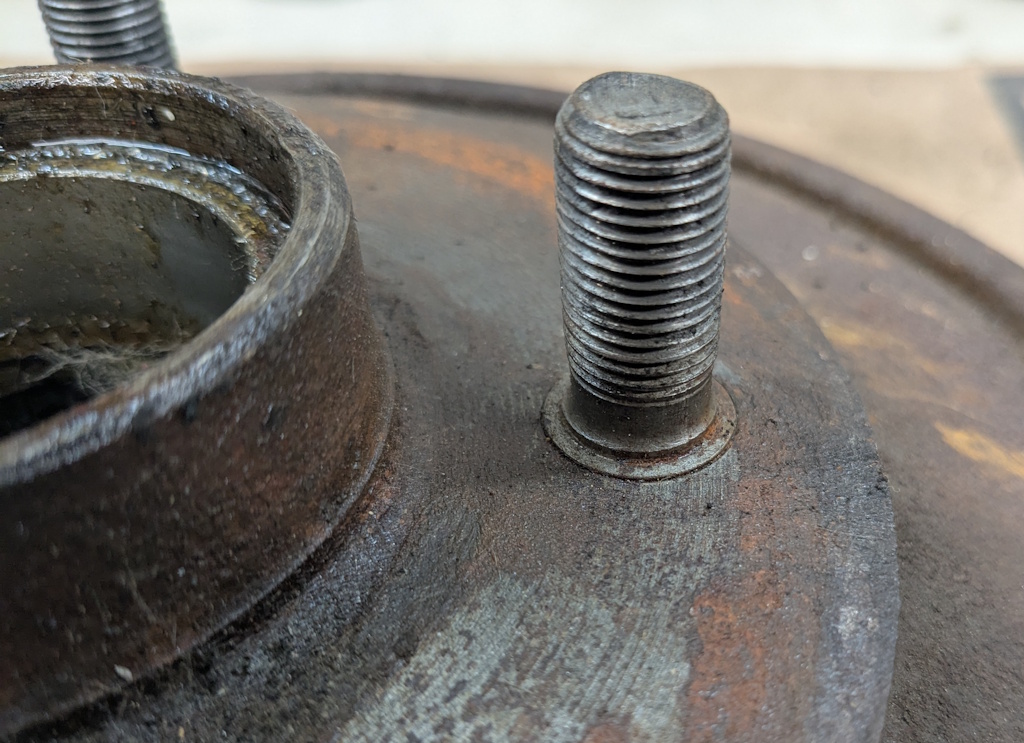
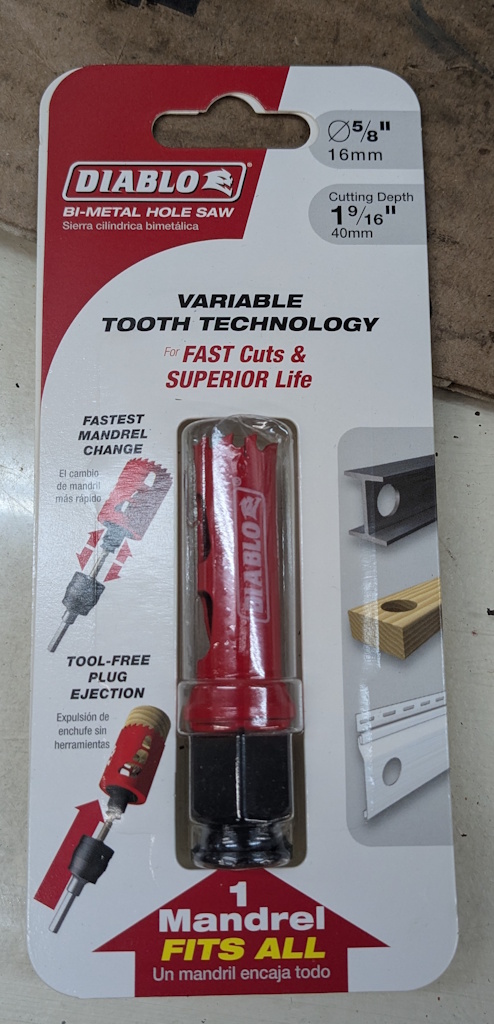
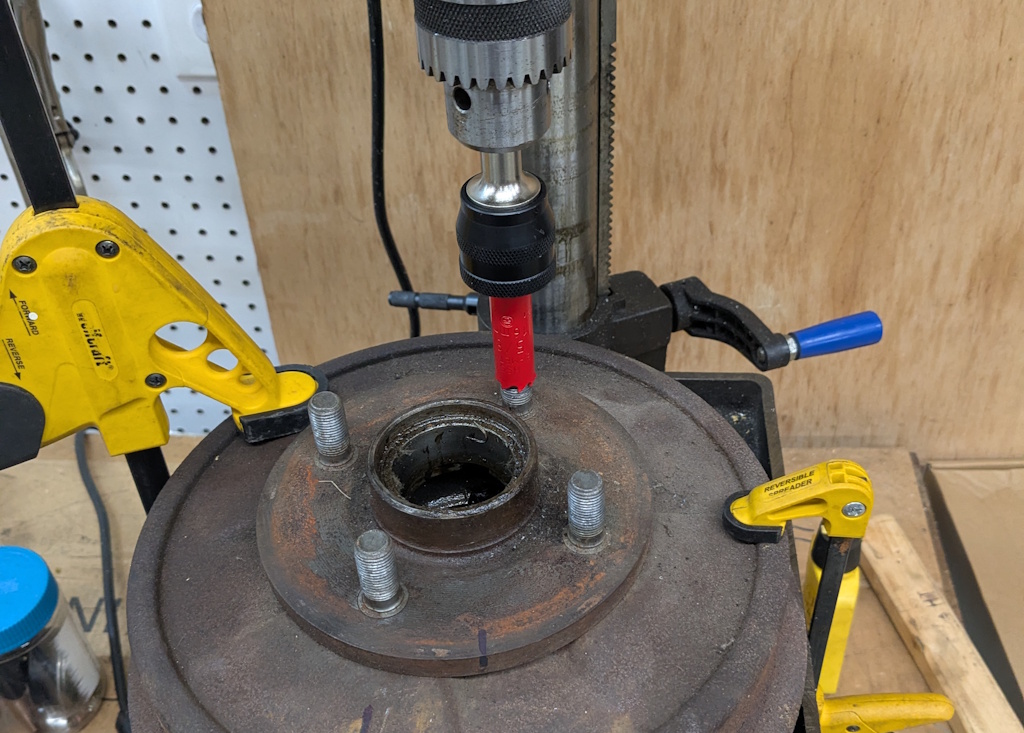
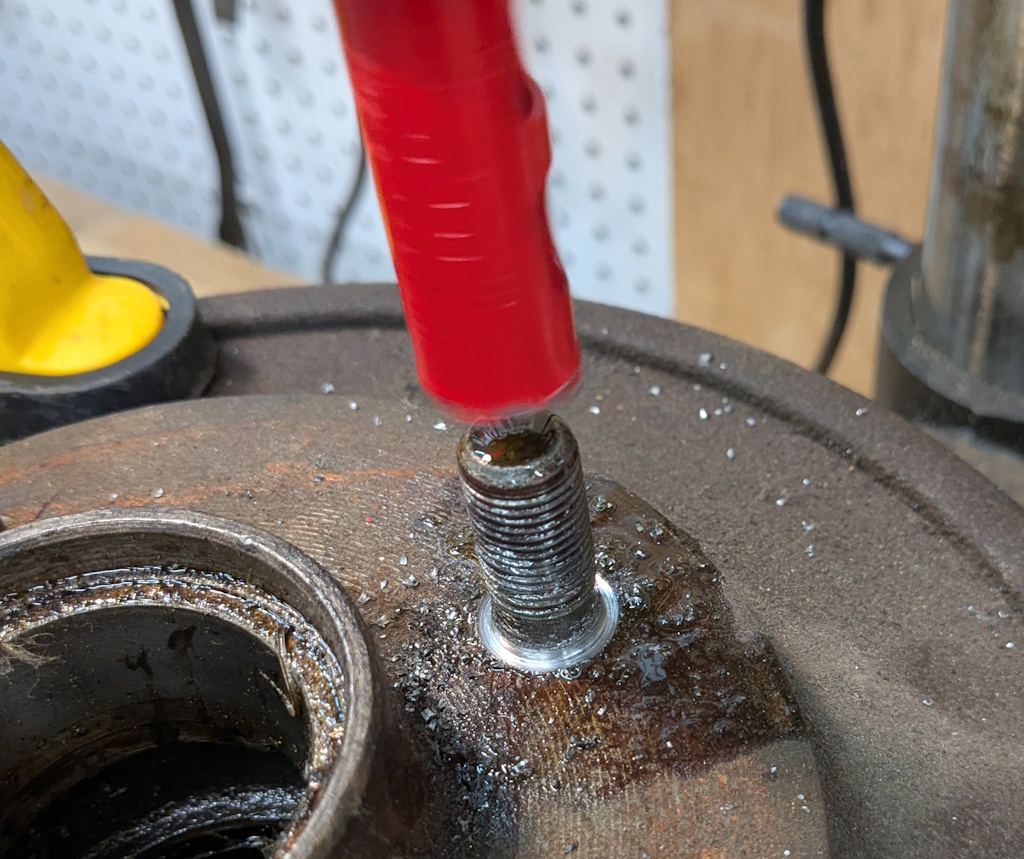
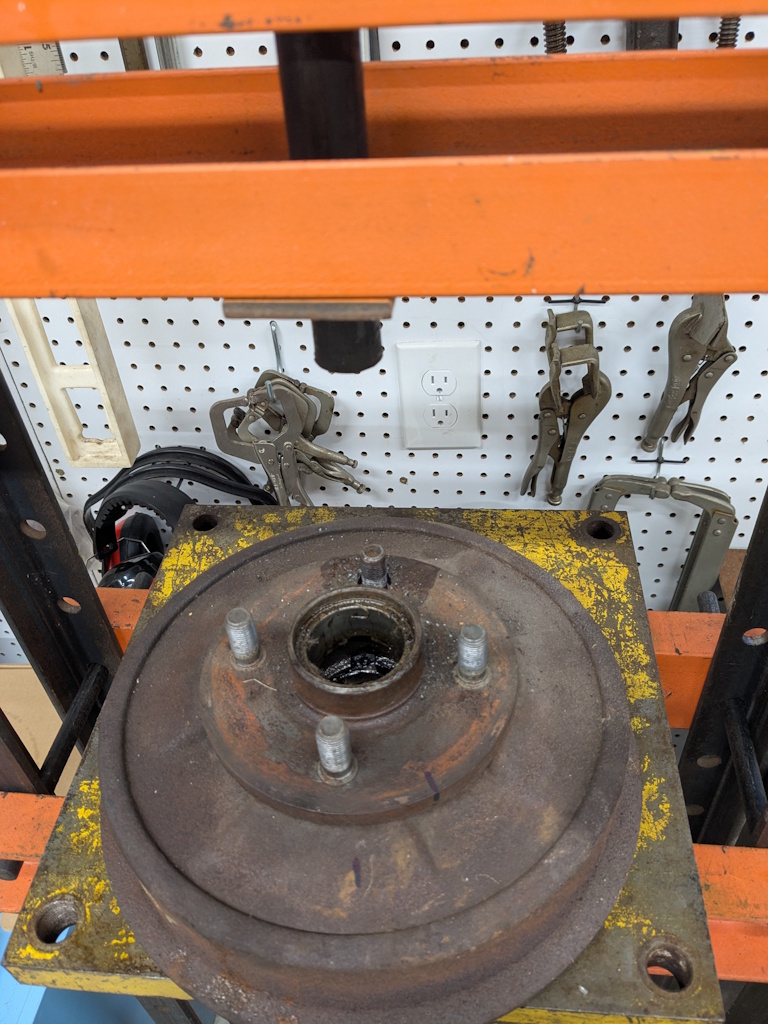
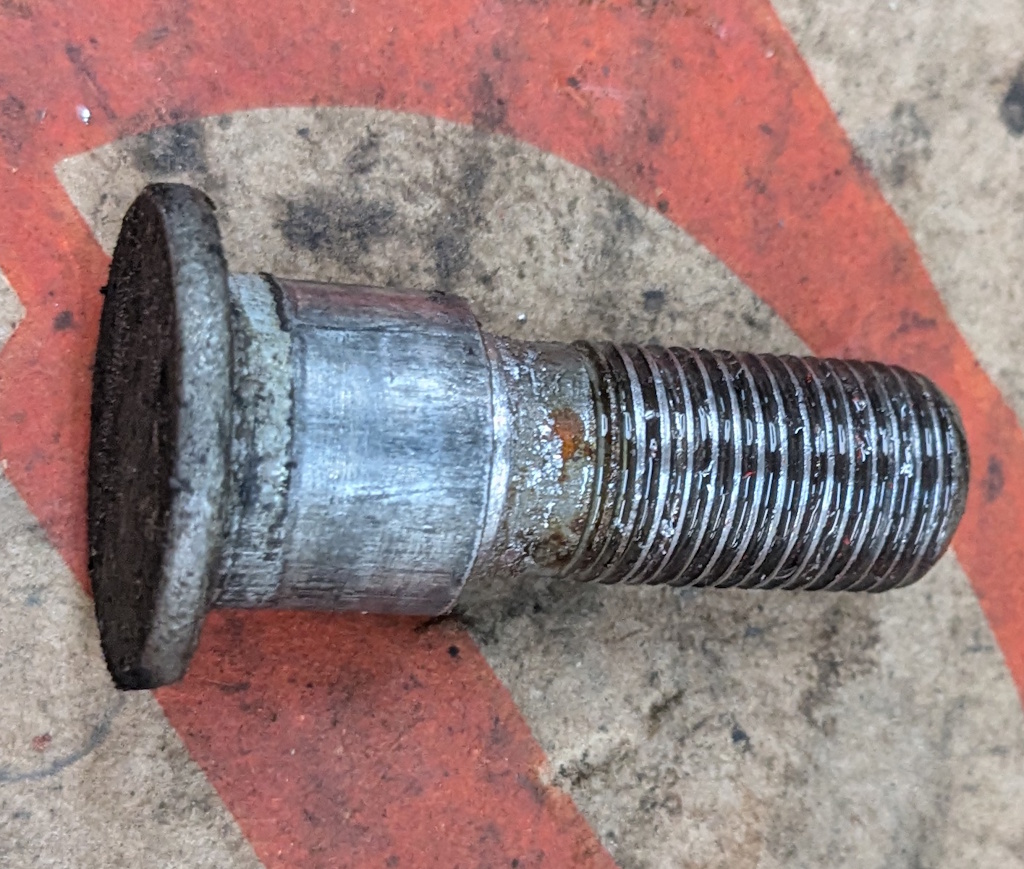
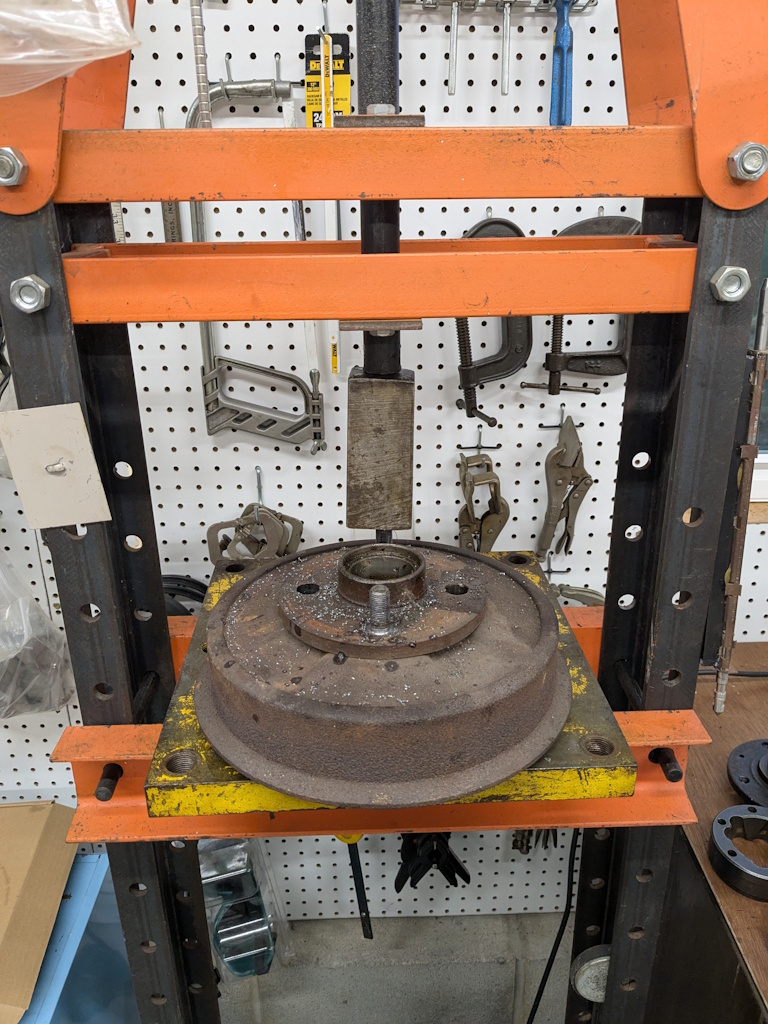
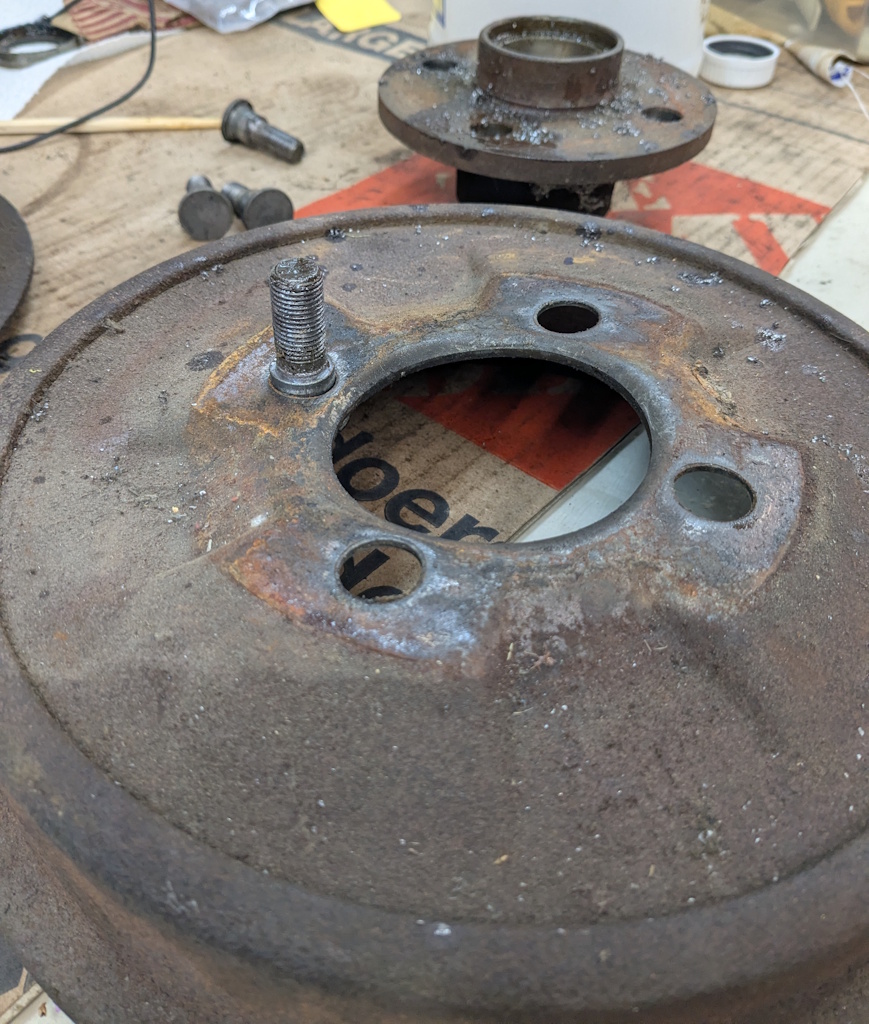
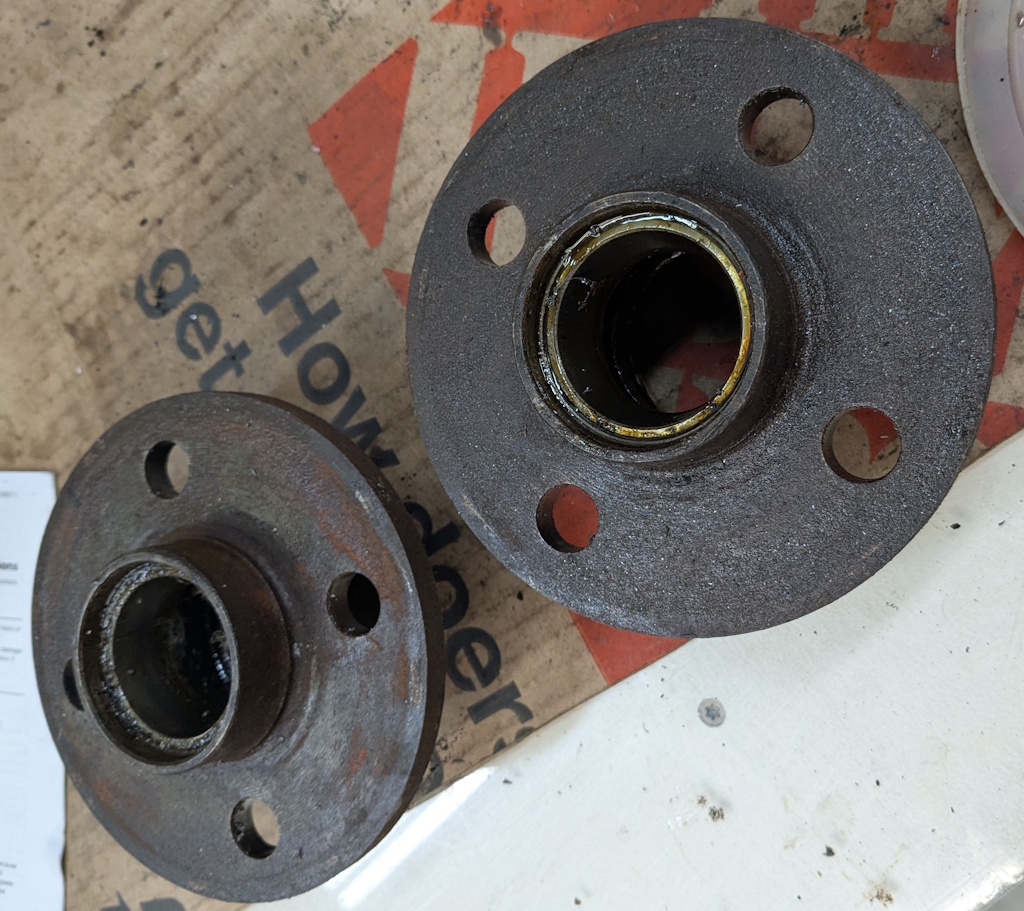
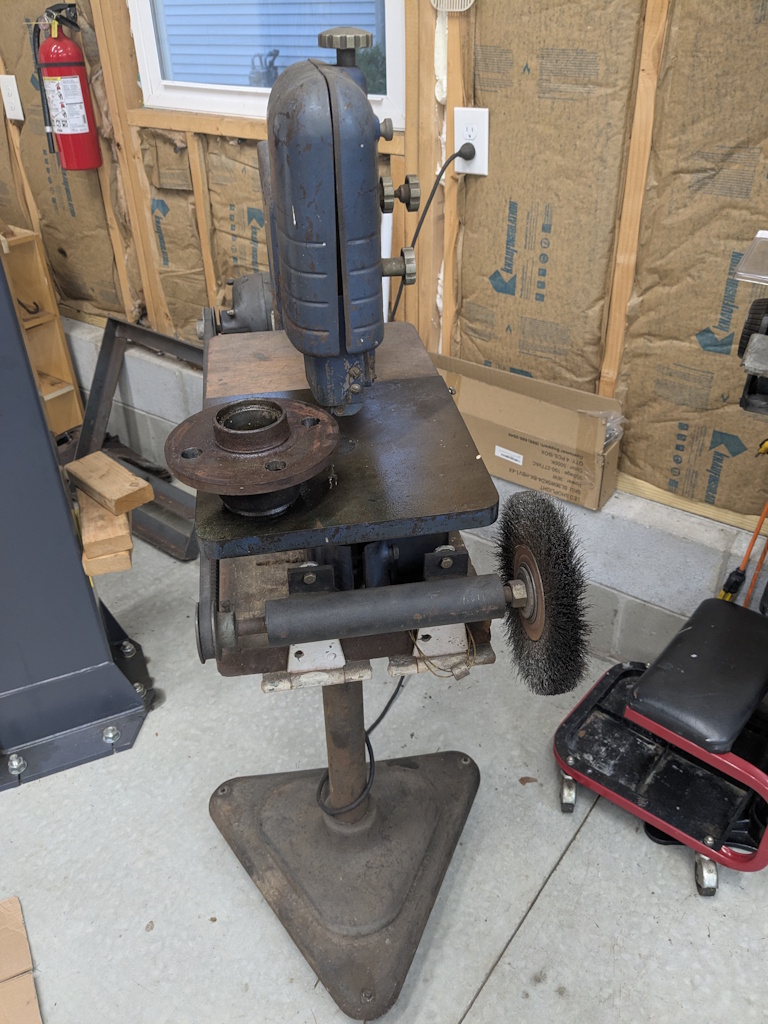
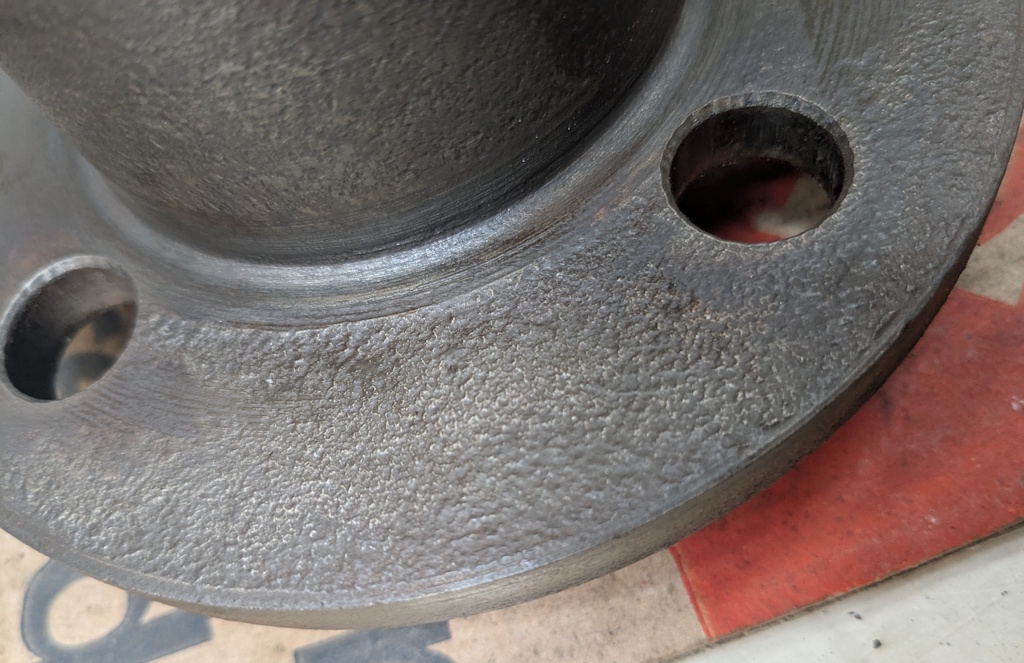
The kit was shipped USPS in two boxes. One arrived within a week, the other the USPS lost for almost 10 days. But that is hardly Mr. Turner’s fault. The kit was missing a couple of parts but he sent them right away. If I am reading this right the calipers are for a Honda Fit. I think the rotors are too but they are custom machined to work on the stock hub. The flex hoses are also stock parts. Everything else is custom made.Next step was gathering the other parts I need. One thing I need are 4 right-hand lug nuts. The factory studs are left-hand threads on one side but of course the conversion kit is all right-hand threads. I had a bag of lug nuts and every last one of them was buggered up somehow. Go figure. Add that to the shopping list.I had a NOS grease seal in my parts stash, but I ordered another one. I have to disassemble the master cylinder so I ordered a rebuild kit for that. The kit was missing two residual pressure check valves and a stud but I got those as well. And finally I bought 8 new lug nuts. I will need to figure out how to plumb in the check valves which will probably involve some brake lines but that will need to wait.I have an extra set of front hubs and brake drums, which is nice because I can keep my existing brake drums and hubs intact. I pulled them out of my parts pile. Hopefully the bearings are good in these so I can reuse them.I cleaned up the bearings and they look fine. One outer bearing was missing. I know I am not supposed to do it but my current plan is to steal an outer bearing from the existing hubs on the car and use it in the race in the new hubs. This car sees maybe 500 miles a year and even if the mismatched bearing and race wear funny it will probably not be a problem in my lifetime. Removing the race from the car’s hub and reusing it in the new hub seems like a bigger risk. And I can always buy a new bearing.Next problem. The hubs need to be removed from the drum. Most older cars sweged the studs to hold the hub and drum together. That basically turned the stud into a rivet holding everything together. If you press or beat the studs out without cutting the swedge you will probably wreck them both. The Turner instructions say to grind off the studs. That seems like a messy process that will scar up the hub. They make a machine tool for cutting swedges but it is expensive and I only ever plan on cutting 8 of these. According to the internet a 5/8″ hole saw can do the job. This is the one I bought. Of course none of my hole saw arbors fit it so I had to buy one of those too. Here is the hub and drum mounted on my drill press. Lets try this!I used a very slow cutting speed and lots of oil. Worked like a champ! It took longer to position the hub and clamp it down than to make the cut.I put the hub in my shop press and gently pushed on the stud. It slid right out!Here is the removed stud. The hole saw did a bit of a number on the threads, but of course these can’t be used again anyway.Here is the setup I used to press out the studs. It worked great, most of the time.I must not have pushed straight on this last stud. I should have stopped but I pushed a little harder and the drum bent. I tried not to beat myself up, I measured these drums and they were at the outer wear limit. On the other hand, they are not made anymore and I just reduced the population of 39-46 Champion brake drums by one. The other 7 studs came out fine, and the hubs don’t even have a mark on them from the swege cutting. Now I need to clean these up.Here is my wire wheel setup. It is a 1940’s Dunlap that has been modified by my father or grandfather so the motor can also run a wire wheel. If it looks super sketchy and dangerous that is probably because it is. However, this rig has been working for longer than I have been alive so it is now traditional and therefore nothing to worry about. I only hurt myself a little bit cleaning up the hubs.If the backs of the hubs are not flat enough they will need to be machined. This is the only part the looks like it might be trouble. Let’s try a test.
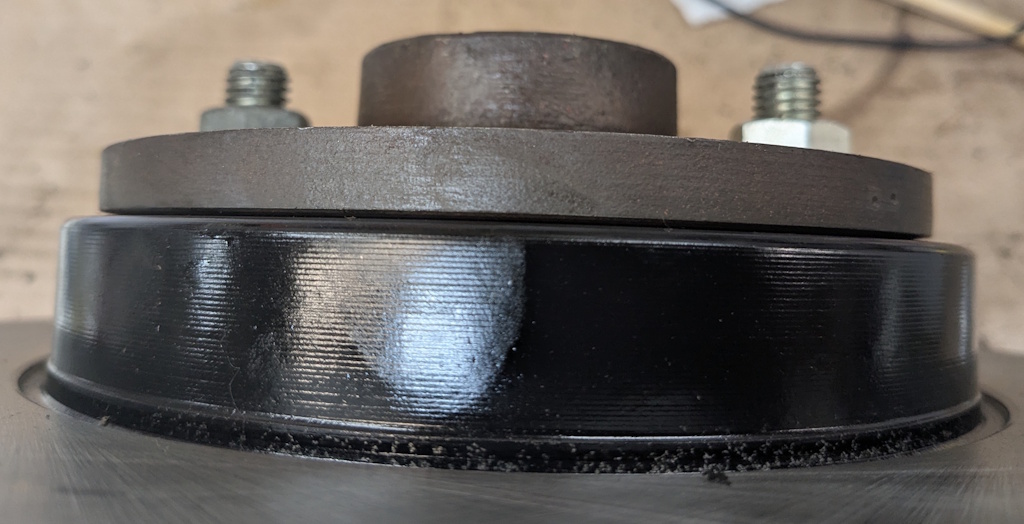
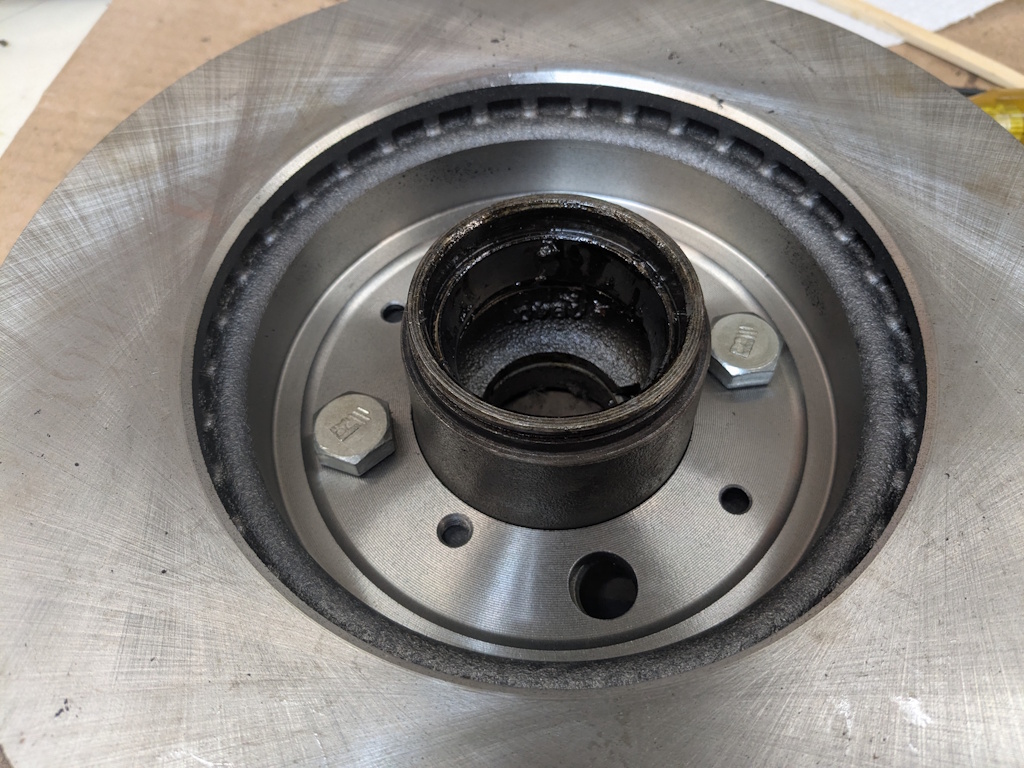
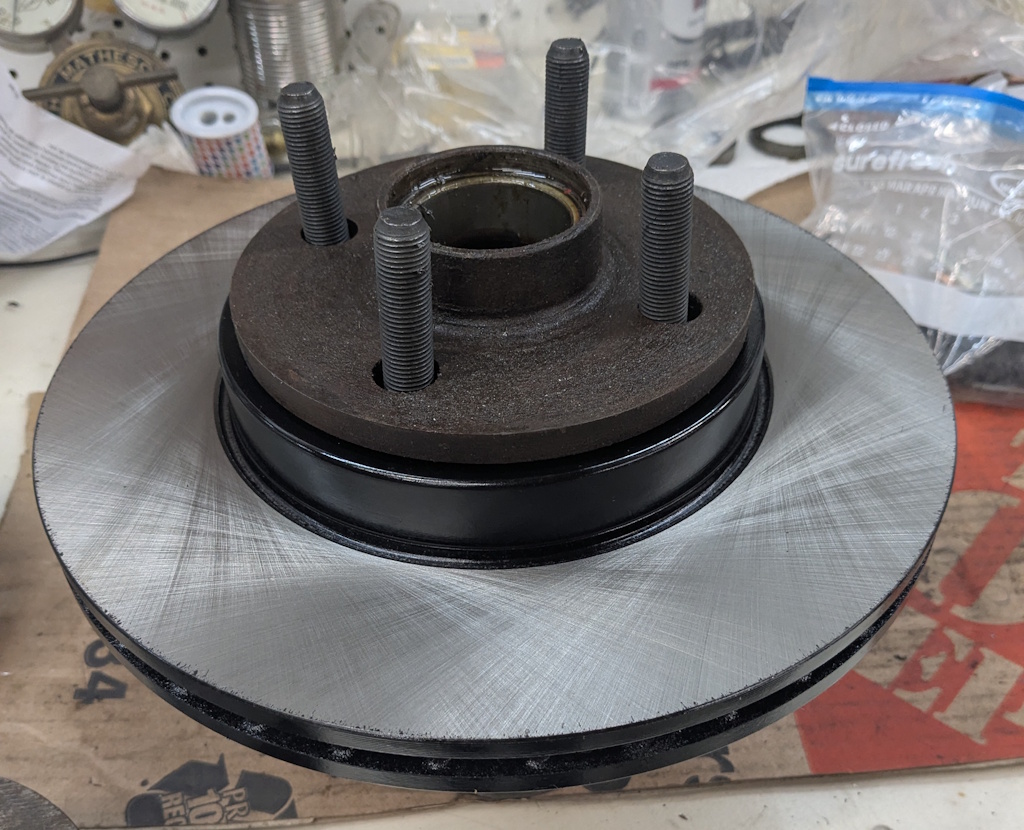
I bolted one of the brake discs to the hub and looked at the gap. They both look the same and even so I hope I will be OK. I have no good way to measure runout on the discs until the hubs go on the spindles. If they have a lot of runout I will try clocking the hubs to reduce it or if that fails I will pull it apart again and get the hubs machined.
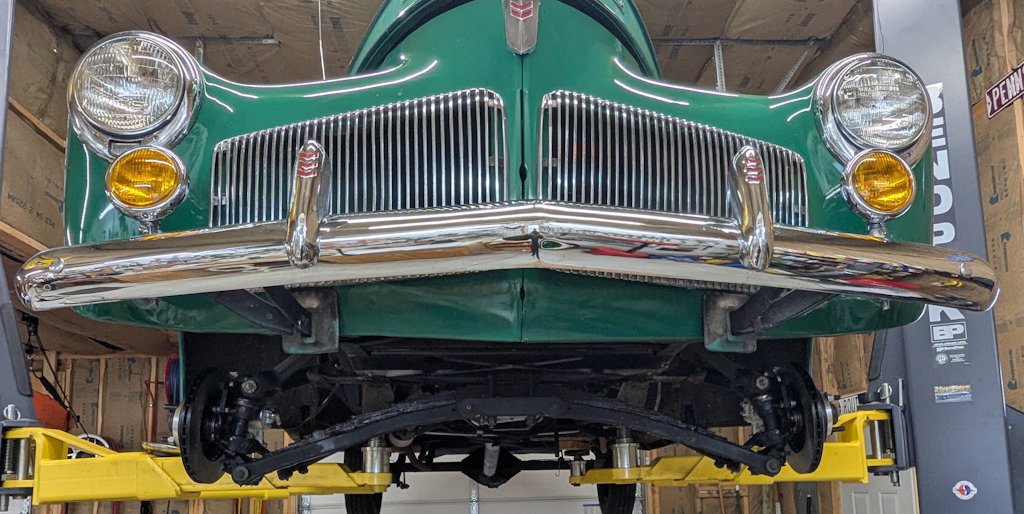
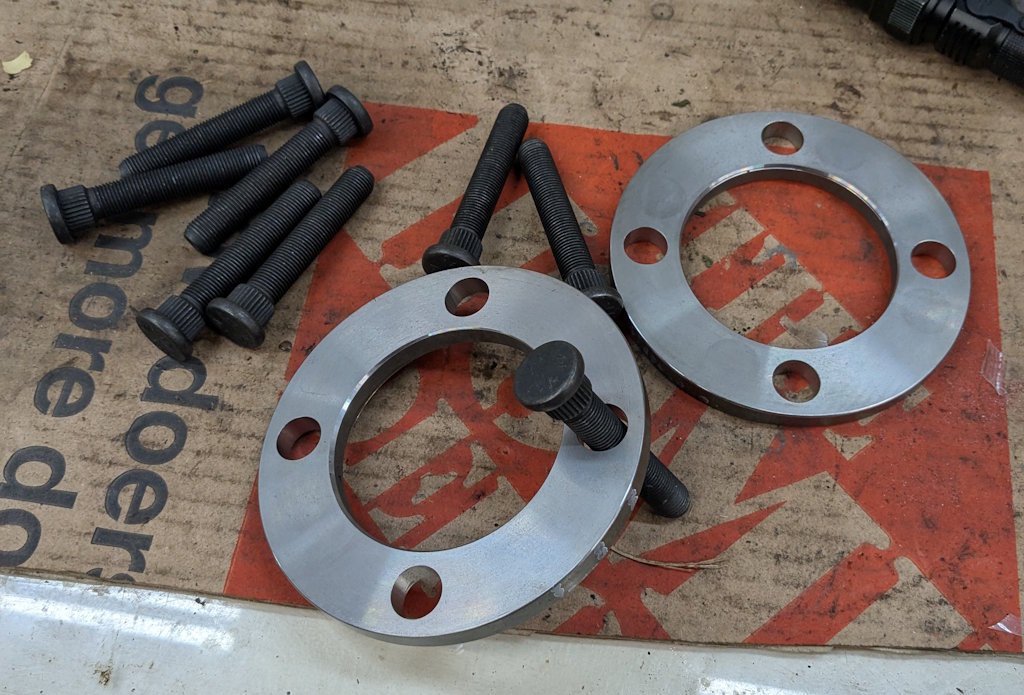
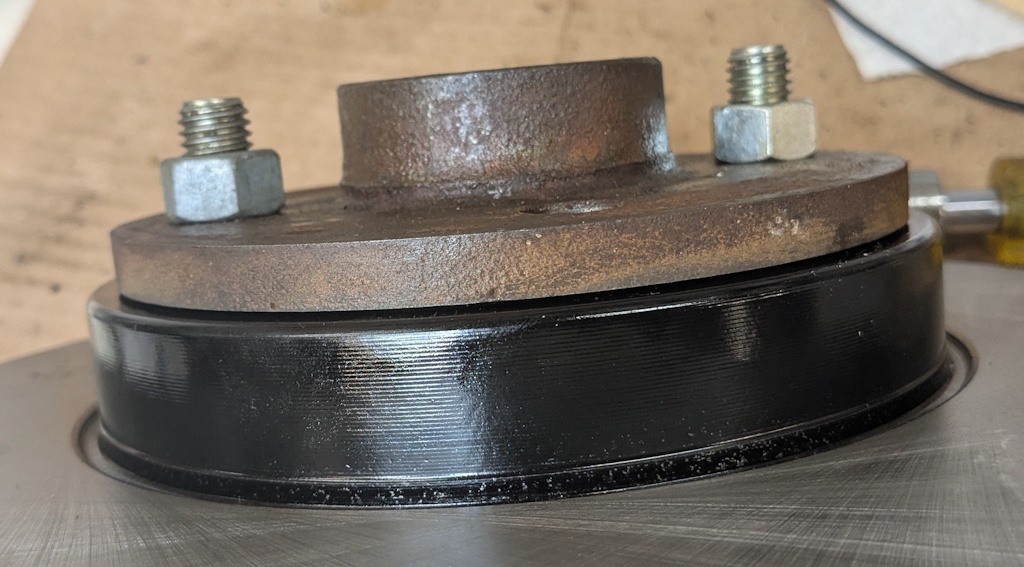
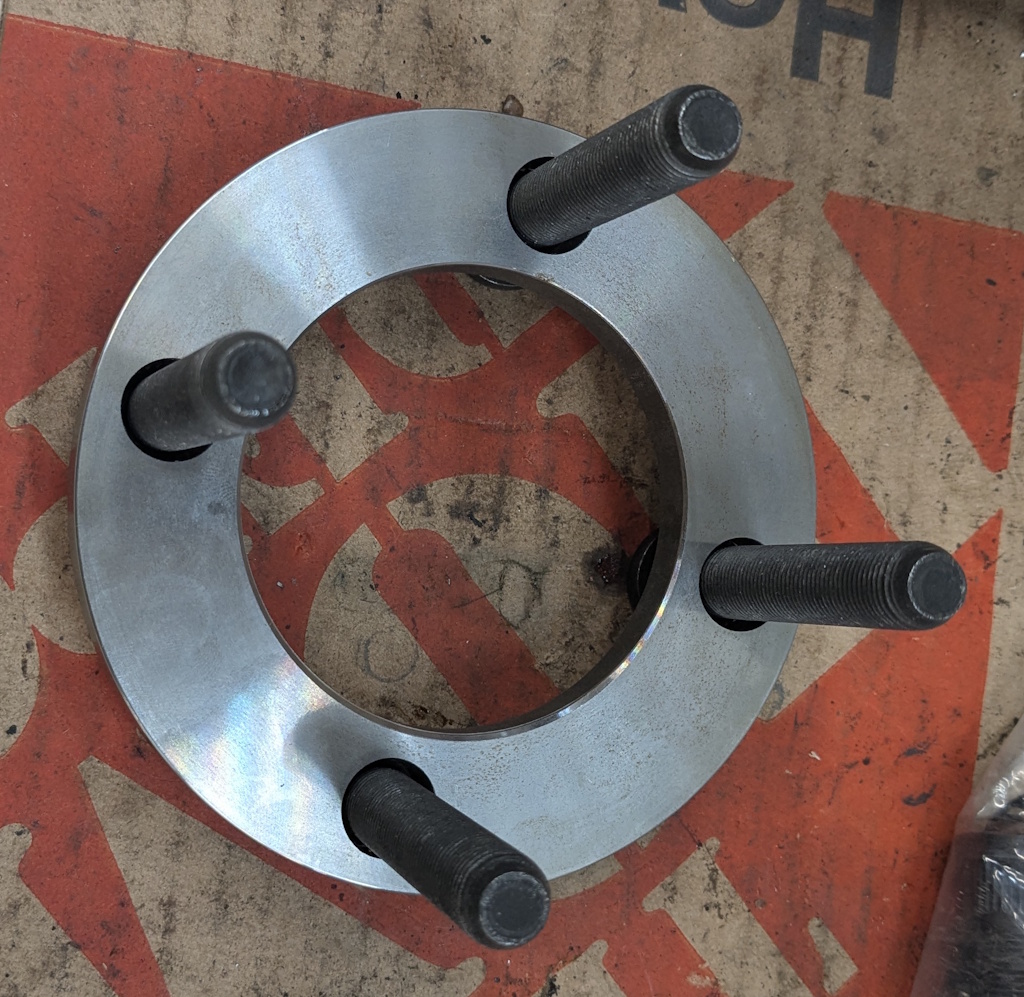
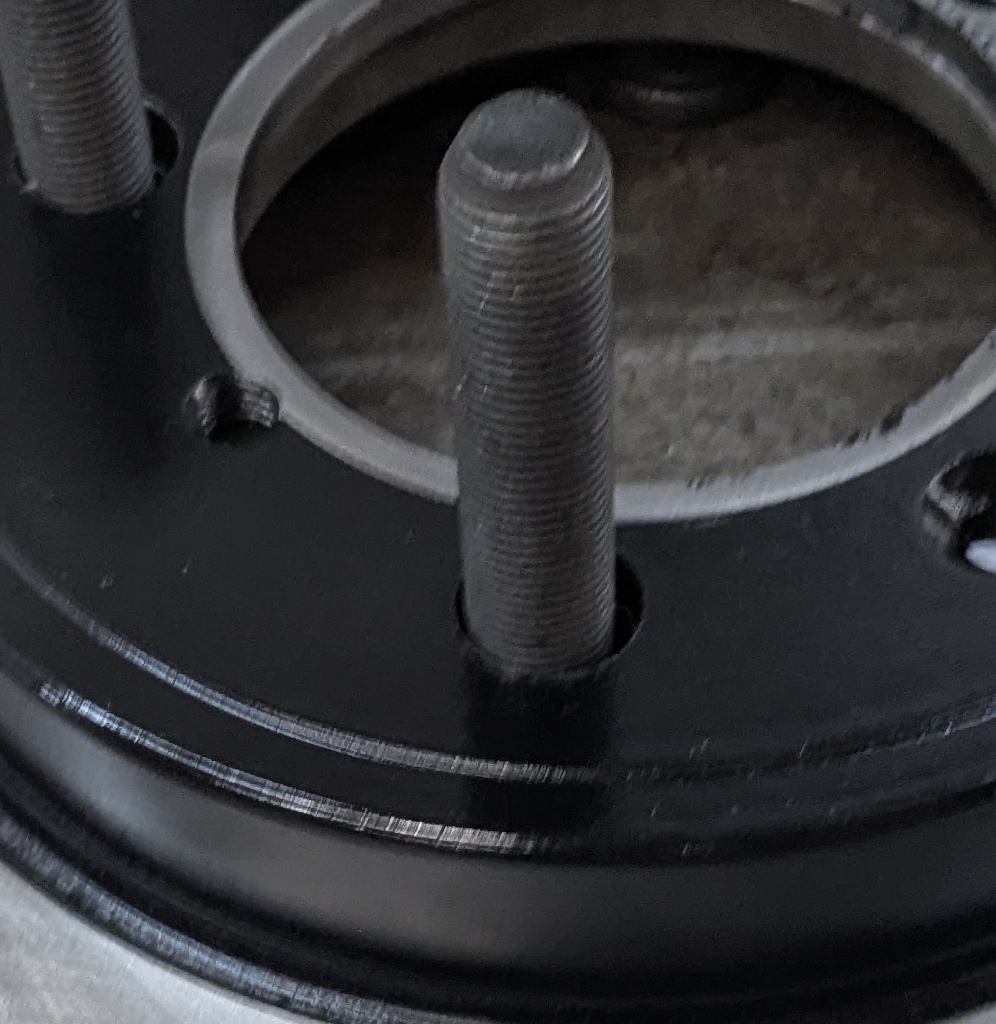
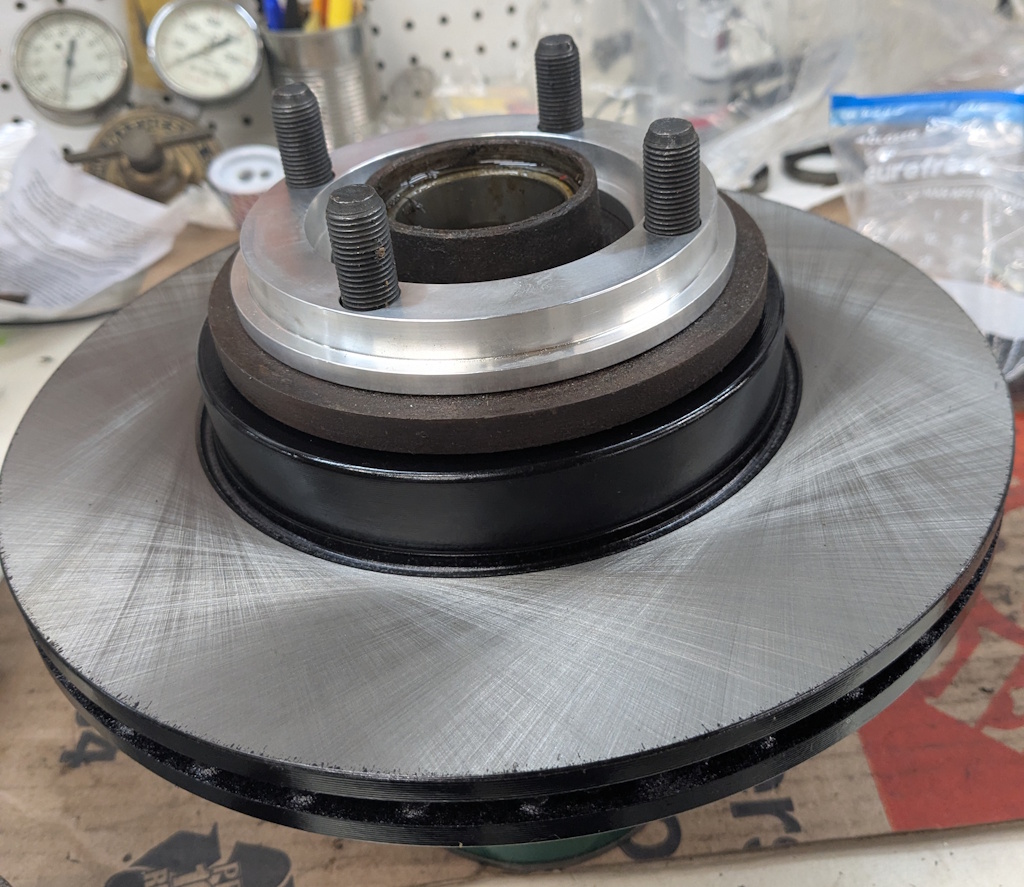
The discs fit super nice on the hubs. This picture does not really show anything, I just thought it looked nice.I am running out of things I can do without tearing the car apart, but I wanted to mock up the hub assembly. This steel ring will eventually have the new studs pressed into it. These are standard splined studs, just extra long. For now I just set the ring on them. Next the rotor goes over the studs.Then the hub goes on.Finally, there is a custom aluminum spacer. This pushes the wheel out enough to clear the disc. These parts are all nicely machined and fit perfectly. The next step is to put the car on the lift and start fitting components. But it will probably be a couple of weeks before I can get to that.
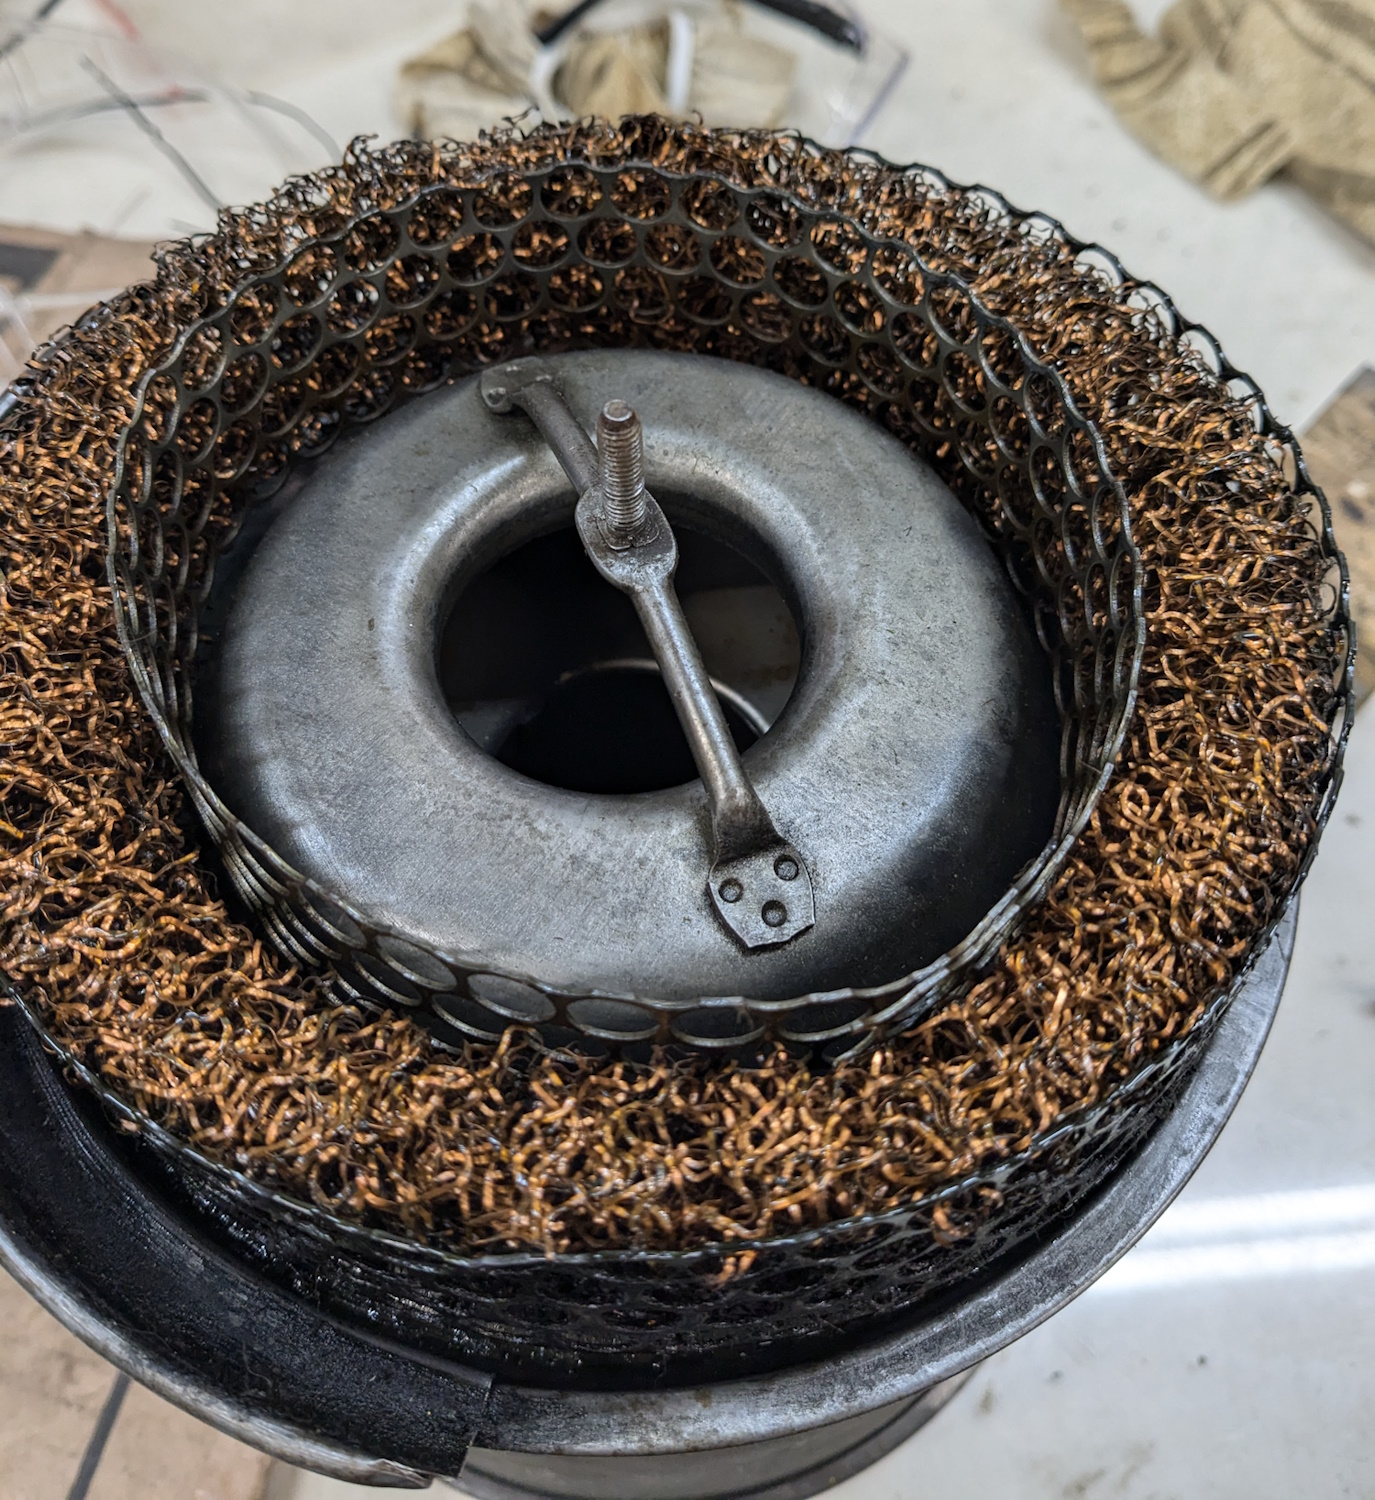
The “factory” air filter is just this ring of copper “wool” soaked in oil. This was used in “clean” regions. Studebaker also had an oil bath version used in “dusty” regions. I have never been happy with it, you can see through it which means a lot of unfiltered air is going into the engine. So I started looking for alternatives. Continue reading →
It is bound to get cold soon so I decided to jump on the nice weather while it lasts. I wanted to check out the oil pressure regulator while changing the oil but I seem to have misplaced the rebuild kit I bought a year or more ago. That really annoys me because I keep an up-to-date inventory of parts including where they are located but I must have missed the regulator kit. It is a tiny box and I probably put it somewhere clever and/or stupid. But for now I can just do the regular stuff.
20 years or so ago I lucked into a guy who was street rodding a 41 Studebaker. I bought all the parts he did not want including a spare engine, overdrive transmission, and a differential. I always meant to tear into the diff to see if the brake drums were any good but never did. But when I was looking at the parts book I noticed that it showed a cover to keep road debris out of the parking brake slot. That was missing from my car so I decided to see if the covers were on the backup diff. I had to dig the axle out of the shed and haul it around to the garage, but I will spare you that part of the saga.
I figured out more than a year ago that my flasher was the reason the indicator light in my turn signal switch is not working. I have tried a couple of flashers. I even took one apart to see if I could modify it. Nothing worked. So I decided to throw technology at the problem.
Last night I got the third brake light installed but did not install the rear seat. Part of the reason is that there has been a loud squeak coming from back there and I want to take a stab at fixing it.