I left off the last post with the passenger side front brake locking up when the brakes were applied. Time has been short but over the last week or so I have been pecking away at it.
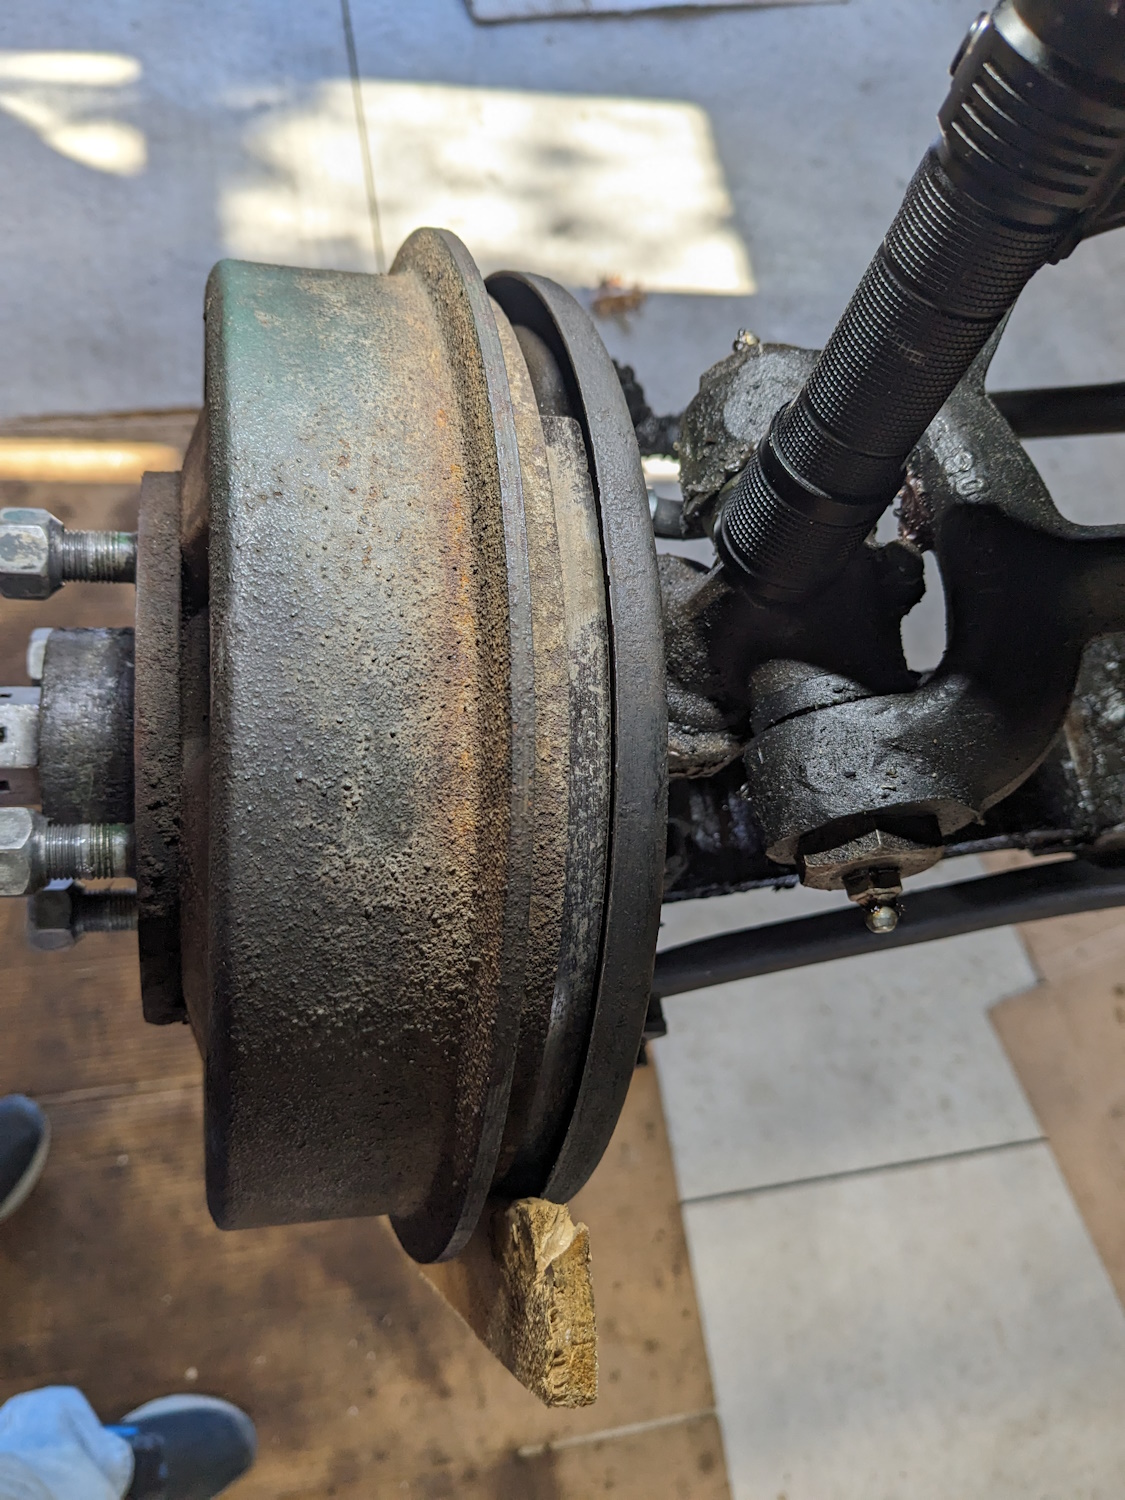
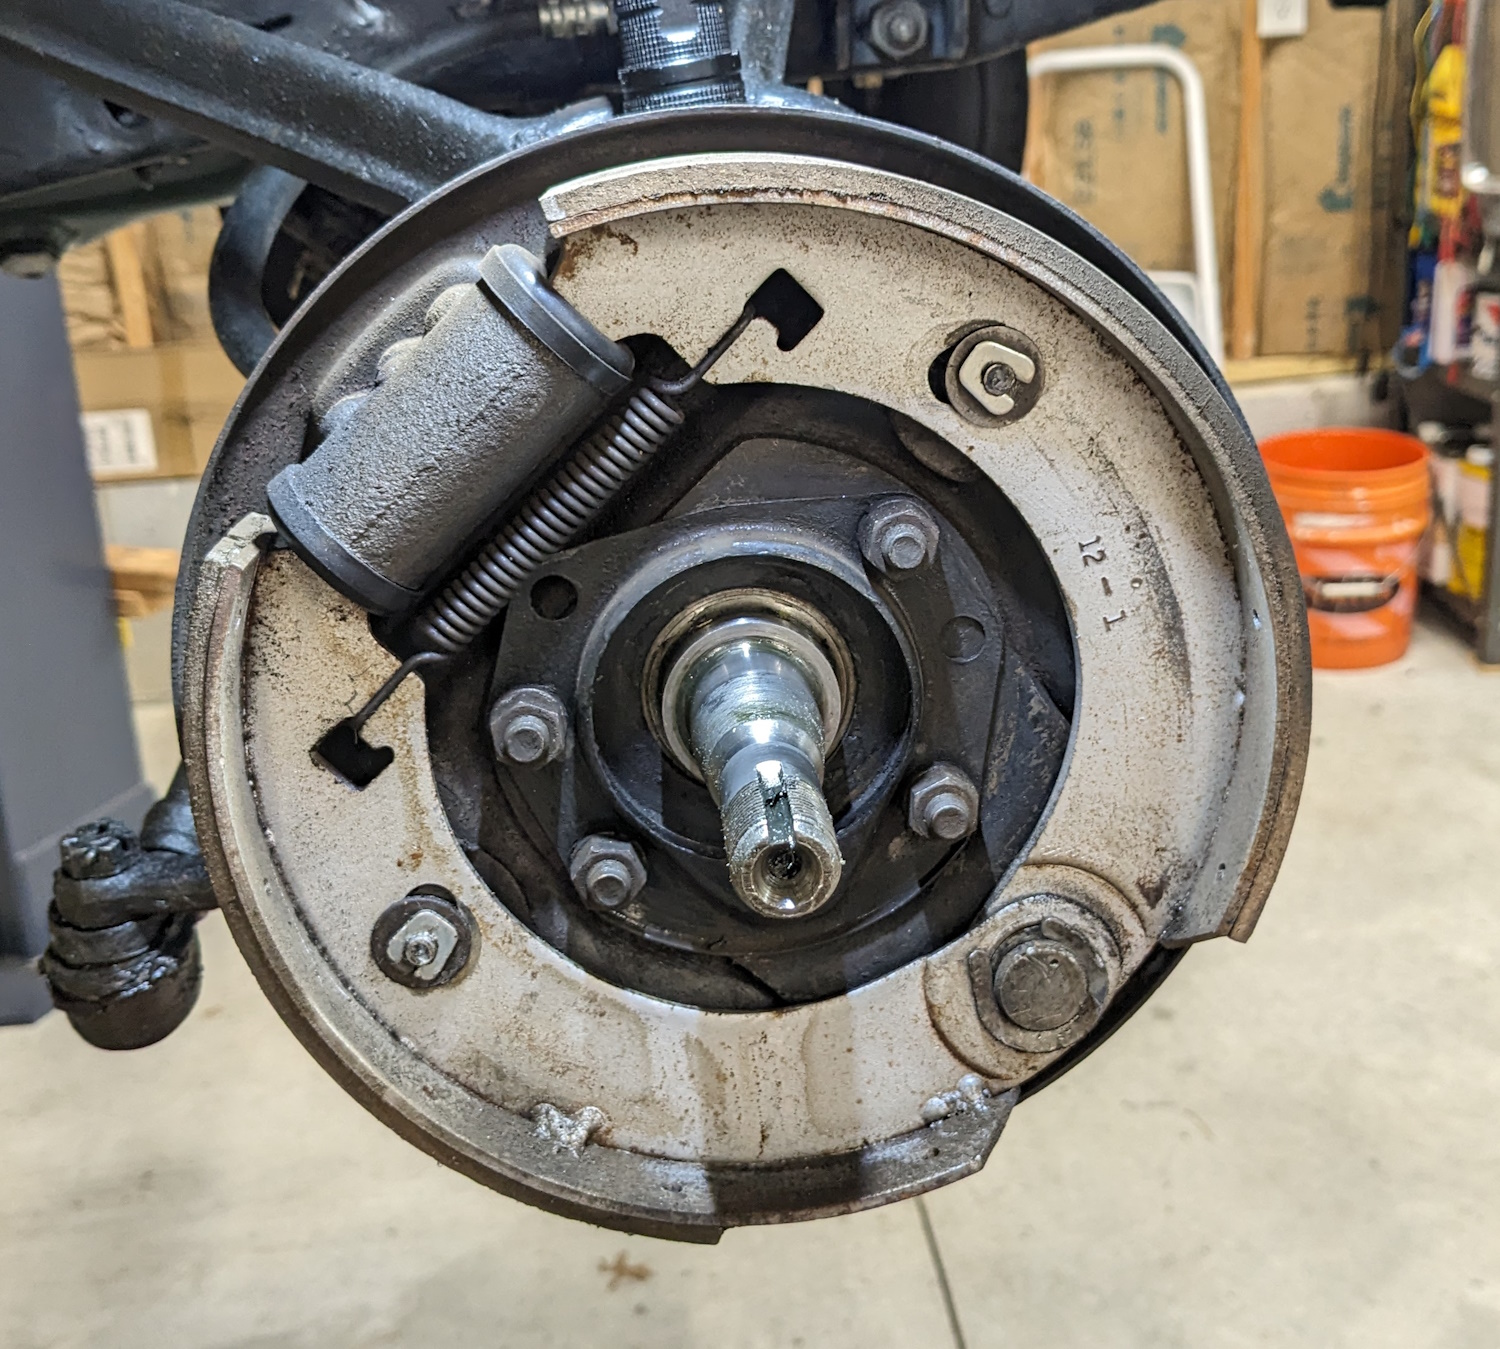
I fooled around for a while like this trying to see what was happening. It did look like the front shoe was binding against the drum. I was trying to figure out why when I realized that like most problems on the car this one is my fault. Not a ton of people read this, but I would have hoped one of them would say “Hey dummy, the small shoe goes in the front”. Because it does. I don’t know what I was thinking when I put these on back in 2020. Well, that explains it. I pulled the shoes off both sides and also dug out the old shoes I removed. My feeble excuse here is that on the old shoes the linings are the same length on both sides. Back in 2020, I replaced the old shoes because one had been contaminated by a leaky cylinder and they were squeaking. I cleaned them as best I could before I stored them and now I can’t even tell which one was leaked on. You can see clearly here that the new shoe has not been making great contact with the drum. This is the shoe that was incorrectly installed as the trailing shoe but still these don’t really arc to the drum well. I could make that happen but the old shoes are awfully tempting. They mate to the drum perfectly already.After some thought, I bit the bullet and put the old shoes back on. I am 80% sure I got the shoes back in their original positions. If they still squeak or otherwise not perform it is not that much work to change them.Now back to the Ammco 1750 to center the shoes. I actually read the service manual this time and it said to only adjust the leading shoe to .005″ at the bottom and .010″ at the top, measured 1.5″ from the end of the lining. I could not do that and still get the drum to not drag, but that may be because the leading lining covers the entire shoe. I got it as close as I could and called it good. The brake no longer seizes, so maybe this is better?
For my future reference the brake drum sizes were: RF: .070″ LF: .085″ LR: .058″ RR: .060″
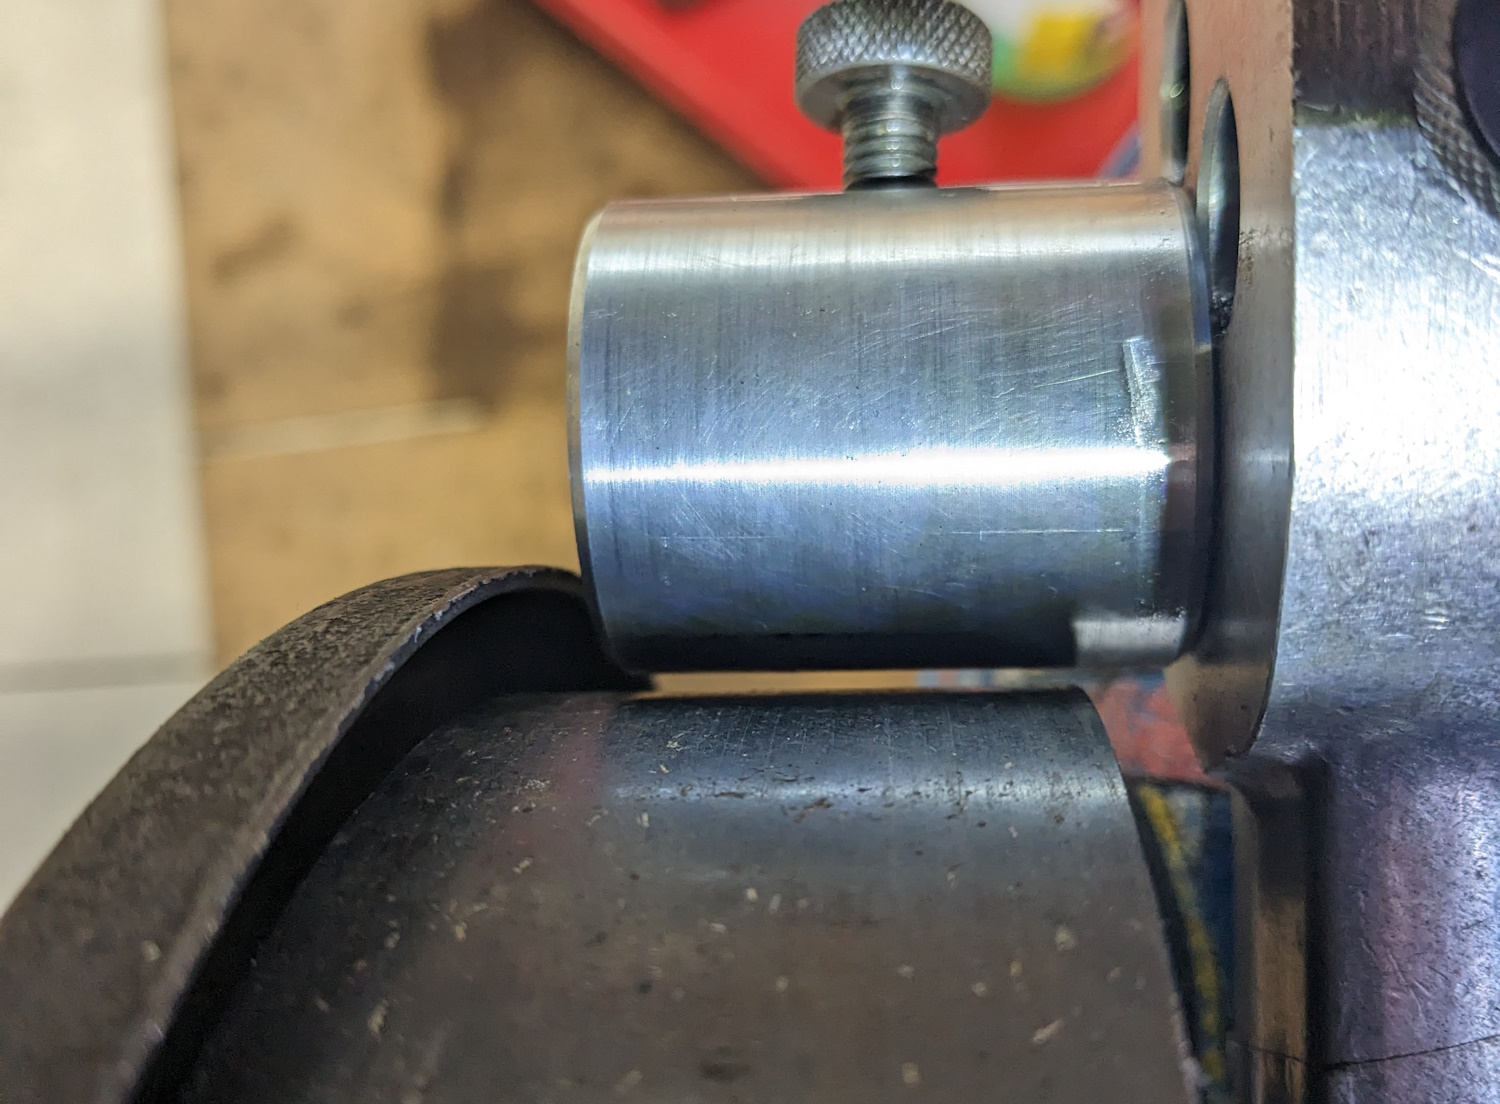
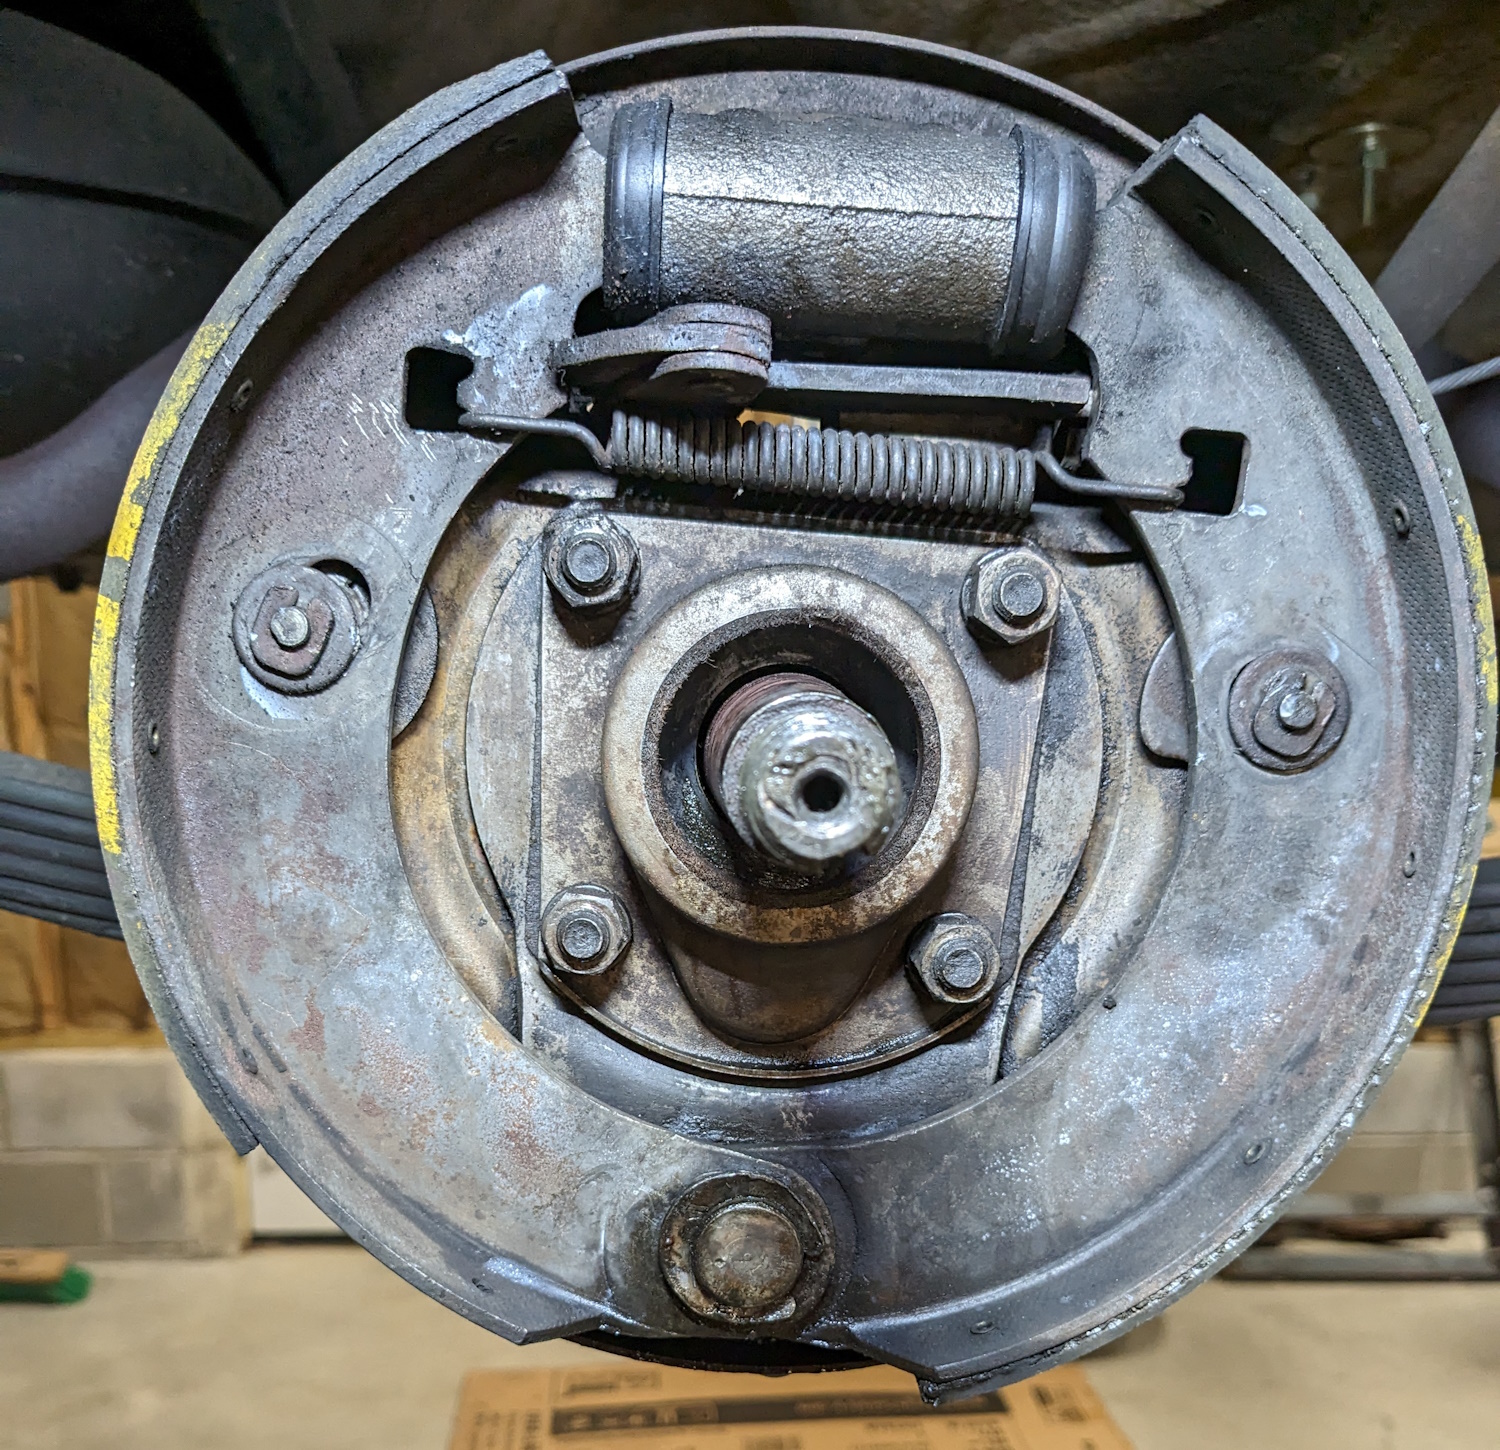
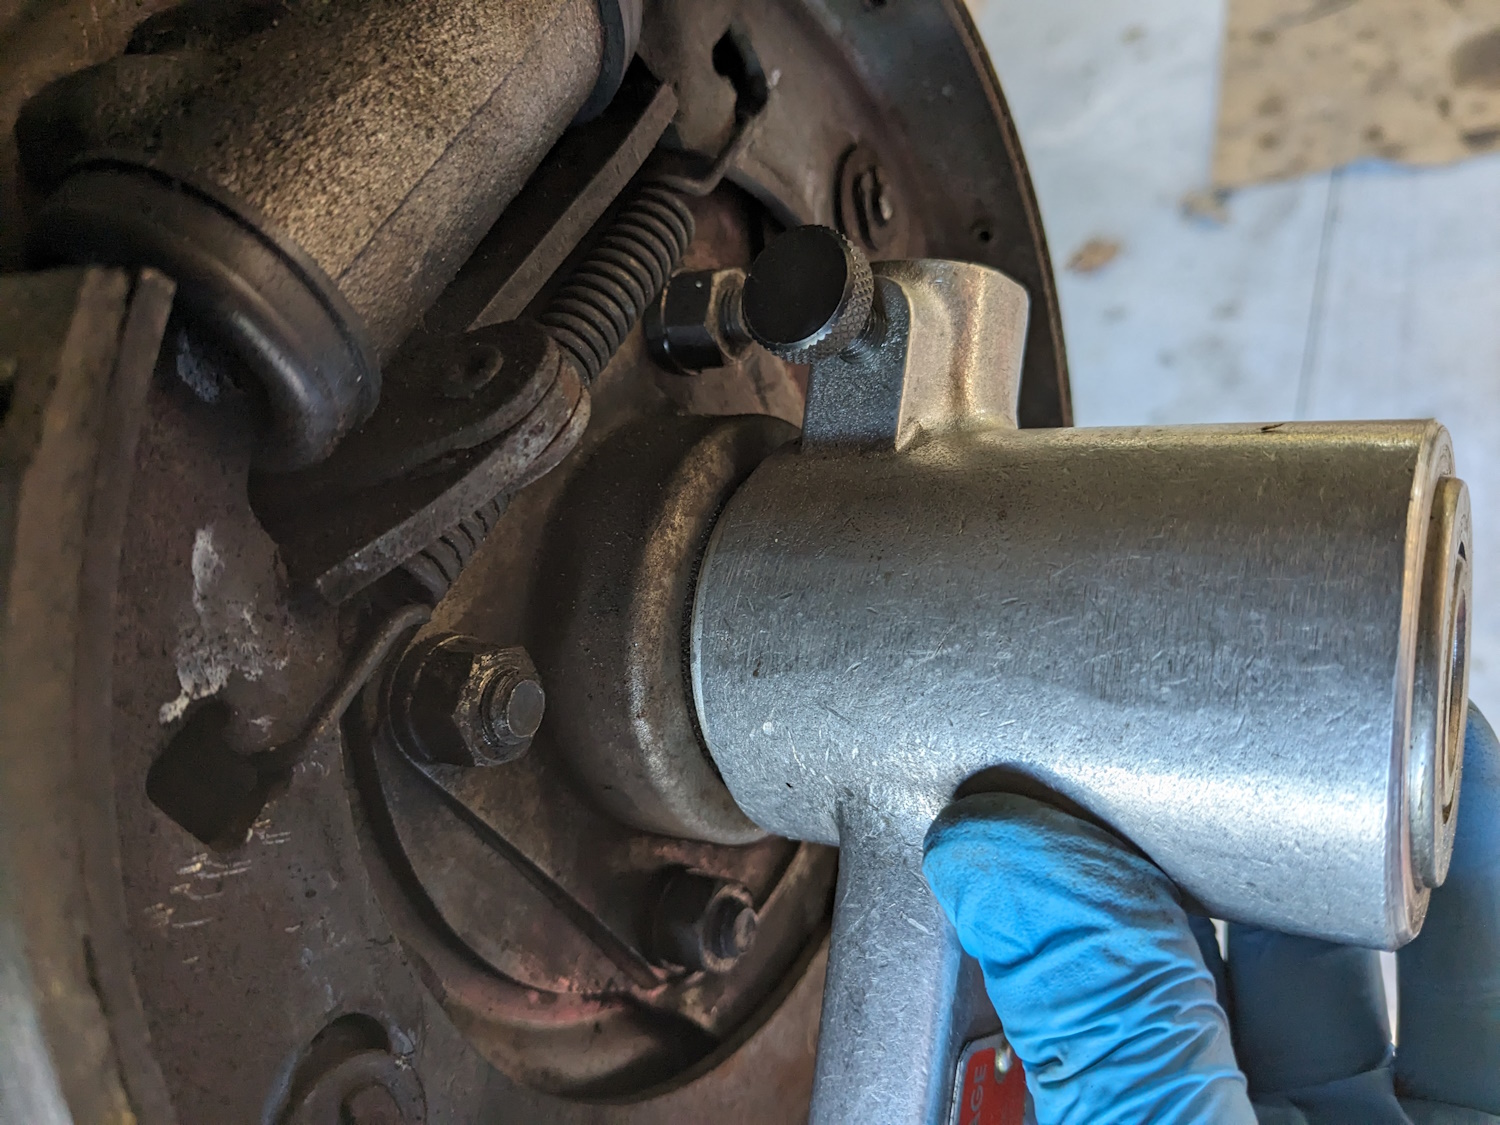
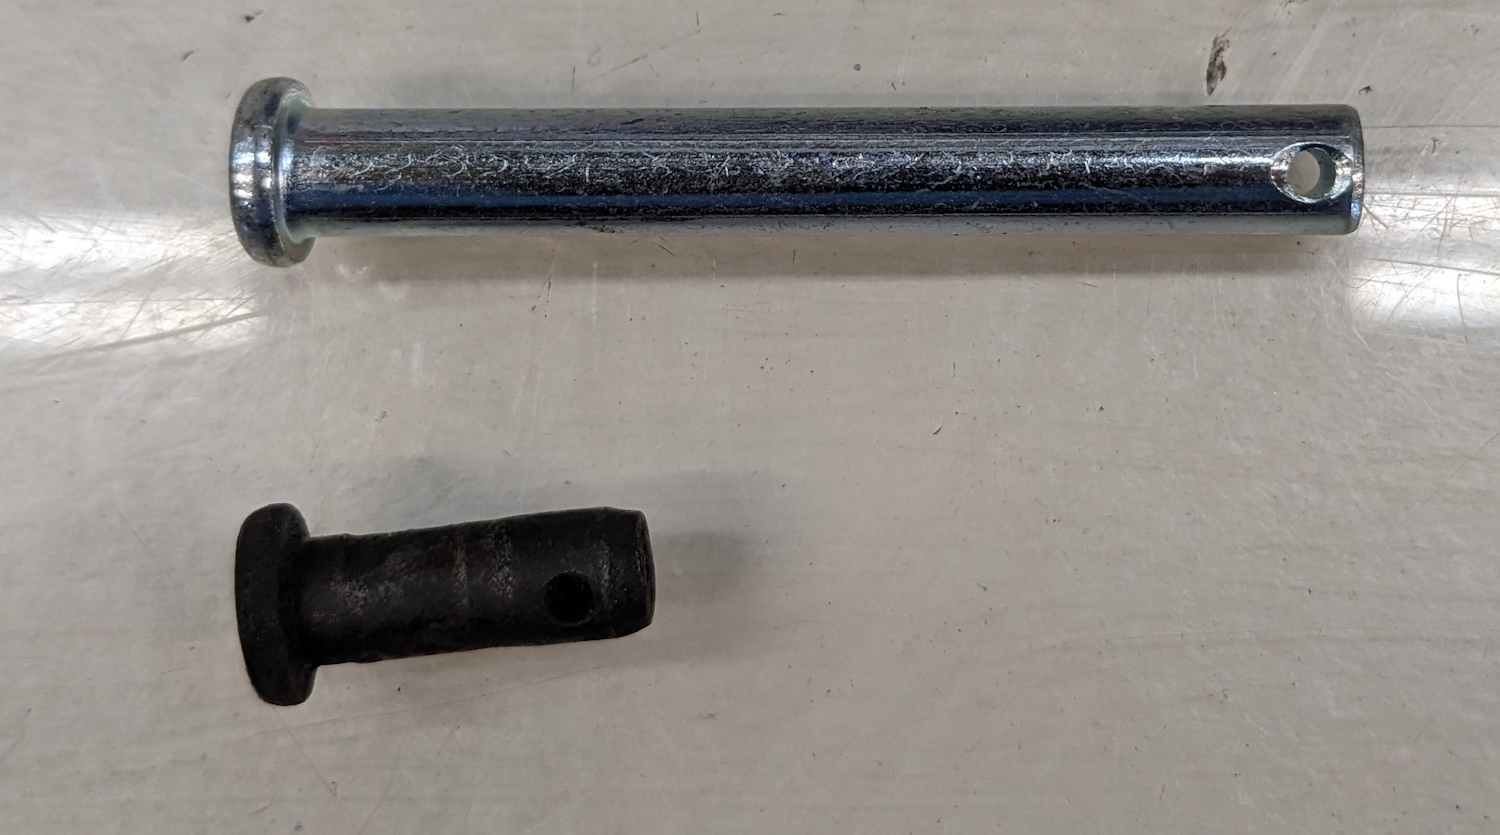
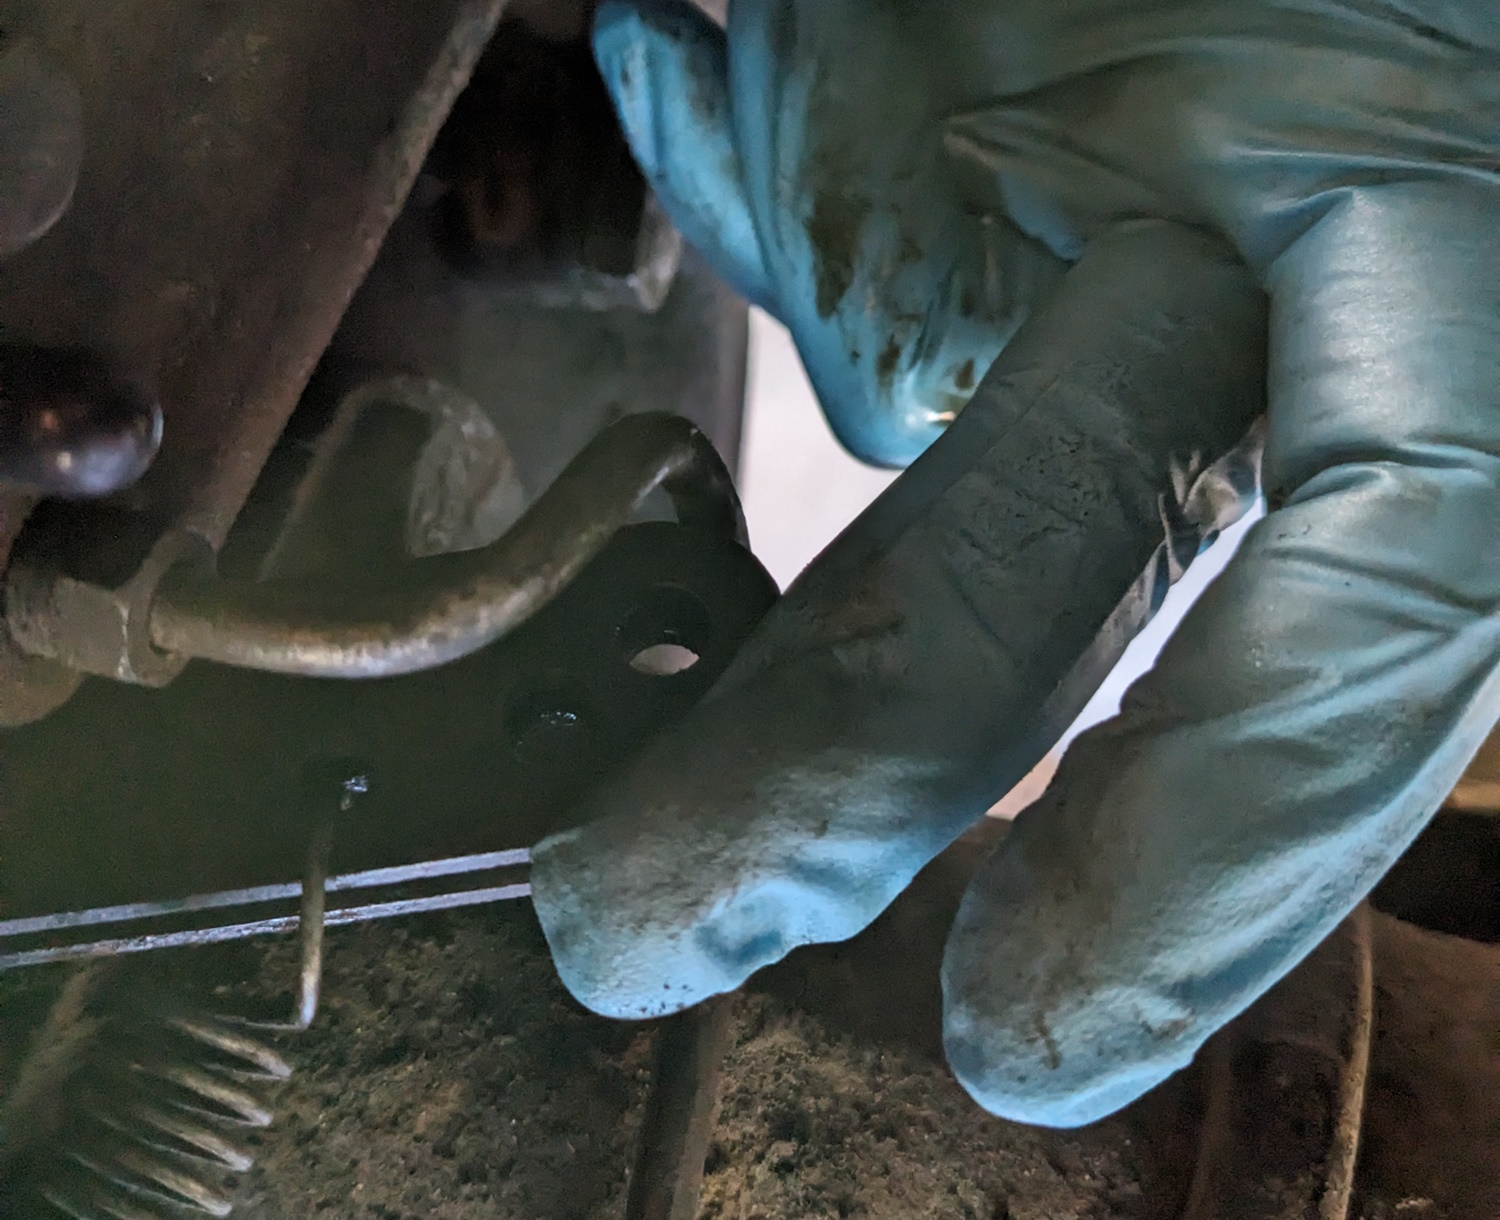
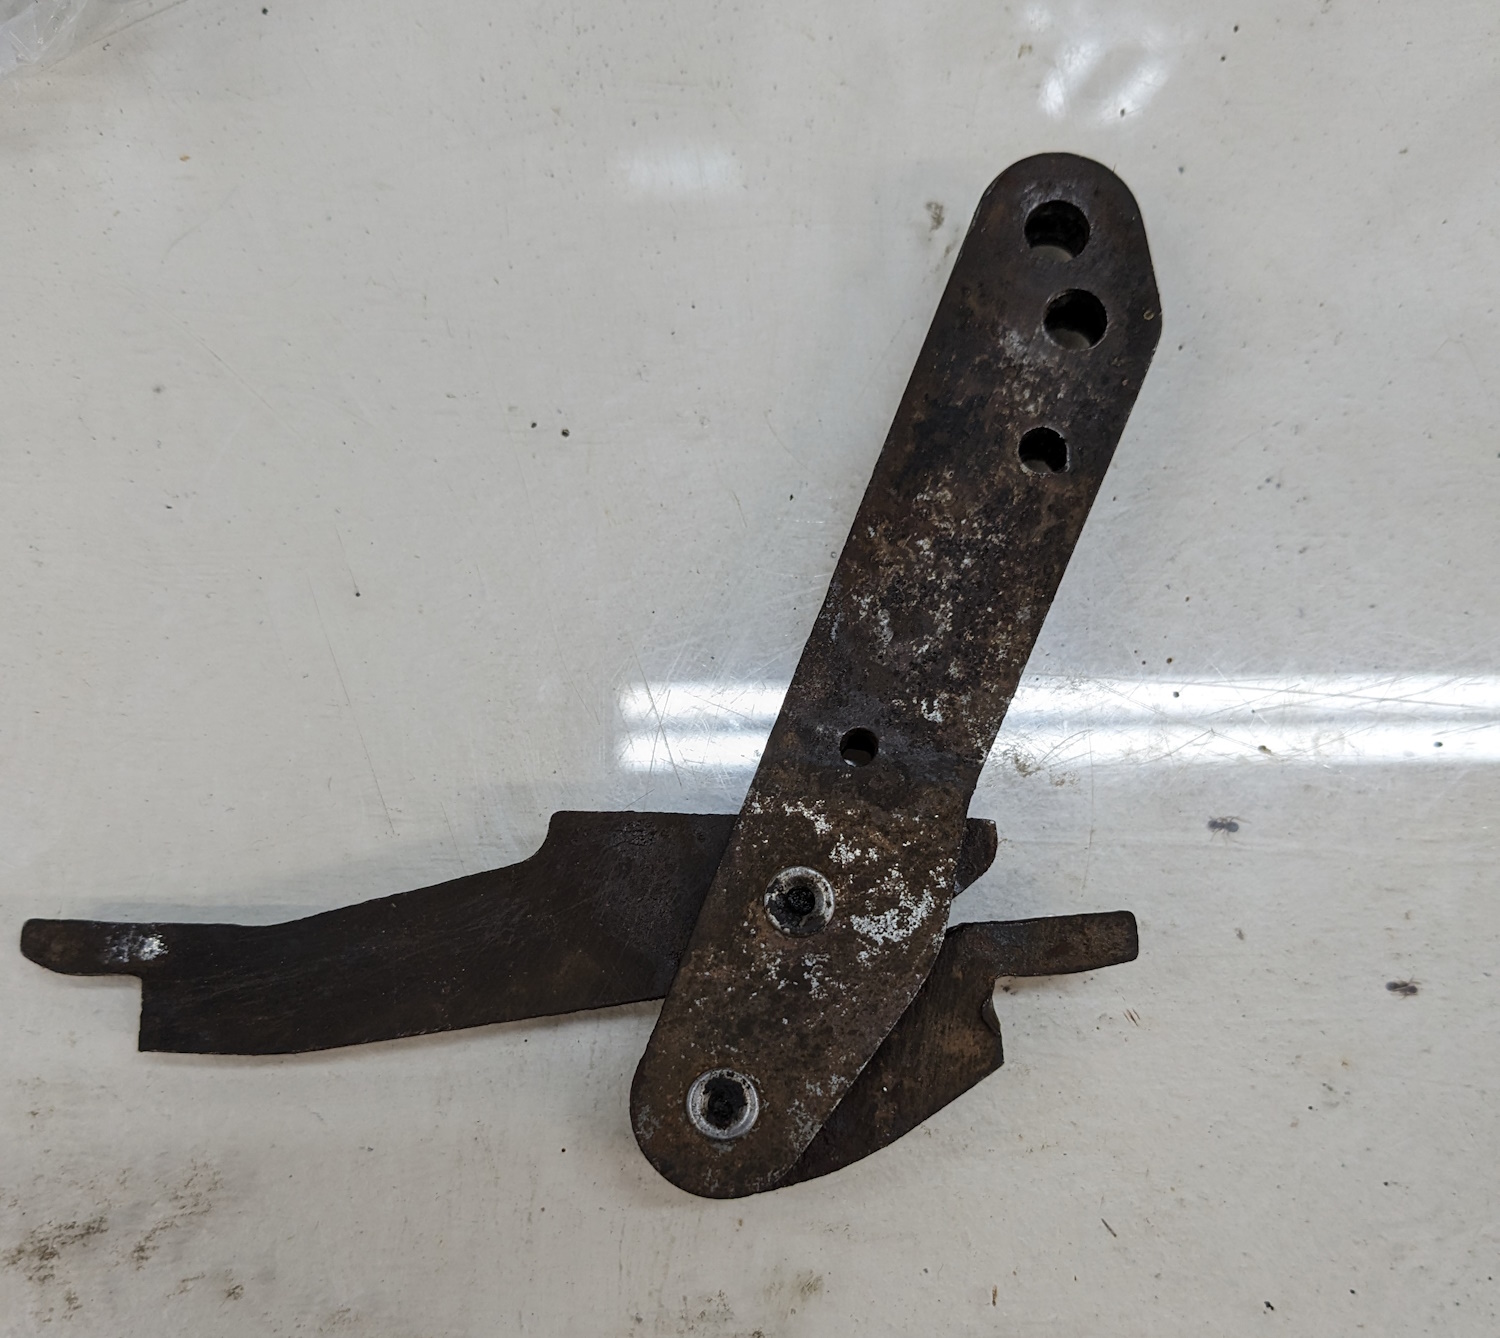
On to the back wheels. As usual, I put the puller on then lowered the car so the axle rested on jack stands. Then the spring is not absorbing all the energy from the hammering. Both drums popped with minimal hassle. Great. The small shoe is in the back here too. It has always been that way since I got the car. I don’t want to move the shoes around so it will have to stay this way until the shoes get replaced. Here is where I found yet another flaw in using the Ammco 1750 on the Champion. The axles are too short and to narrow to hold the tool steady. The inner part of the tool flops around and makes it impossible to get a good reading. After ransacking the garage for something that fit both around the axle and inside the brake gauge I found this. It is a plumbing washer of some sort that fits tightly around the axle and has a cone shape to hold the brake gauge steading. I hope to find a better solution for this problem but this should work for now.The washer worked better than I had any right to expect. Since it fits tight up against the grease seal the end of the axle still engages the outer bearing. Using this I was able the center up the brakes the same as I did up front.After adjusting the rear brakes the parking brake cable needs adjusted as well. The cable is held to the adjuster with a clevis pin, but on one side someone (probably me) had substituted a nut and bolt. I might as well fix this too.I found a pin at the hardware store the right diameter, but over twice as long as the original. Lucky for me it is way easier to make things shorter than longer.The mini lathe made smoothing and chamfering the new end super easy. It was a bit tricky to get the hole drilled straight and on center but it turned out great.That lead to yet another problem. With the shoes close to the drum, the parking brake mechanism is coming perilously close to the brake line when properly adjusted. I popped the parking brake mechanism out to see what is happening. It is dirt simple. Here it is in the fully retracted mode (no parking brake at all). The narrow ends on the right and left hook behind the shoes and ride in u-shaped channels on the backing plate. When the parking brake is applied the cables pull the top lever, extending the bottom two arms out like shown. While there is some wear on both the parking break levers and on the brake shoes themselves but I think the biggest problem is thin shoes and drums. The farther out the shoes are, the more the levers have to move to engage them. I cleaned and lubricated the parking brake levers while I had them out. With the cables adjusted and the emergency brake on I tweaked the brake lines so they clear the mechanism. After that I installed the wheels, torqued the hub nuts, and put the cotter pins back in. Normally a test drive would be in order but the car is also running like crap right now, which should be the topic of the next post…
Comments
Brake centering and adjustment part deux — 2 Comments


Pingback: Carburetor 2024 | 1941 Studebaker Champion
Pingback: New(er) front brake shoes | 1941 Studebaker Champion