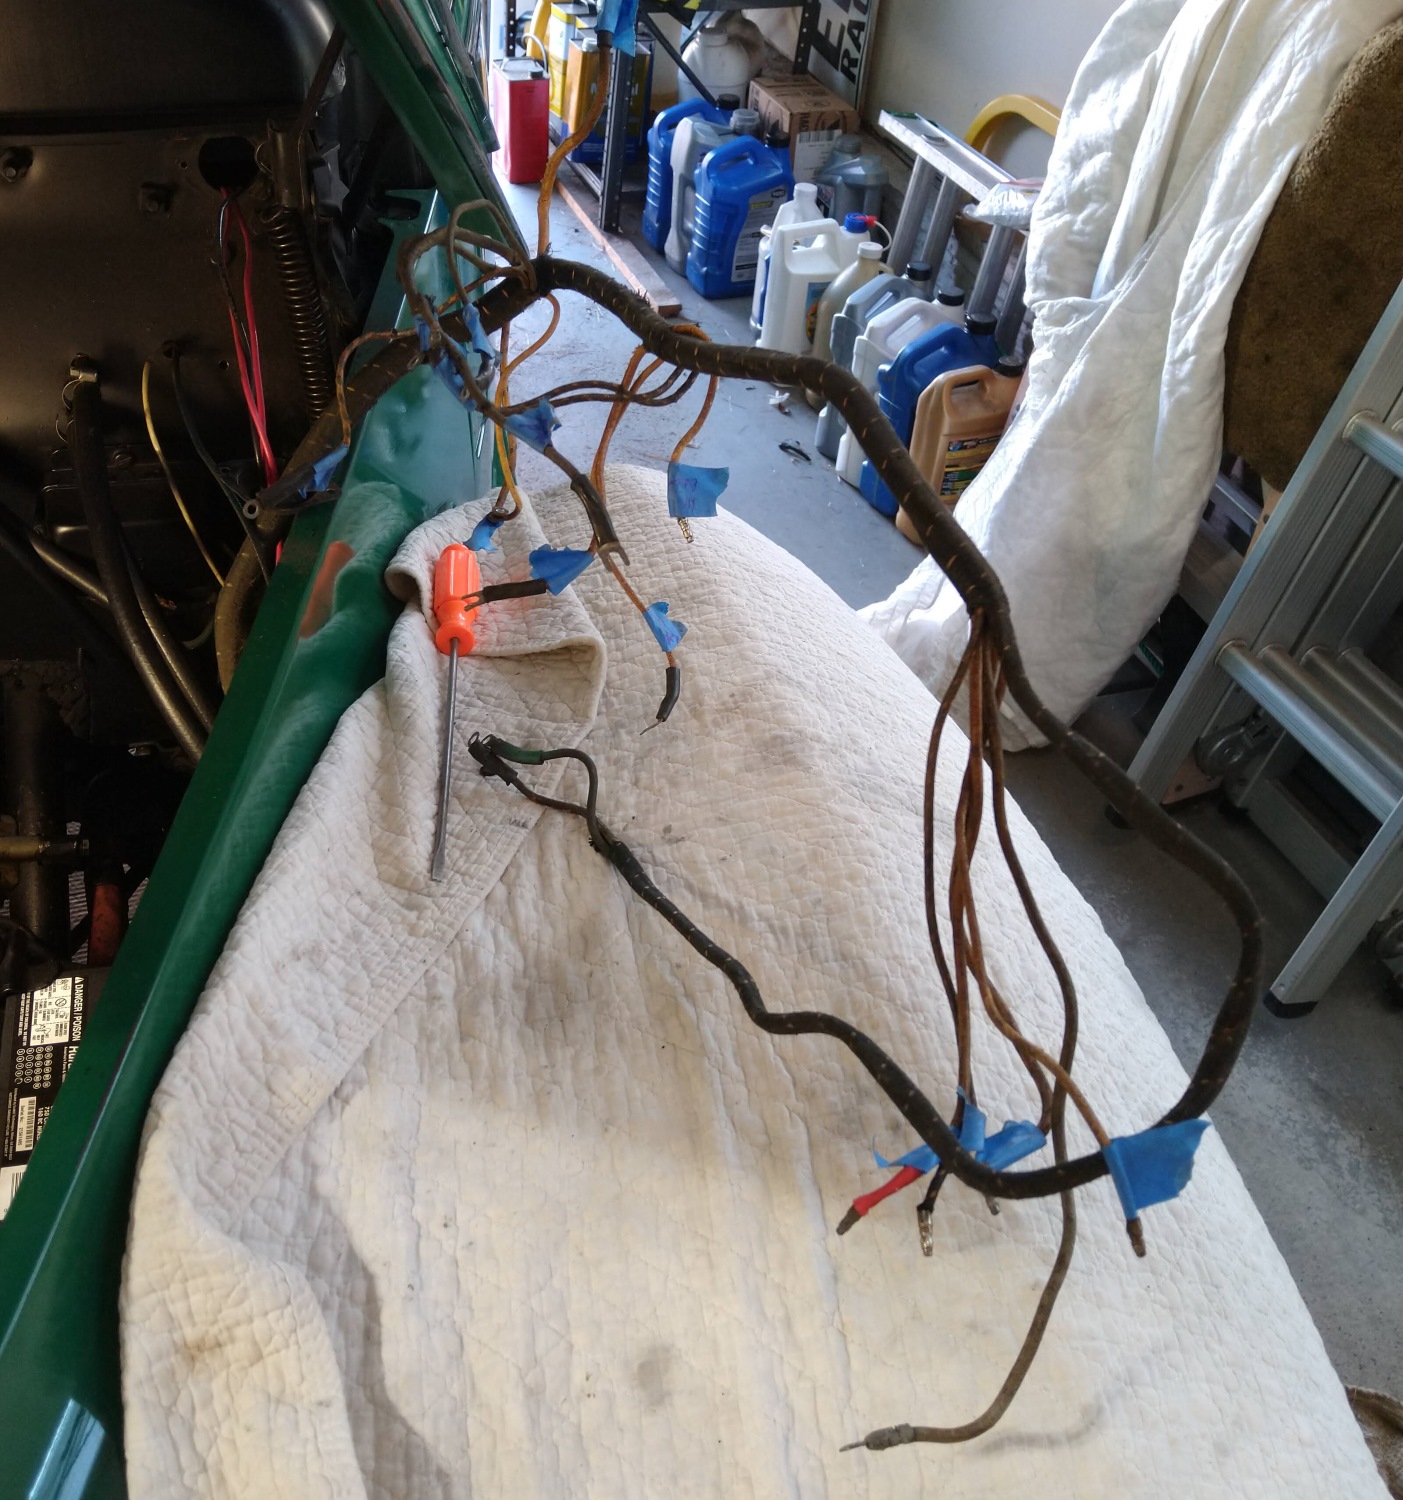
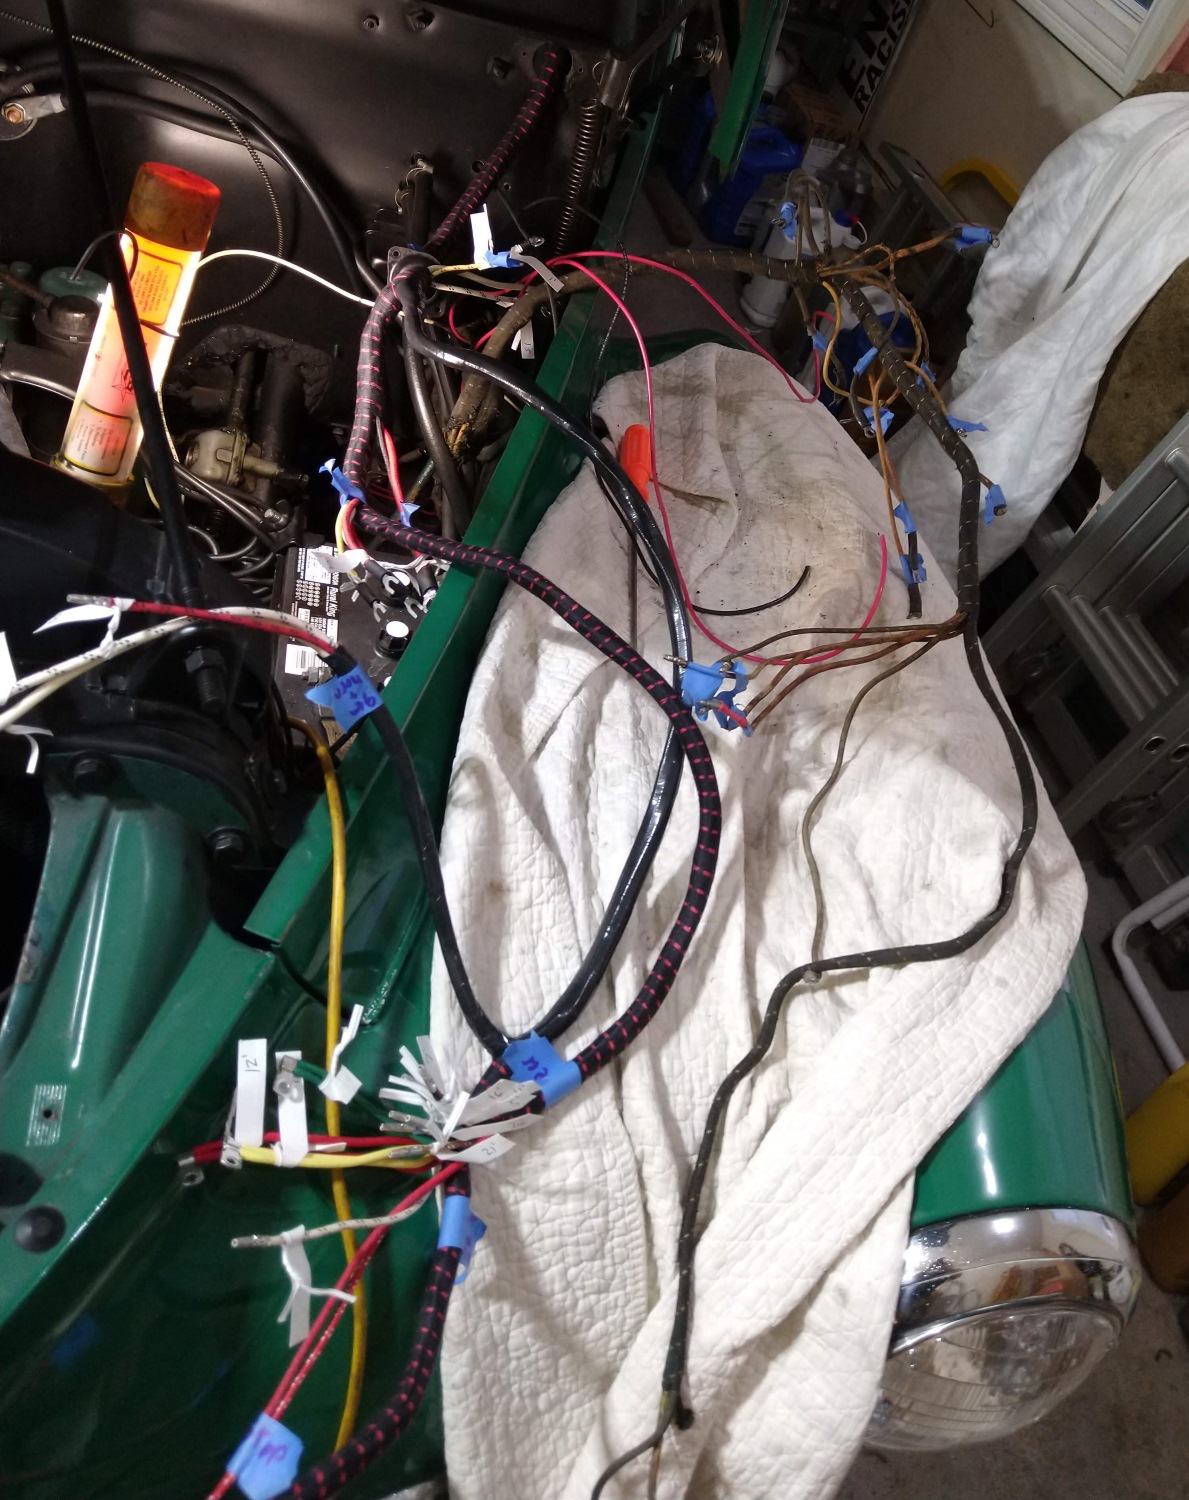
After a week I got back to work on the wiring with more work under the dash. Lots of labeling and disconnecting but finally was able to start pulling the harness out through the hole in the firewall.
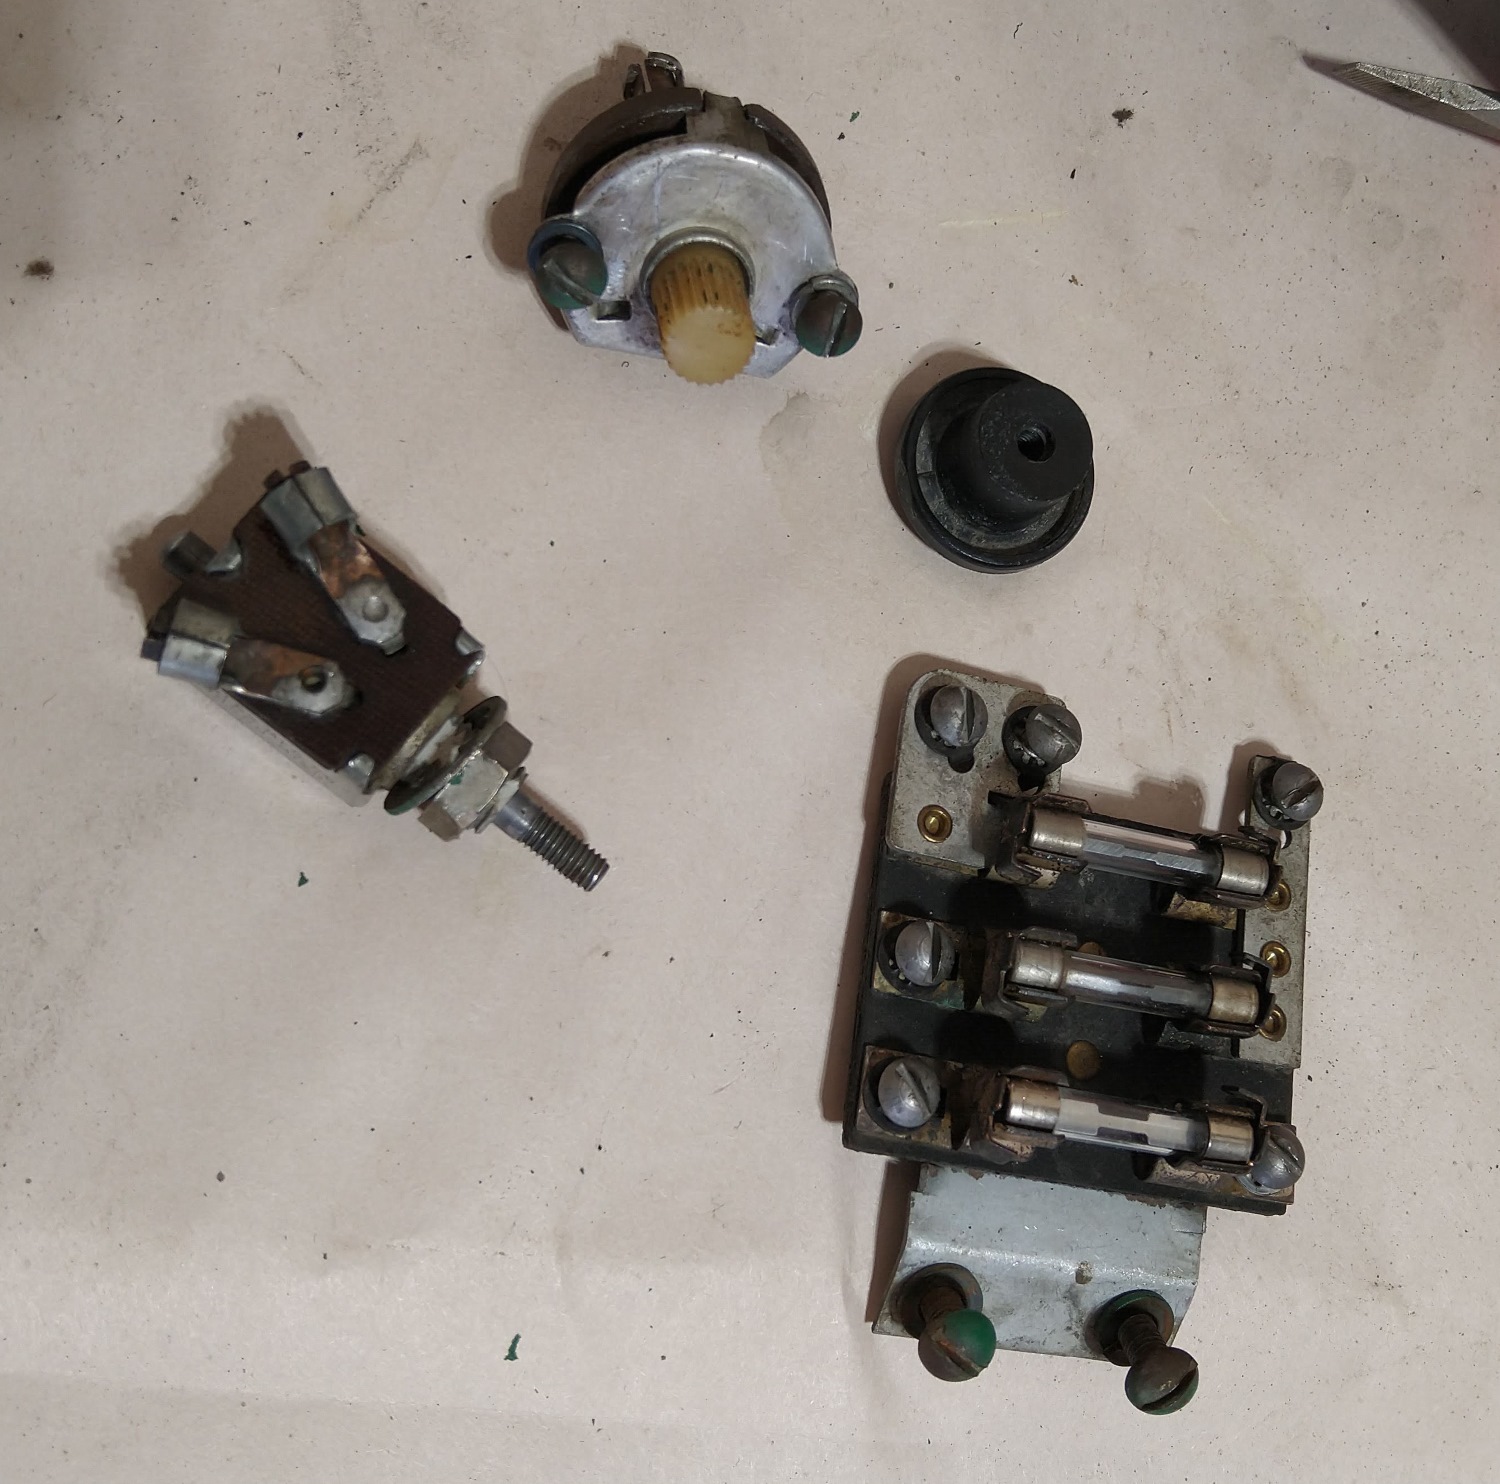
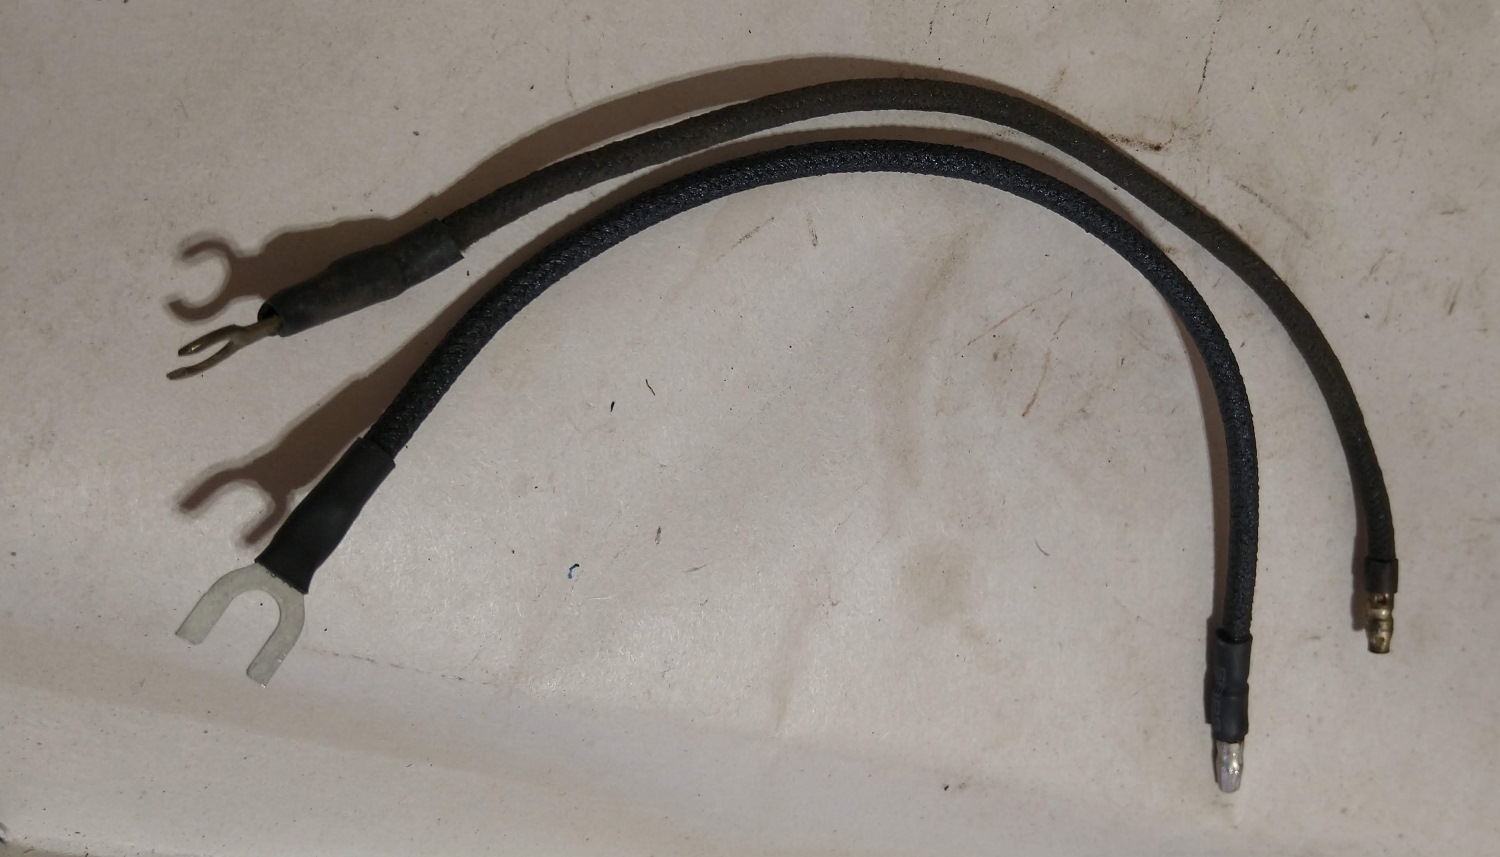
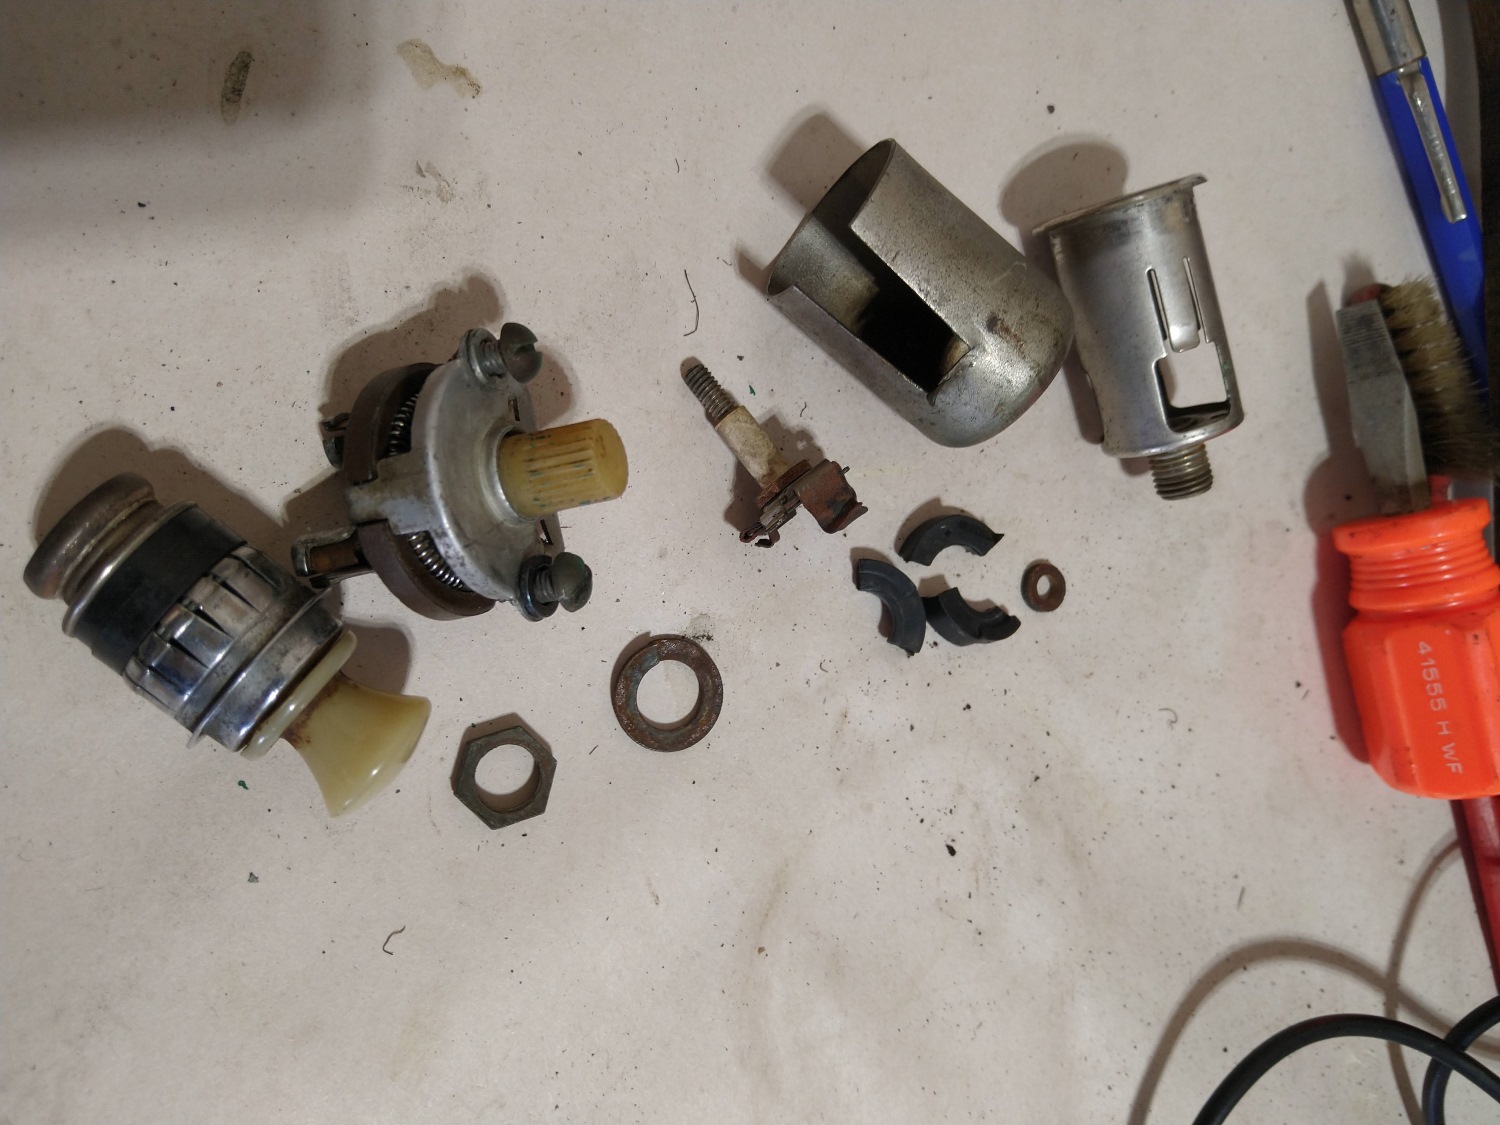
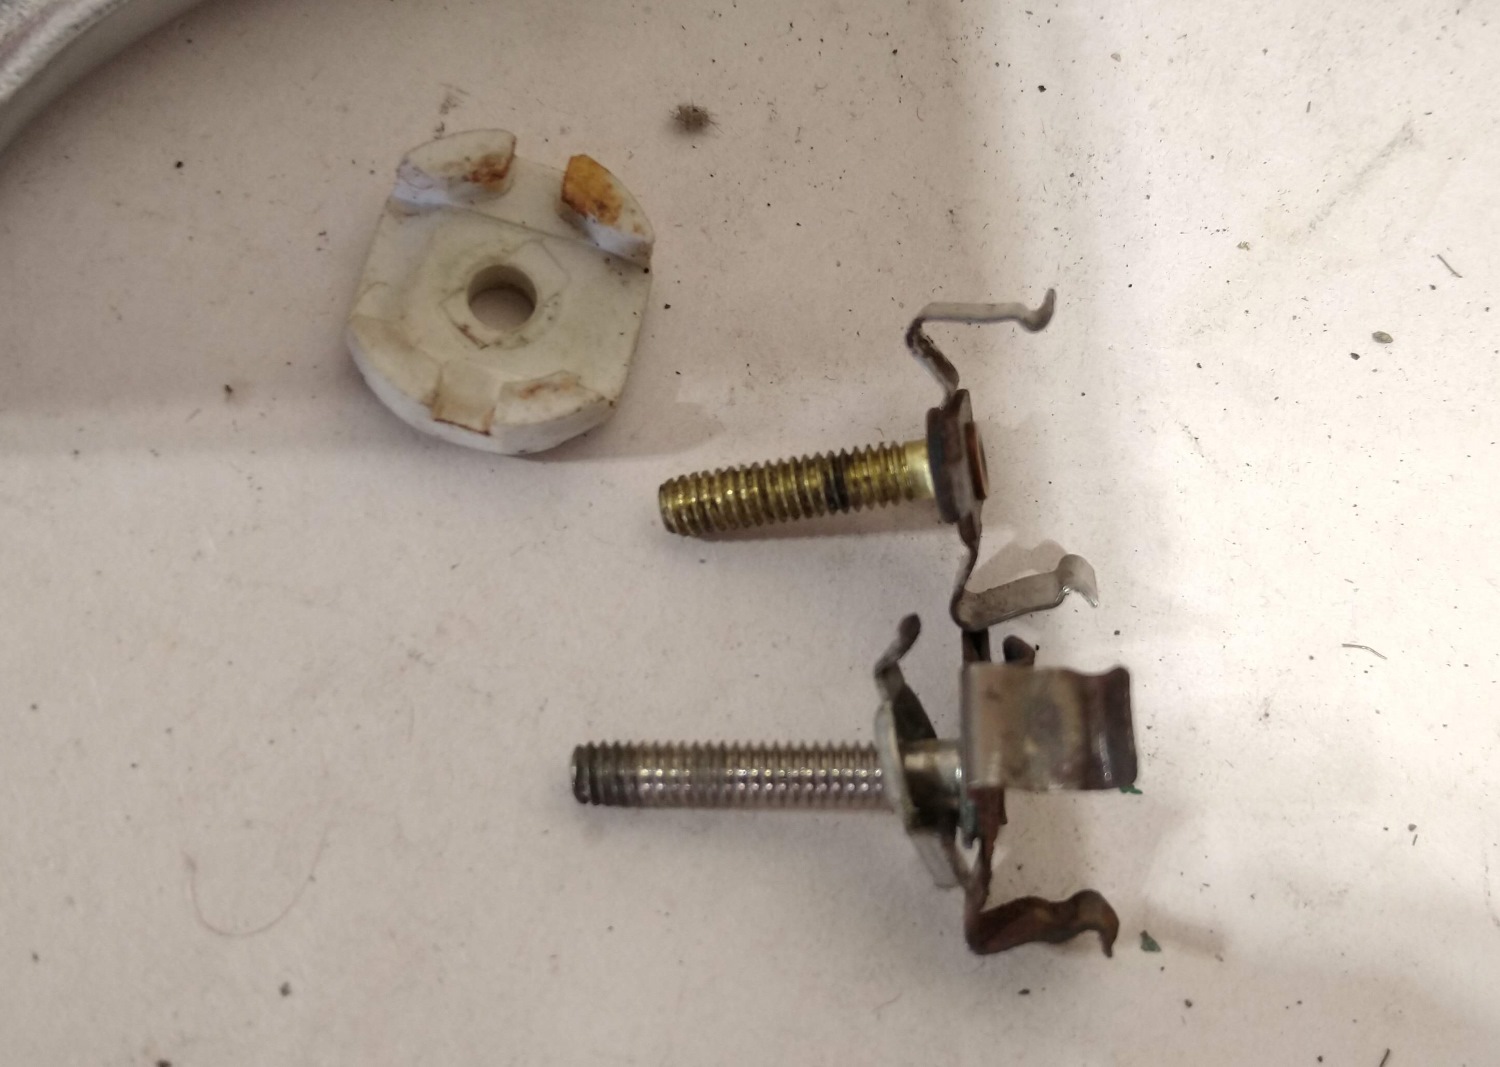
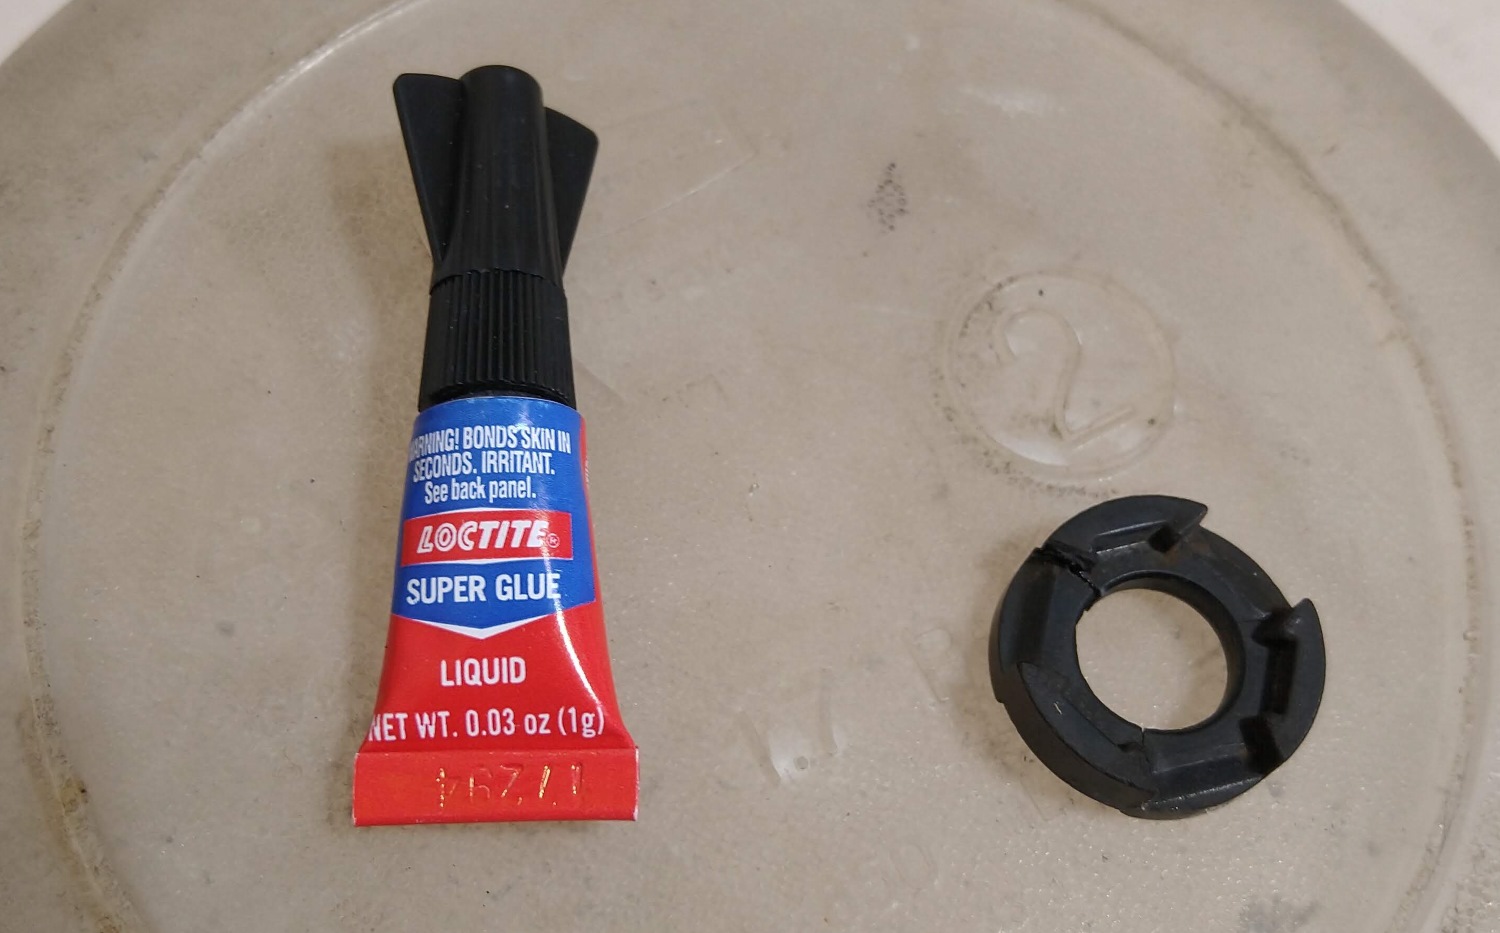
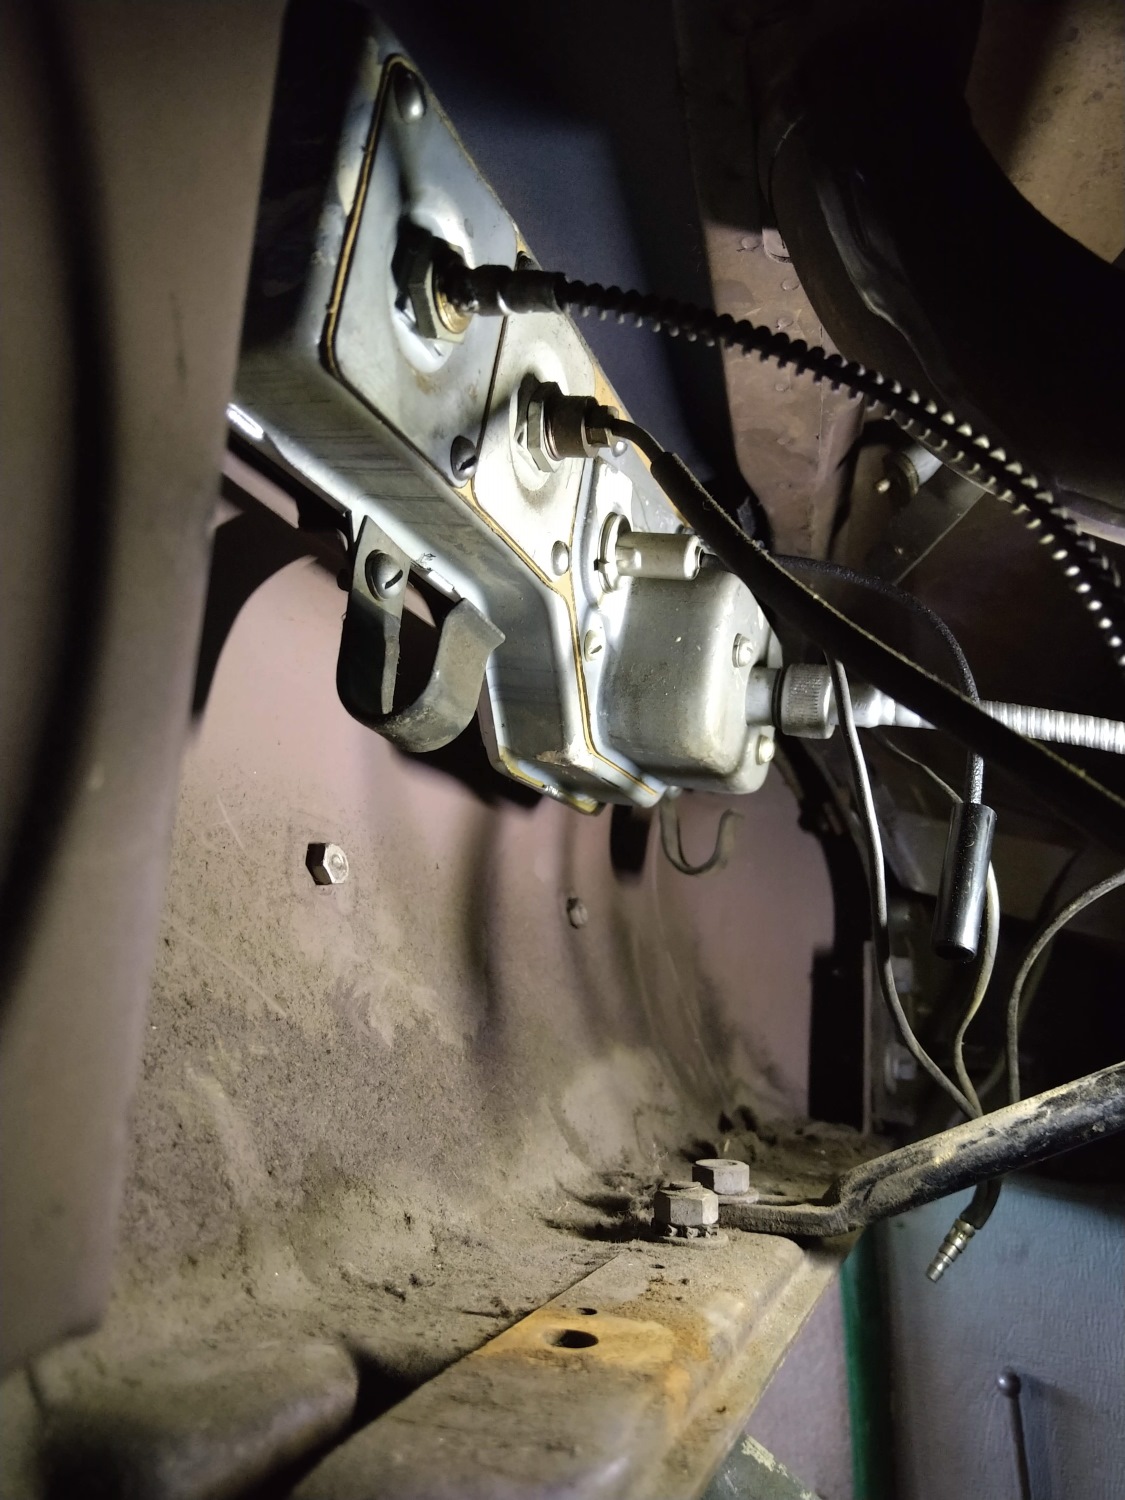
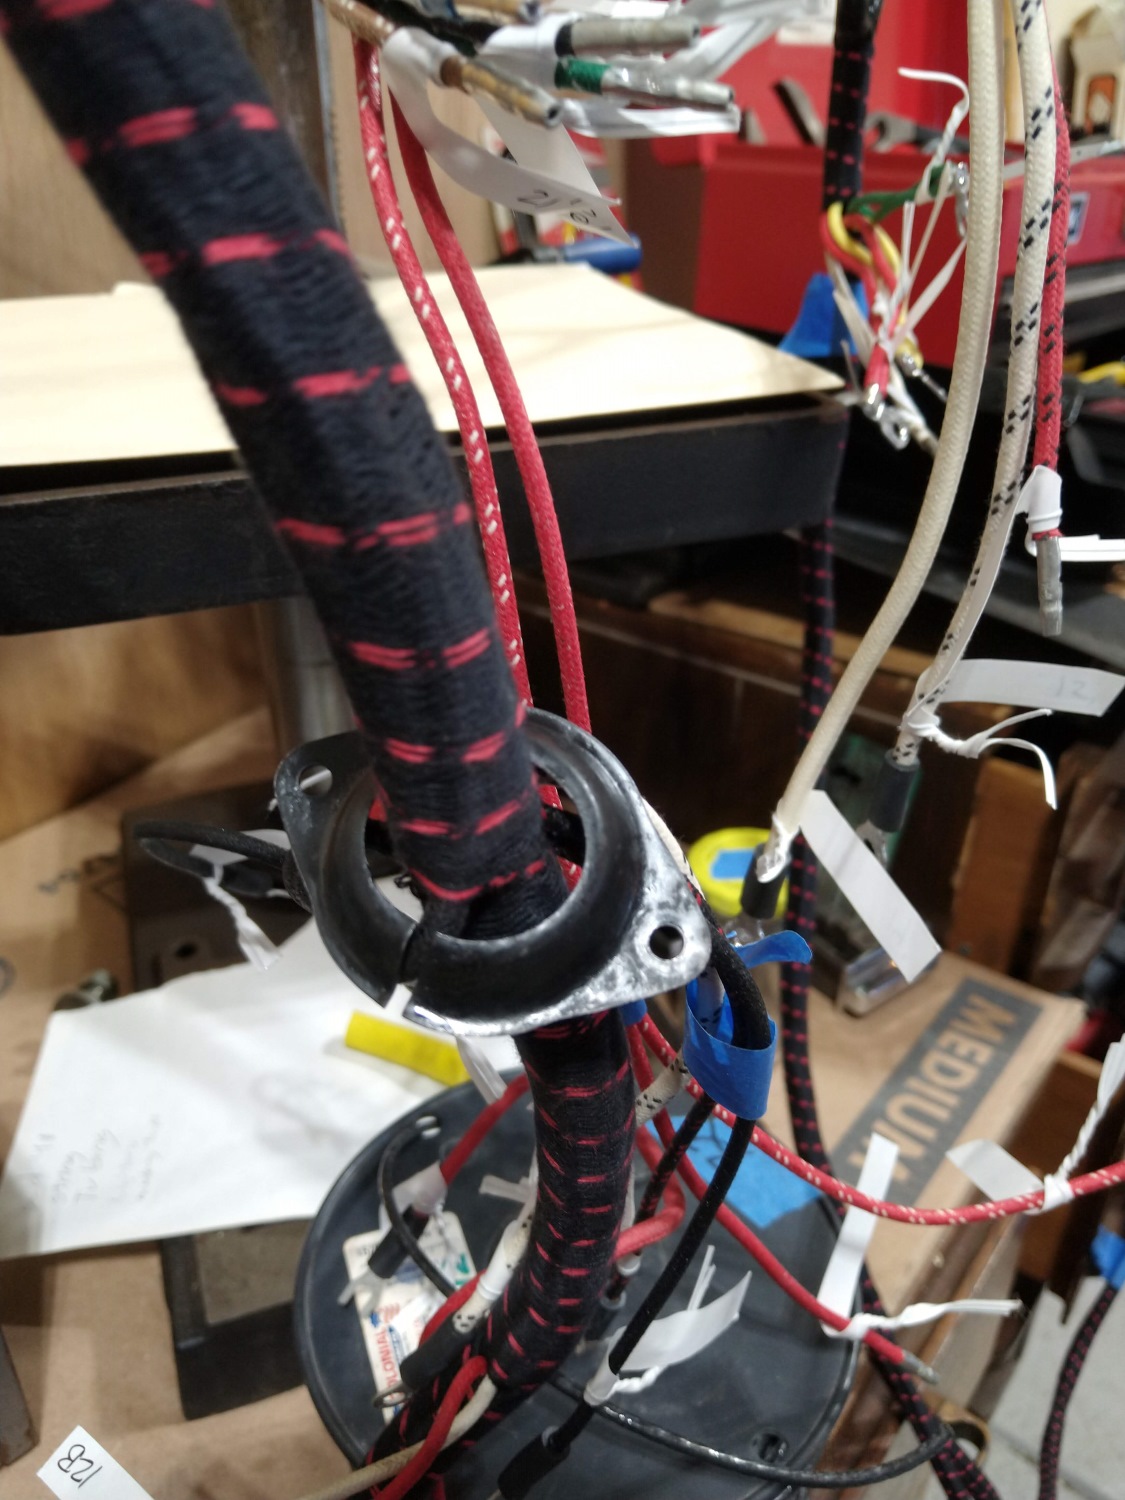
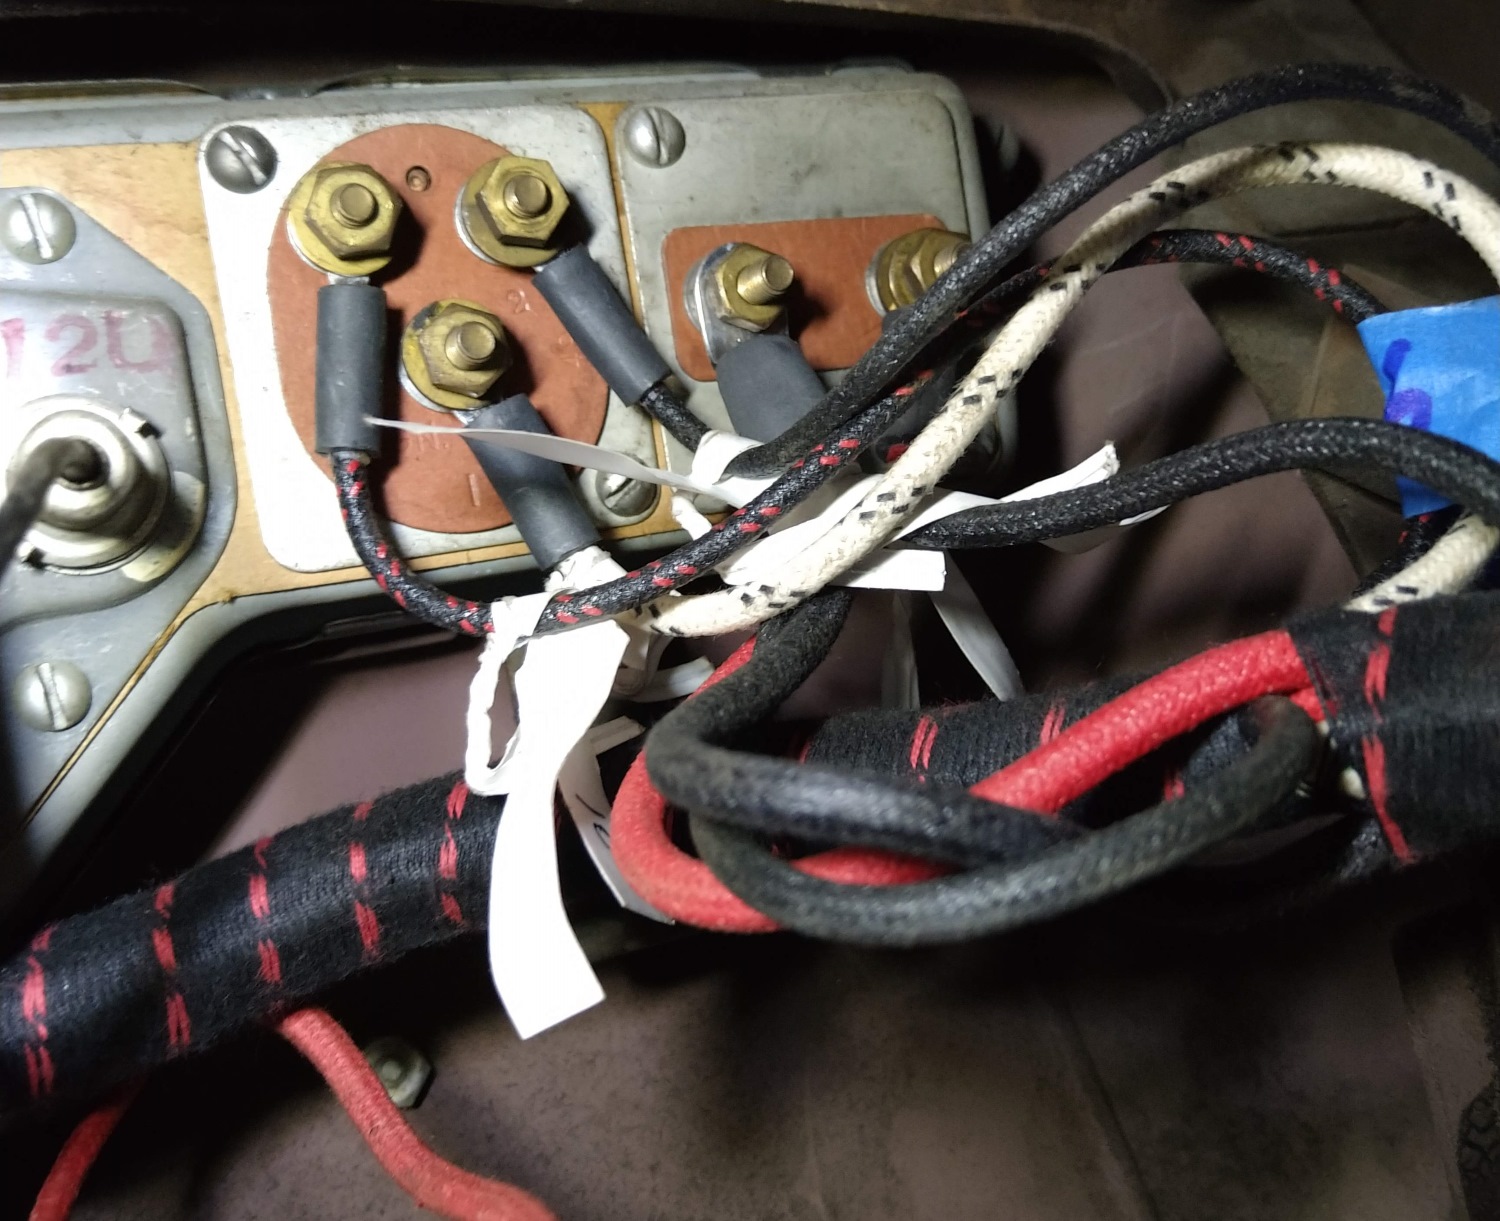
Yes! Harness is out from under the dash. Made a huge mess.I removed the switches that I could get out for cleaning. The ignition switch is staying in and I can’t figure out how to get the headlight switch out. This picture shows the fuse block on the right, instrument light dimmer up top, and the spotlight switch on the left. All of them got cleaned up and hit with DeOxit. I also tracked down replacements for missing lock washers and such.The power wire for the spotlight needs a new wire and since it is aftermarket these wires are not included in the harness. I bought some extra wire with the harness and used some to make a new power lead. Original is on top, mine is below. I took the cigarette lighter apart and found several problems. First, the terminal at the end is rusty. Second, the plastic insulator for the contact is brokenPlan A to fix it was to steal a contact and insulator from another lighter I had setting around. But the new one is much shorter and has a different profile. This will not work.Plan B, fix the old one. Since the insulator is trapped in the bottom of the lighter tube it does not have to be strong, it just has to go together. So I superglued it. This worked! There, all back together.Wow, lots of space with no wiring. And lots of dirt. The only wires left in here are the instrument lights. They will get replaced later. Those two hooks hold the harness under the panel.This is what came out of there AFTER I vacuumed the inside of the dash. 80+ years of dirt!Time to put the harness in. The first step is to put this flange over the harness. Even though it is split you really can’t flex it much. My main concern here was to not get it backwards.So the plan here is to feed the under-dash part of the harness in while leaving the old harness still attached in the engine compartment. Once I am done under the dash I can ‘line up’ new harness with the old one and put the grommet in to hold the harness in place in the firewall. It took a little effort to wiggle the harness thorough the fairly small hole. Some wires have to be first. After snaking the harness more-or-less where it is supposed to go I hooked up the first two wires to the ignition switch. This is the very end of the harness. I hooked this up the same as it was before but once I looked at this picture I see one terminal marked “GA” and the other “AM” If those are “Gas gauge” and “Ammeter” I have them backwards. I will have to figure this out later.Next up were the wires going to the gauges. At this point I am just trying to get “landmark” wires connected so I can position the harness correctly. As each end of each wire is put in its final position I am checking it off on the wire list that came with the harness. I am verifying color, tag number, and position. Final wires of the evening. To get these to reach I had to twist or roll the entire harness (they were poking out towards the dash instead of towards the fuse block. The top red wire is about 1/2″ shorter than the factory wire and it almost will not reach. I am leaving the paper tags on for as long as I can to keep track of things.


Pingback: Finishing the under-dash wiring | 1941 Studebaker Champion