
It turns out that it was actually 2006 (14 years ago) that I did the front brakes. I put fresh parts in the NOS cylinders a while ago. But my Dad’s passing in the midst of a pandemic has meant the car has sat for a month. Today the weather was perfect so I took a day off of work to get this done. Since I have covered brakes before I thought I would go into a little more detail this time, especially because I forgot some stuff since 2006.

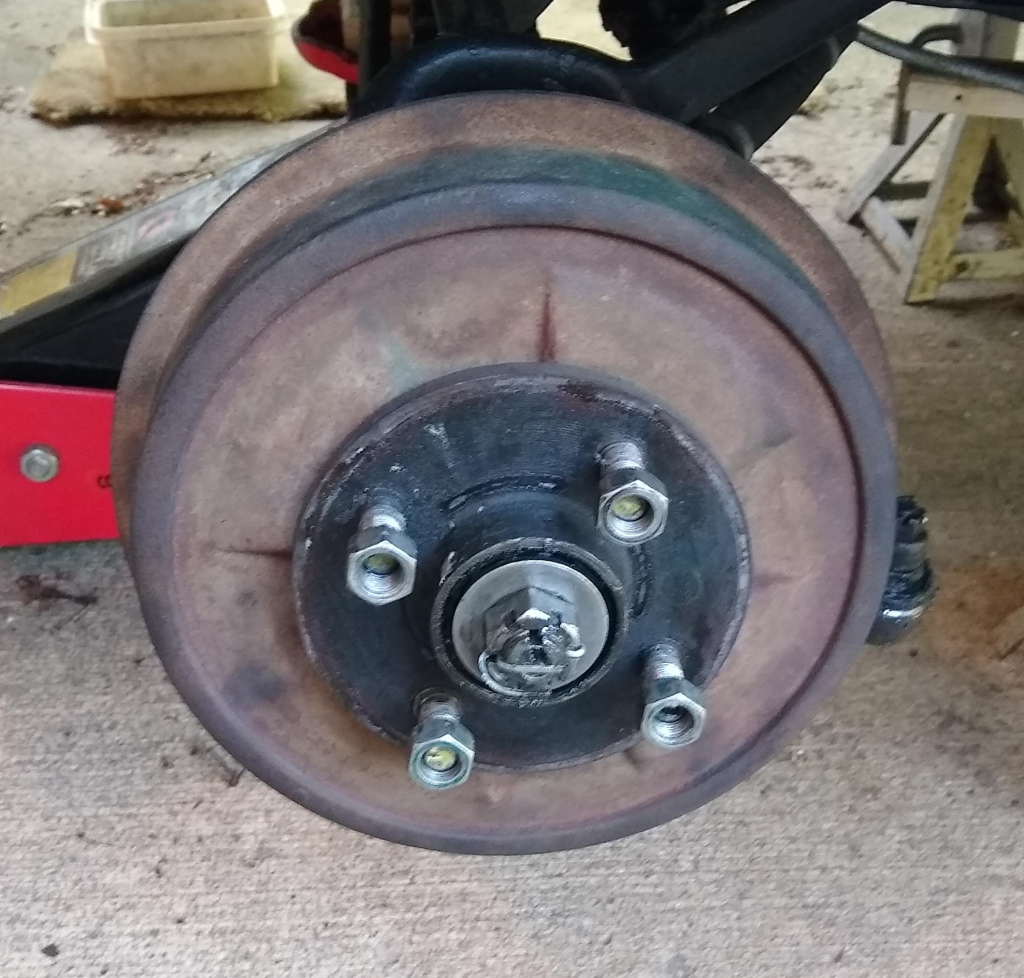
First step, wheels off and hub cap removed

Don’t be fooled by how clean this looks. I cleaned it the last time I was in here. The cylinders are seeping and the shoes have brake fluid on them.

One side’s worth of brake hardware. The big shiny round thing is the outer wheel bearing washer, and nut sitting in the hub cap. The large round black washers are springs that go between the brake shoes and the backing plate. On modern designs the mounting pin is removable and the spring is on the outside of the shoe. But this works. The large and two small C-clips hold the shoes on. The small washers go under the small clips. And the spring retracts the shoes.

Here is the old shoe next to the new one. I would say the lining is about 1/2 worn. These shoes were installed in the 1980s so not a lot of hard stops…

I am replacing the hoses as well. They are around $5 so why keep an old one if I have to take the cylinder off anyway? Here I have removed the two cap screws that hold the cylinder on. This is the easy end.

The other end of the hose pokes through a hole in the frame and is held by this clip. The brake line then screws into the hose. The clip can be a bear. It helps that I coated it with grease last time I did this.

This is what I figured out. I put this little pry bar under the end of the clip then tapped the top to lever the clip up. Once it started moving it came easy.

Old hose and new hose. the new hose has some chafing protection that I like. Even the new hoses are dated 2012 but time on a shelf is less damaging than time hanging under a car.
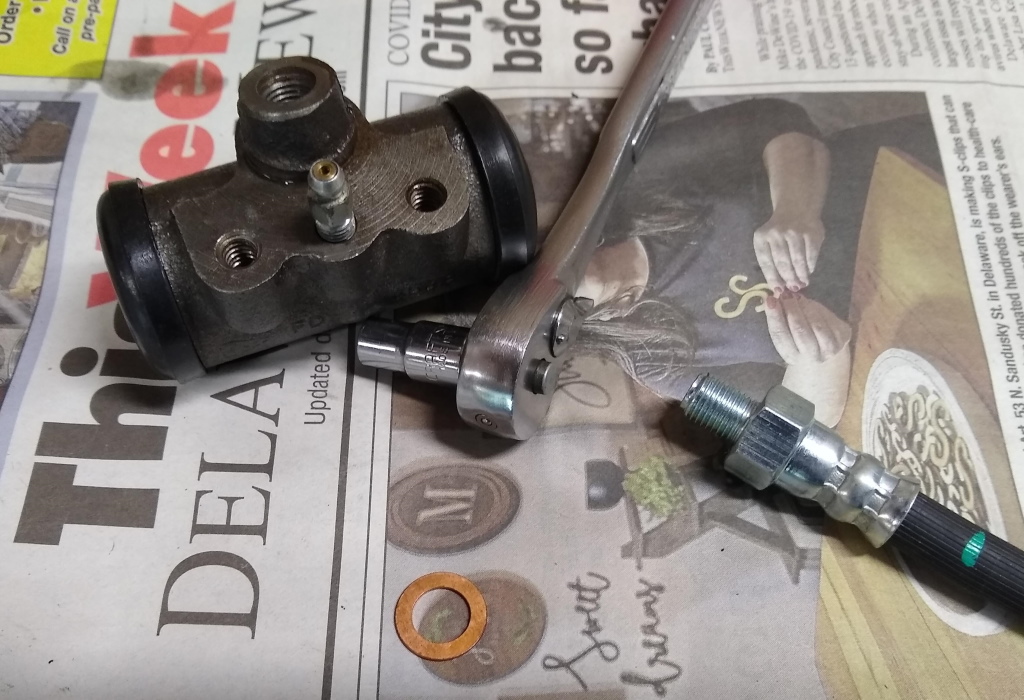
Here are the new cylinder, hose, and copper washer ready to install.
Done! This passenger side is the easy one. Notice I used new clips. I used to reuse these but they are cheap so why? I did have to reuse the larger c-clip, I have not found those yet.

Now the driver’s side is a little more interesting. On that side the brake hose screws directly into a three-way union. One line goes to the master cylinder, the other to the passenger side. There were TWO copper sealing washers in here. I forgot this little detail and so I only bought copper washers for the other ends of the hoses. Now I have a dilemma. Do I go to the parts store to try to reuse sealing washers?
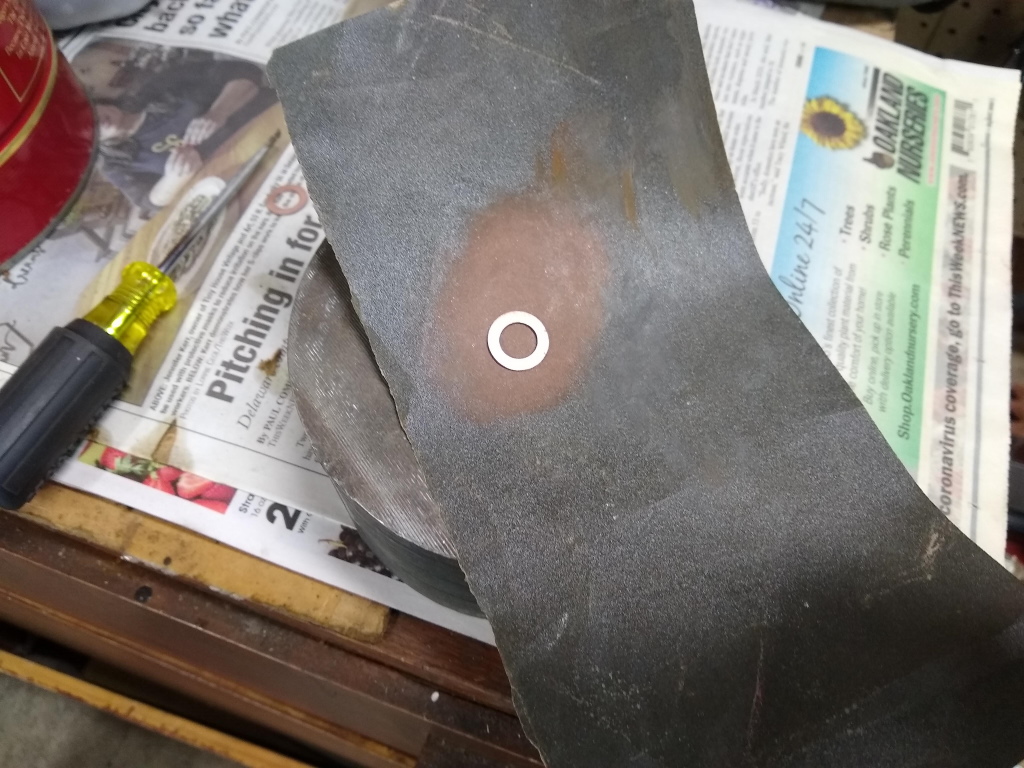
Lazy, but here we are. I took the two nicest used washers and polished them up with wet-dry sandpaper. Hope this works.

Next problem. On the passenger side I could rotate the hose to get the twist just right to the hose curves nicely out of the way. On the drivers side the orientation is fixed on both ends so I am stuck with whatever I get. The random orientation of the fittings on the hose determines my fate. This is not too bad but the hose wants to sit right next to the spring. That is not ideal because the rubber suspension stop is right under there and MAY hit the hose. We will see. There is not much I can do here except get several hoses and try them until one works.

And now one more problem. When I took the old hose out I notice I that back in 2006 I had cut these little ears off the mounting clip on the hose fitting. I was not smart enough to realize there was probably a reason. Now the hose will not go in far enough to get the damn clip on the other side.

I should have taken it back apart but instead I took a screwdriver and brutally bent the ears until I could get the clip on. Here you can see from left to right the 3-way union, the two (reused!) sealing washers, the clip, the frame crossmember, and the clip on the hose fitting.

After all the fun with the hose the brakes went on quickly enough. This is just the mirror image of the other side. Large shoe goes forward on this installation.
After putting the (cleaned) drums back on it is time to center and adjust the brakes. More modern (1960-ish) drum brakes are free-floating and self adjusting so you don’t have to do this gunk. But I had to take on an old car…

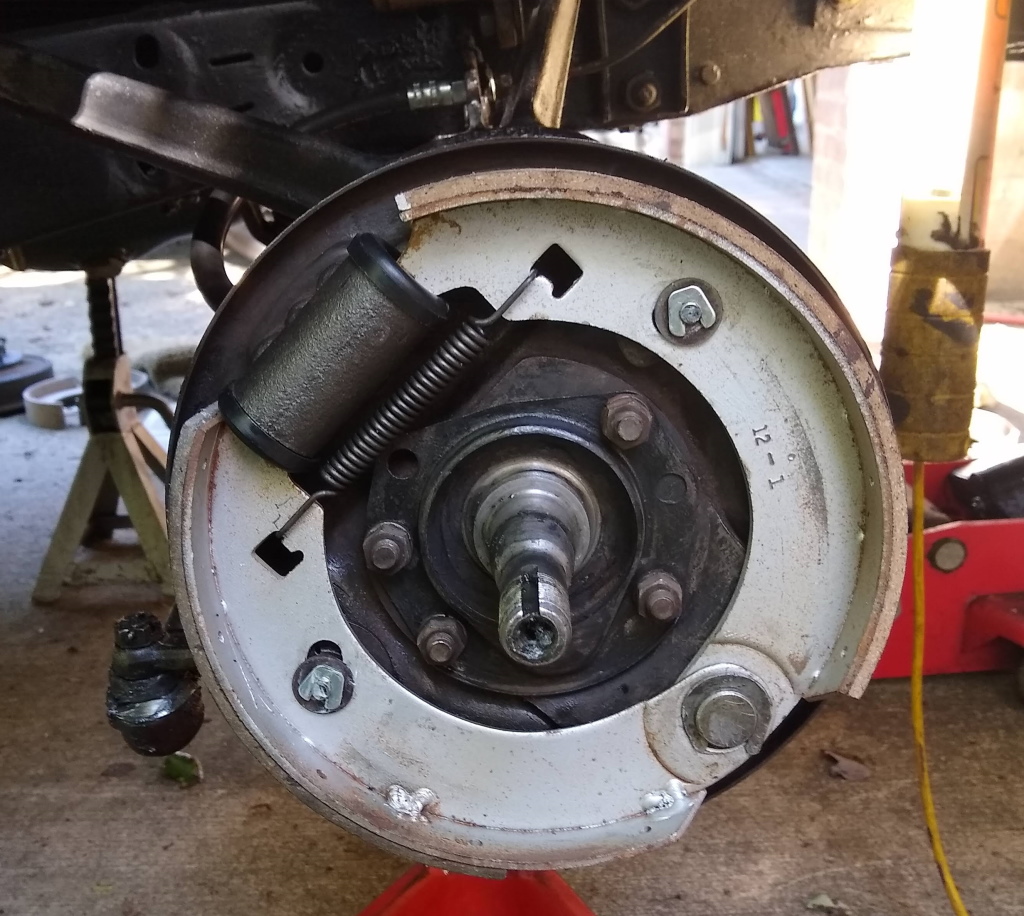
You can see in this picture how the adjustments work. If you look closely the main anchor pin at the bottom is eccentric. This is the main way the shoes are centered. Once centered the cams on the mounting pins are rotated to position the shoes close to the drum. The trick is centering the damn shoes.

This is the tool I need for the job. This fits over the axle then you just adjust the anchor pin until the pin just touches all the way around. These go for $500 so I don’t have one.

So I get to do it the hard way. Here I have two wenches on the anchor pin and it’s lock nut. Up top I have a wrench on the minor adjustment cams. My centering technique is to adjust both shoe cams until the shoes just brush the drum. Then I move the anchor pin and try to get the shoes to NOT touch the drum. Then I repeat. Eventually I get pretty close. I can tell when it is close because the minor adjustment cams get really touchy. That makes sense because when the shoes are centered the adjustment causes the entire shoe to touch the drum at once.

Wow, car is looking good after my test drive. Brakes are working well. The pedal is a little softer than I am used to because I adjusted the shoes as per the book (no contact with the drum). I may tweak this.


My last task is to tear down the cylinders I removed from the car. Wow. These are hideous.

None of the pistons were frozen but all were pretty cruddy. I flush the break lines every couple of years and I thought that would keep the rust down. But I guess that does not get all the water out.

You can clearly see the corrosion in the cylinder bore. This is why the cylinders were seeping. Every time the piston moved a little bit of brake fluid was pumped out. These are bad but salvageable

Here I am using a brake hone to polish the cylinder. I did not hit it hard, you can always hone more but it is really hard to put metal back. I forgot to take an after picture though. I may end up using these again in several years.
In fact now that I think about it I probably just waited to long to do this. If I had rebuilt these cylinders 5 years ago the shoes would not have been contaminated. I will probably just rebuild the brake cylinders every 8-10 years. Of course that means I should tear down the rear brakes right now because they have not been done since 2004.

I can’t tell you how much this helps, I finally got a lift & a place to work on my car… I’ll be rebuilding just about everything on it and I’ve got to redo the whole do brake system.
Pingback: Brake centering and adjustment part deux | 1941 Studebaker Champion