The car is due for an oil change and the radiator is leaking so I figured I would get after it.
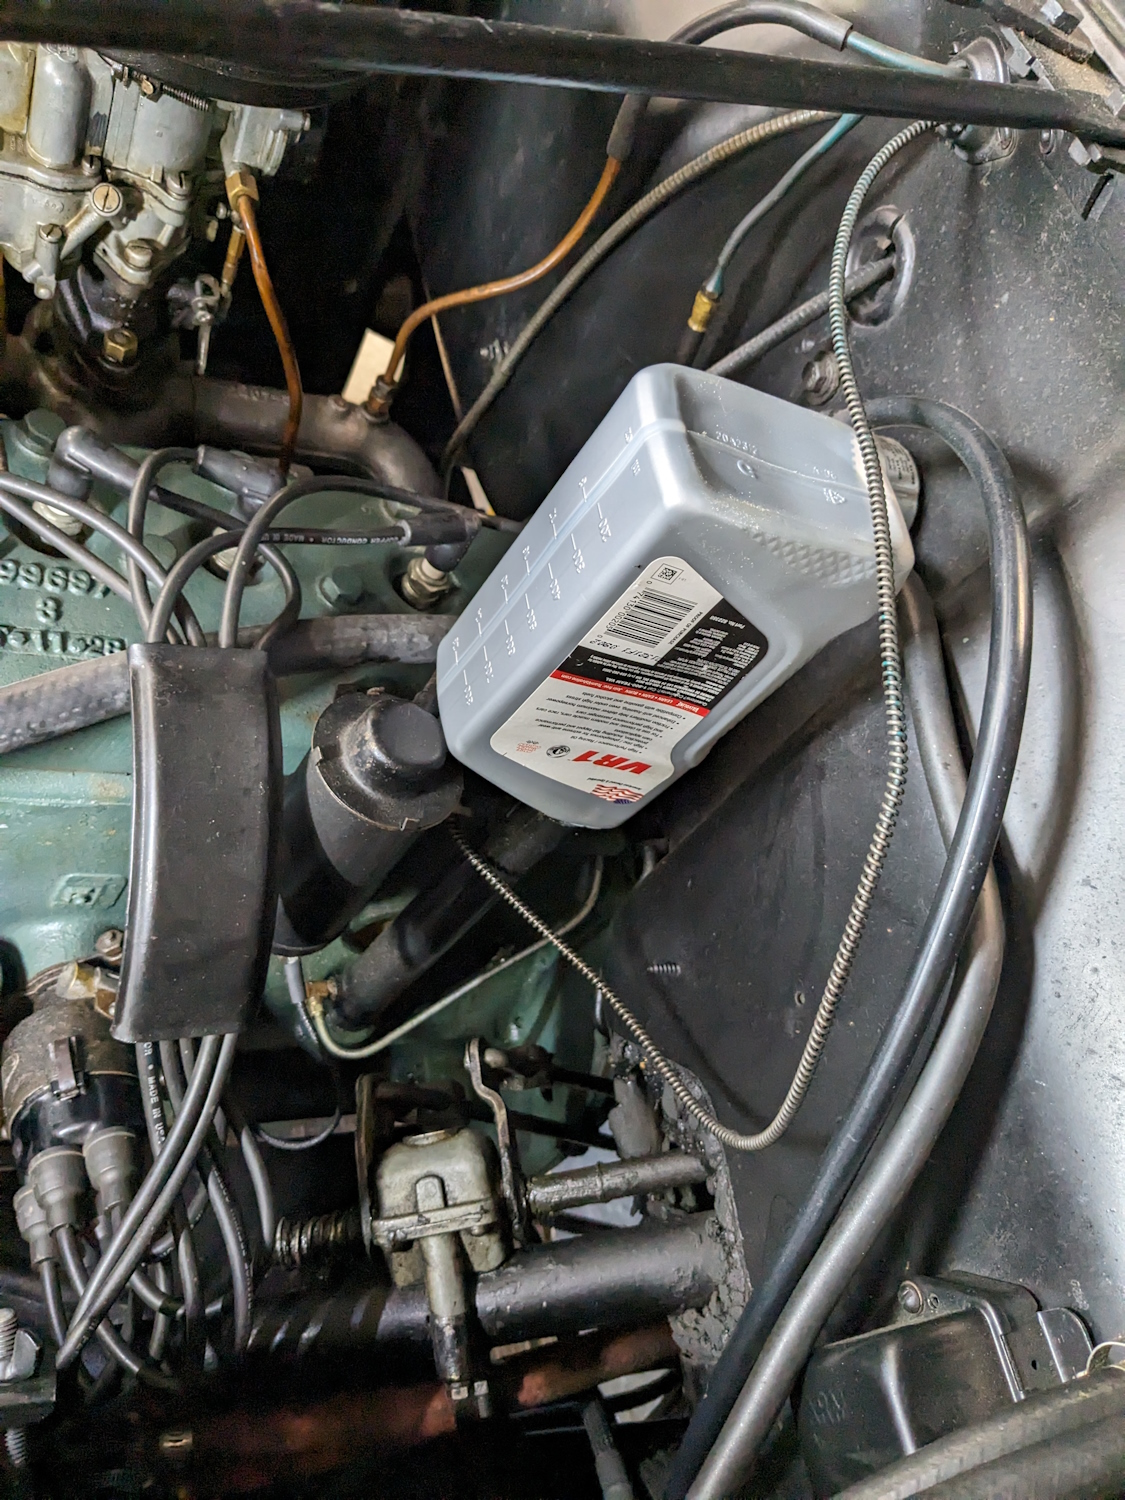
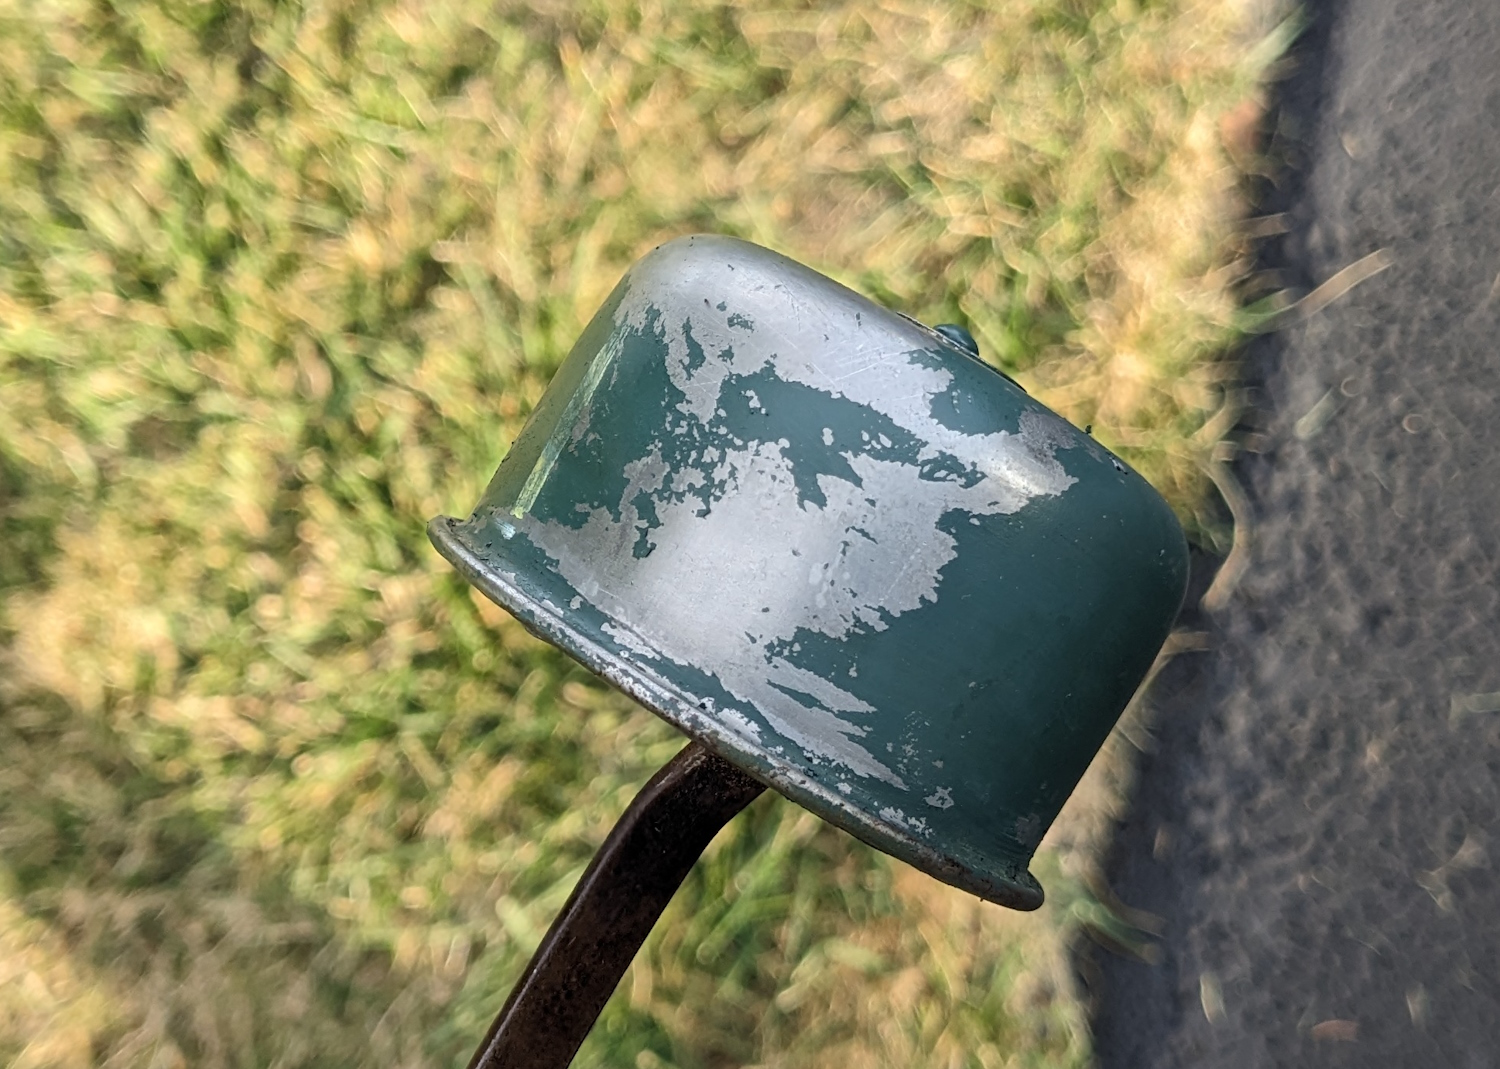
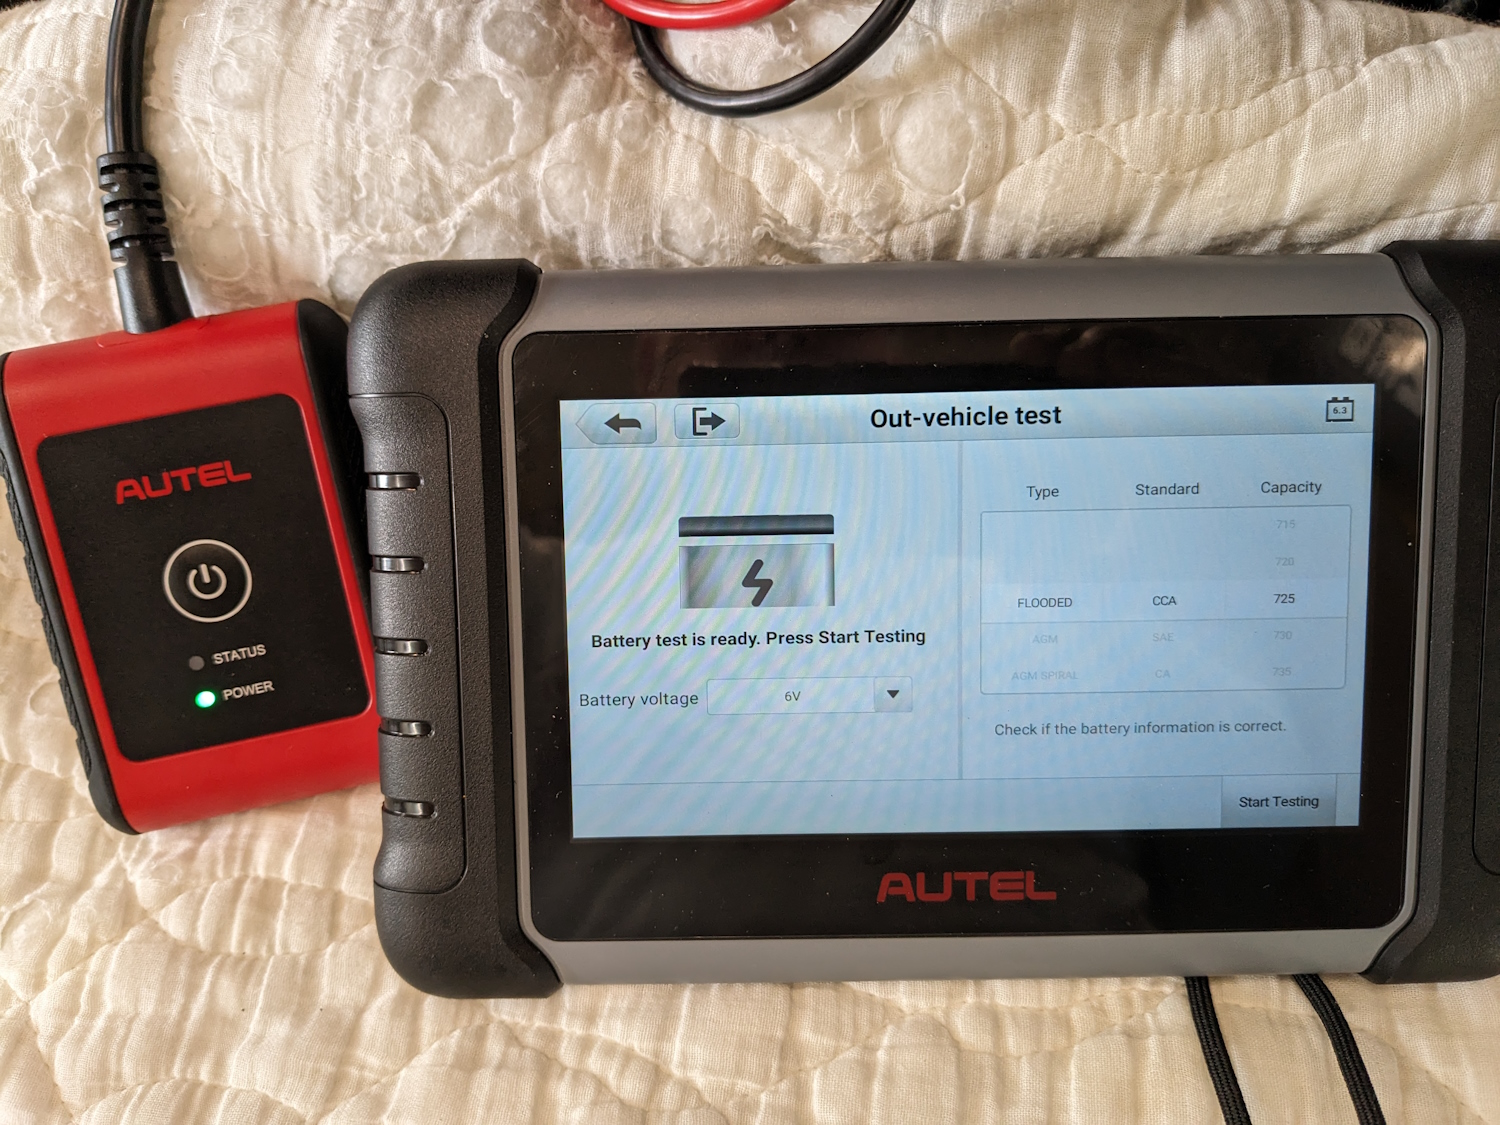
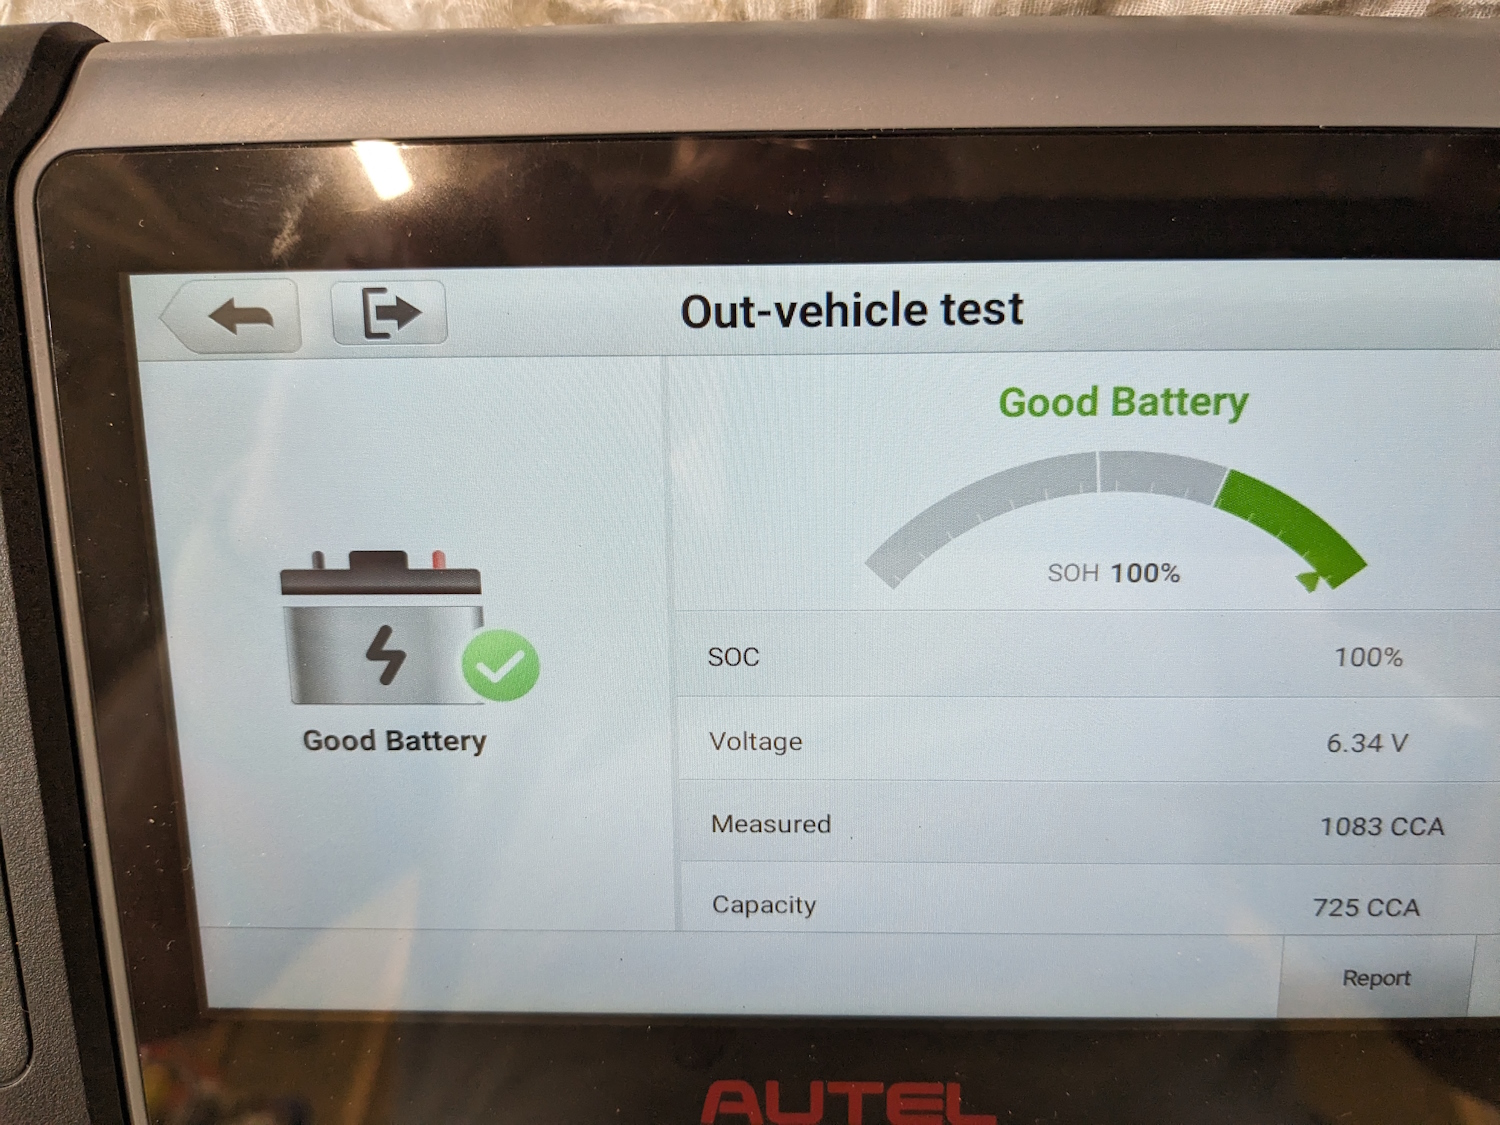
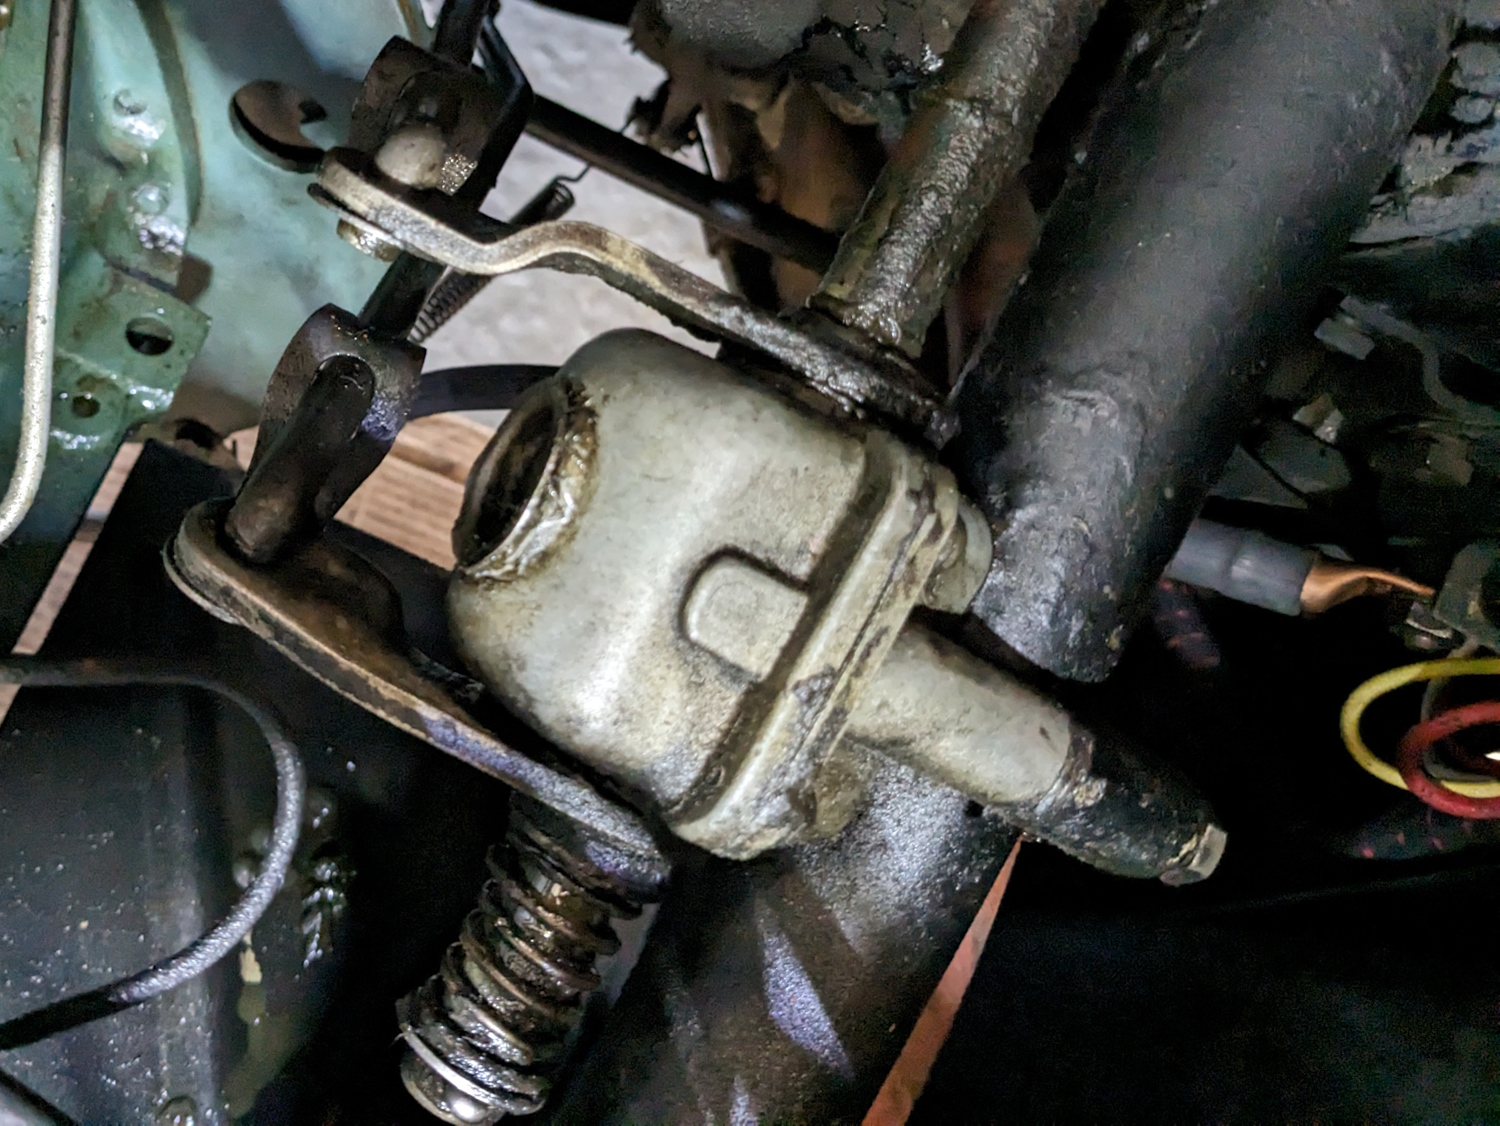
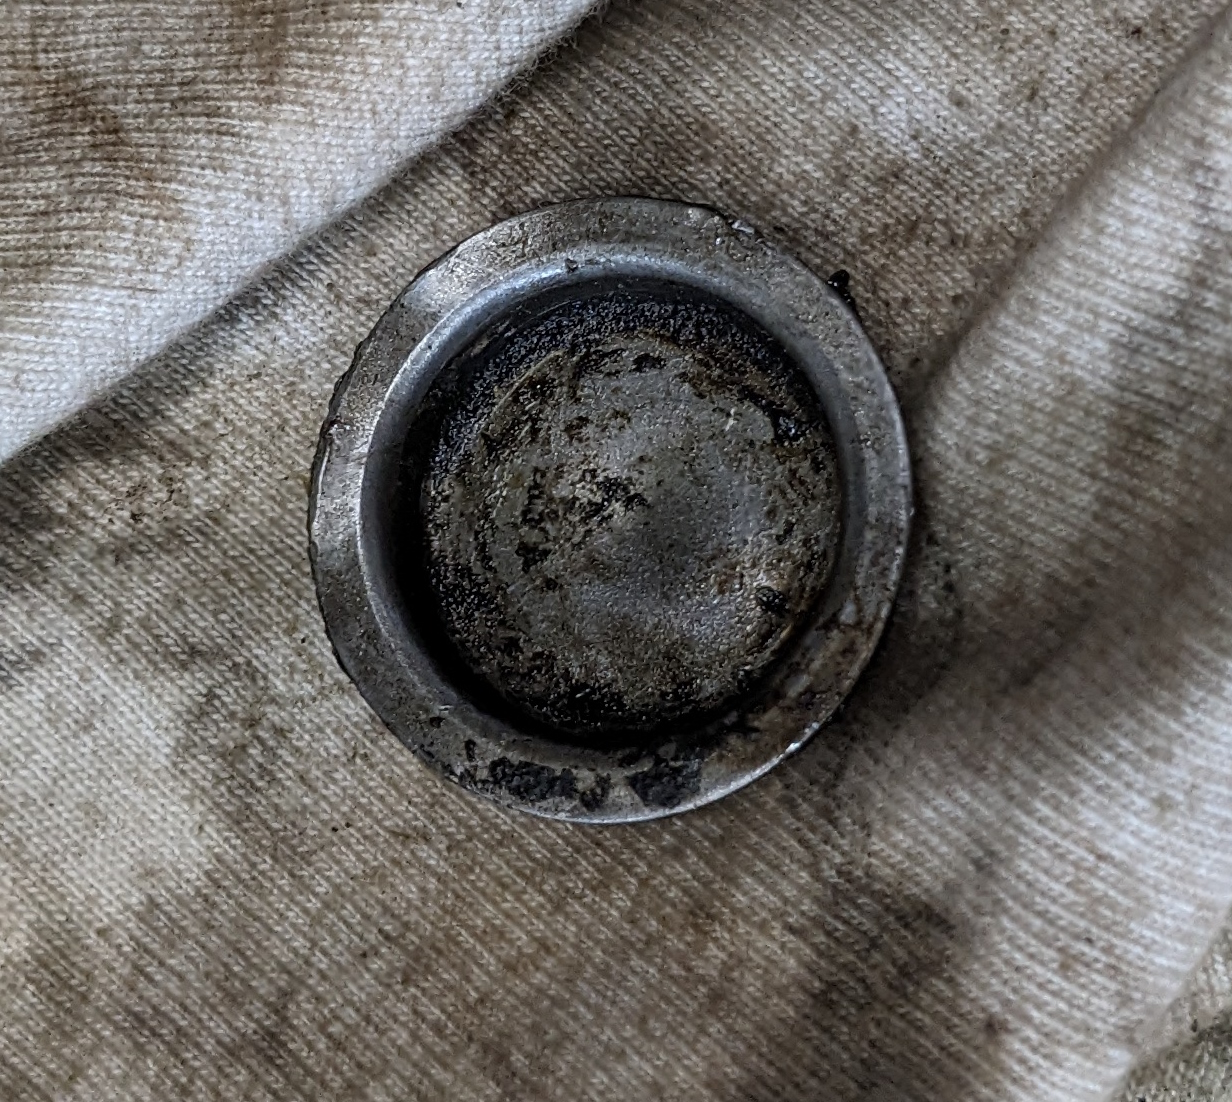
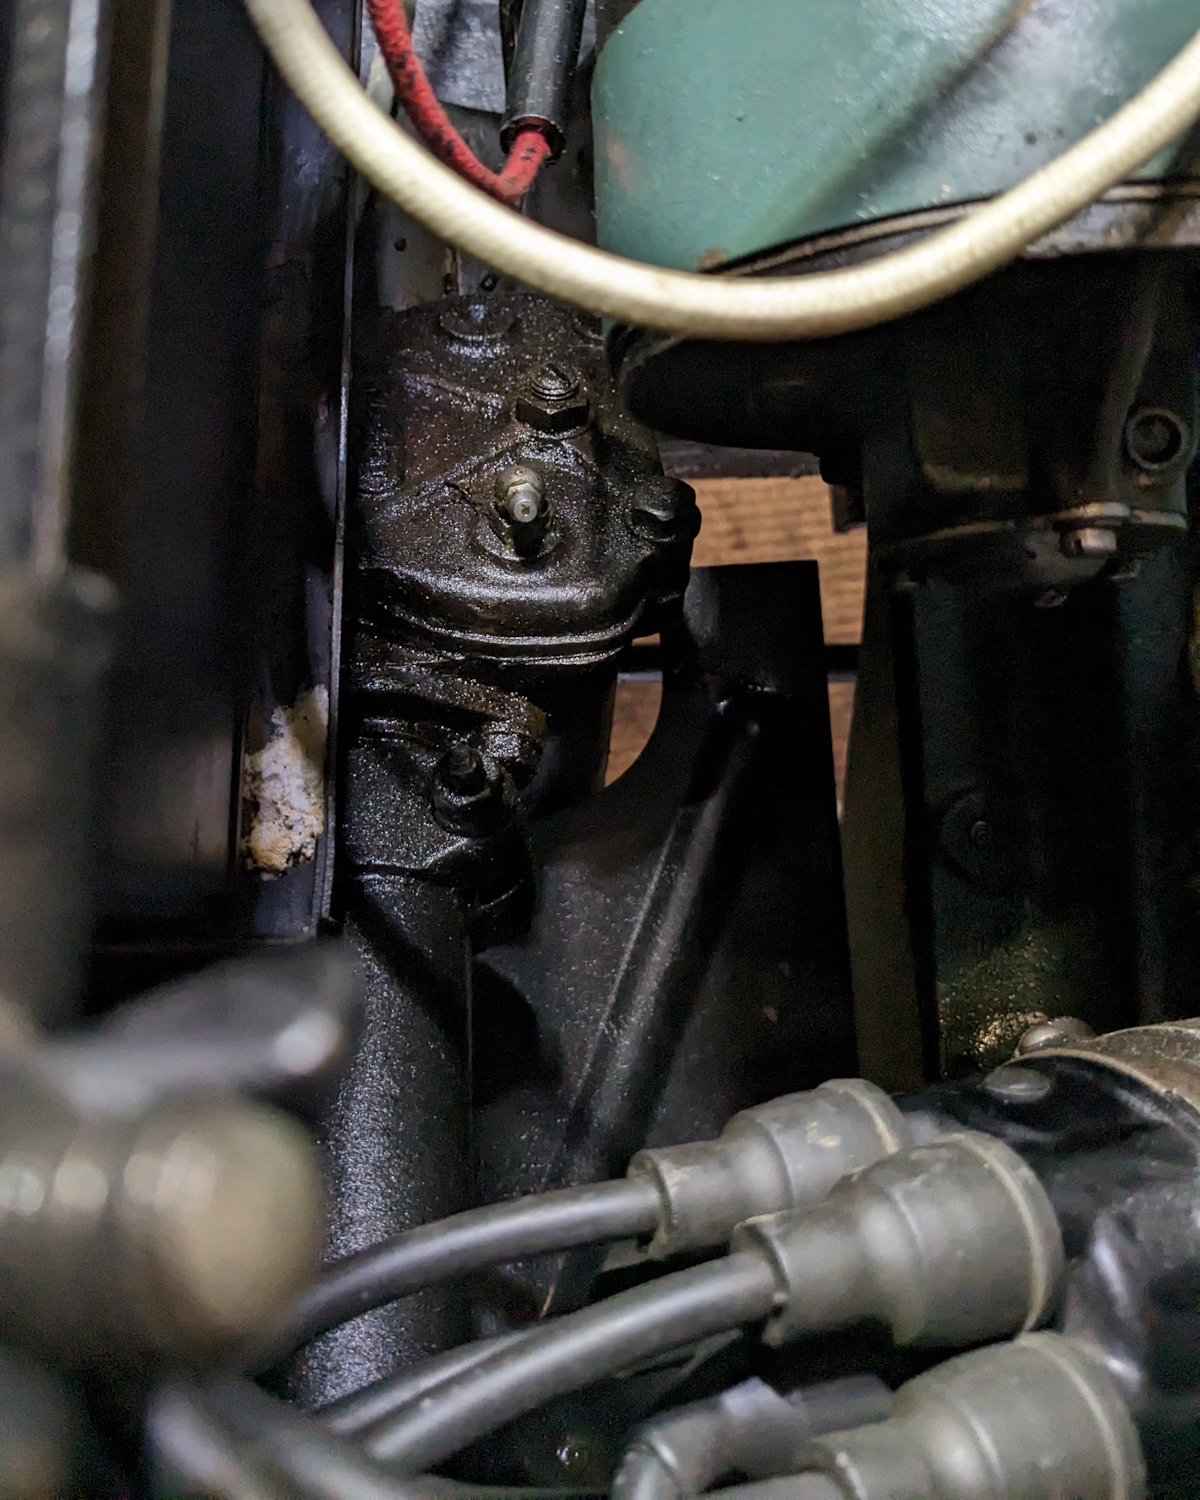
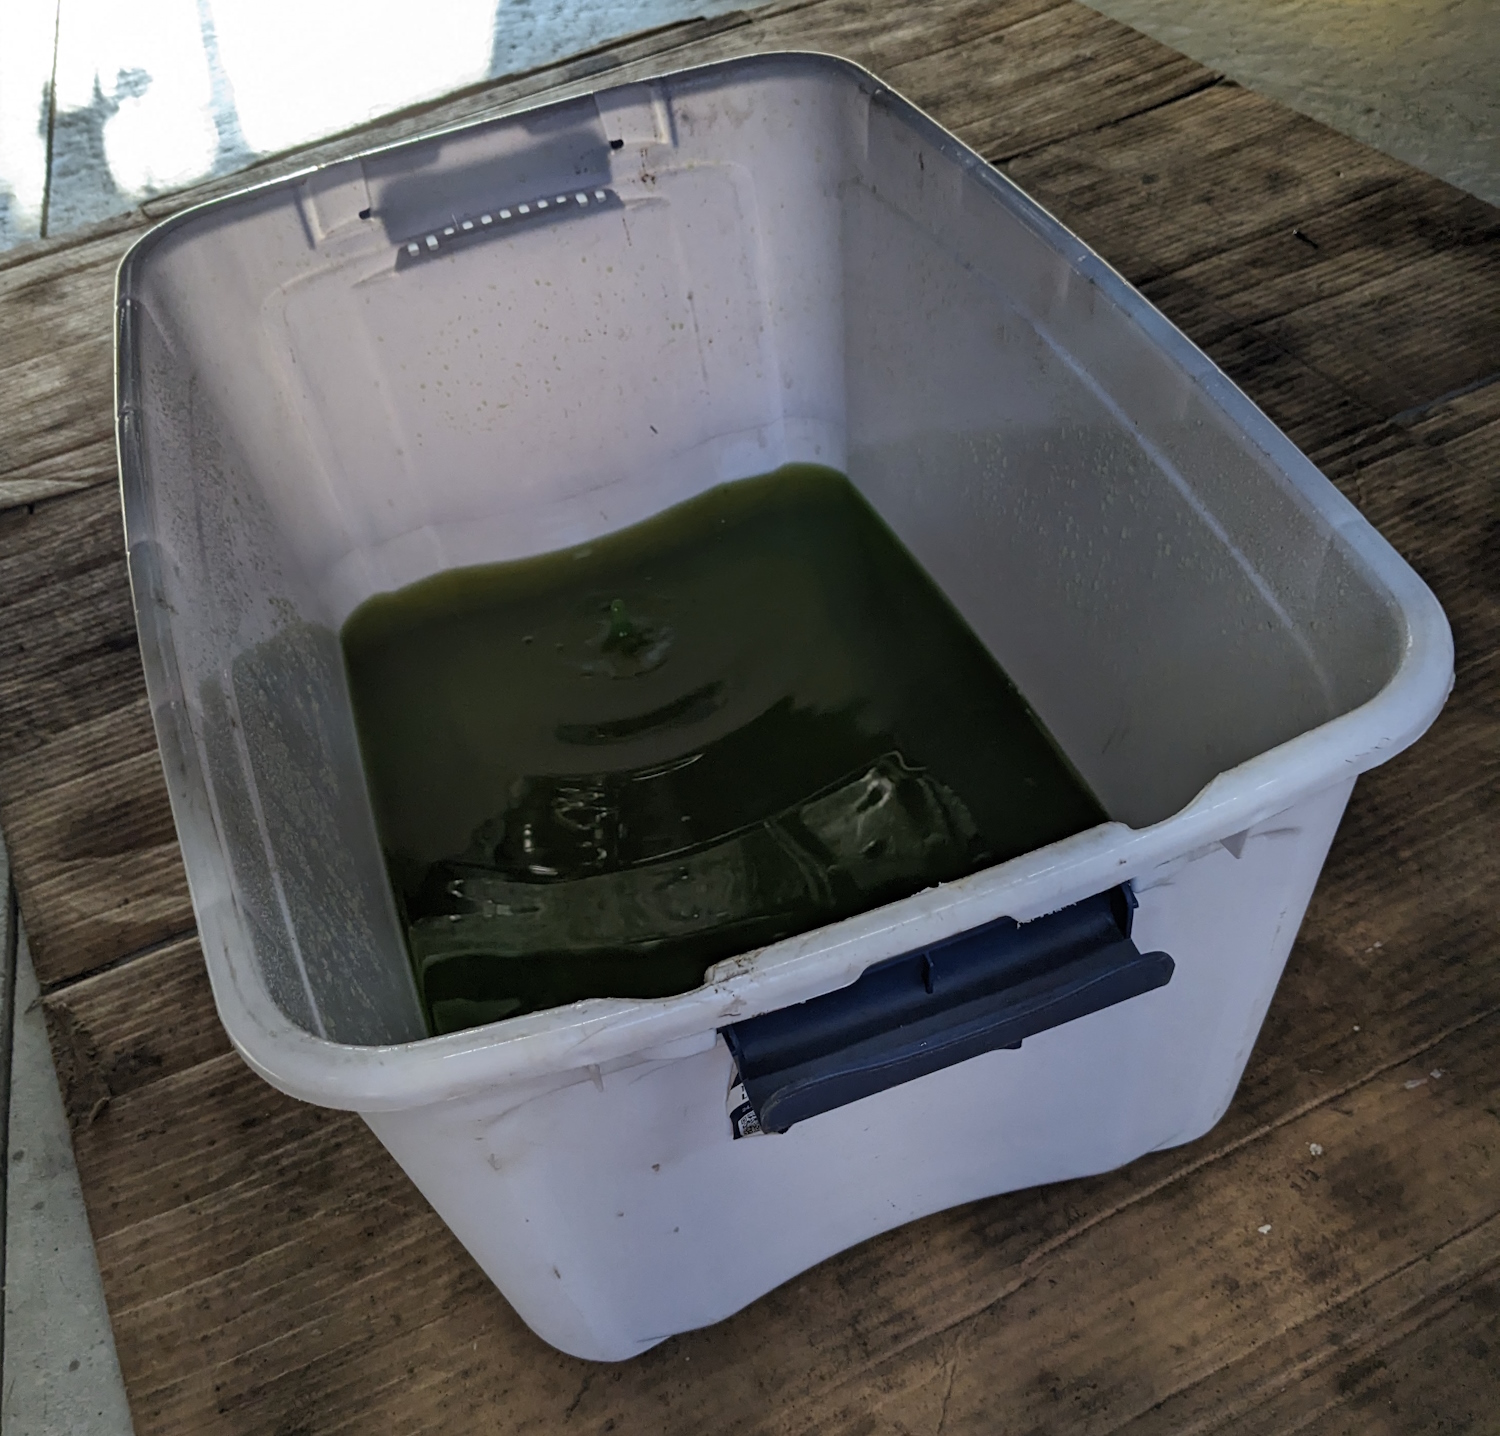
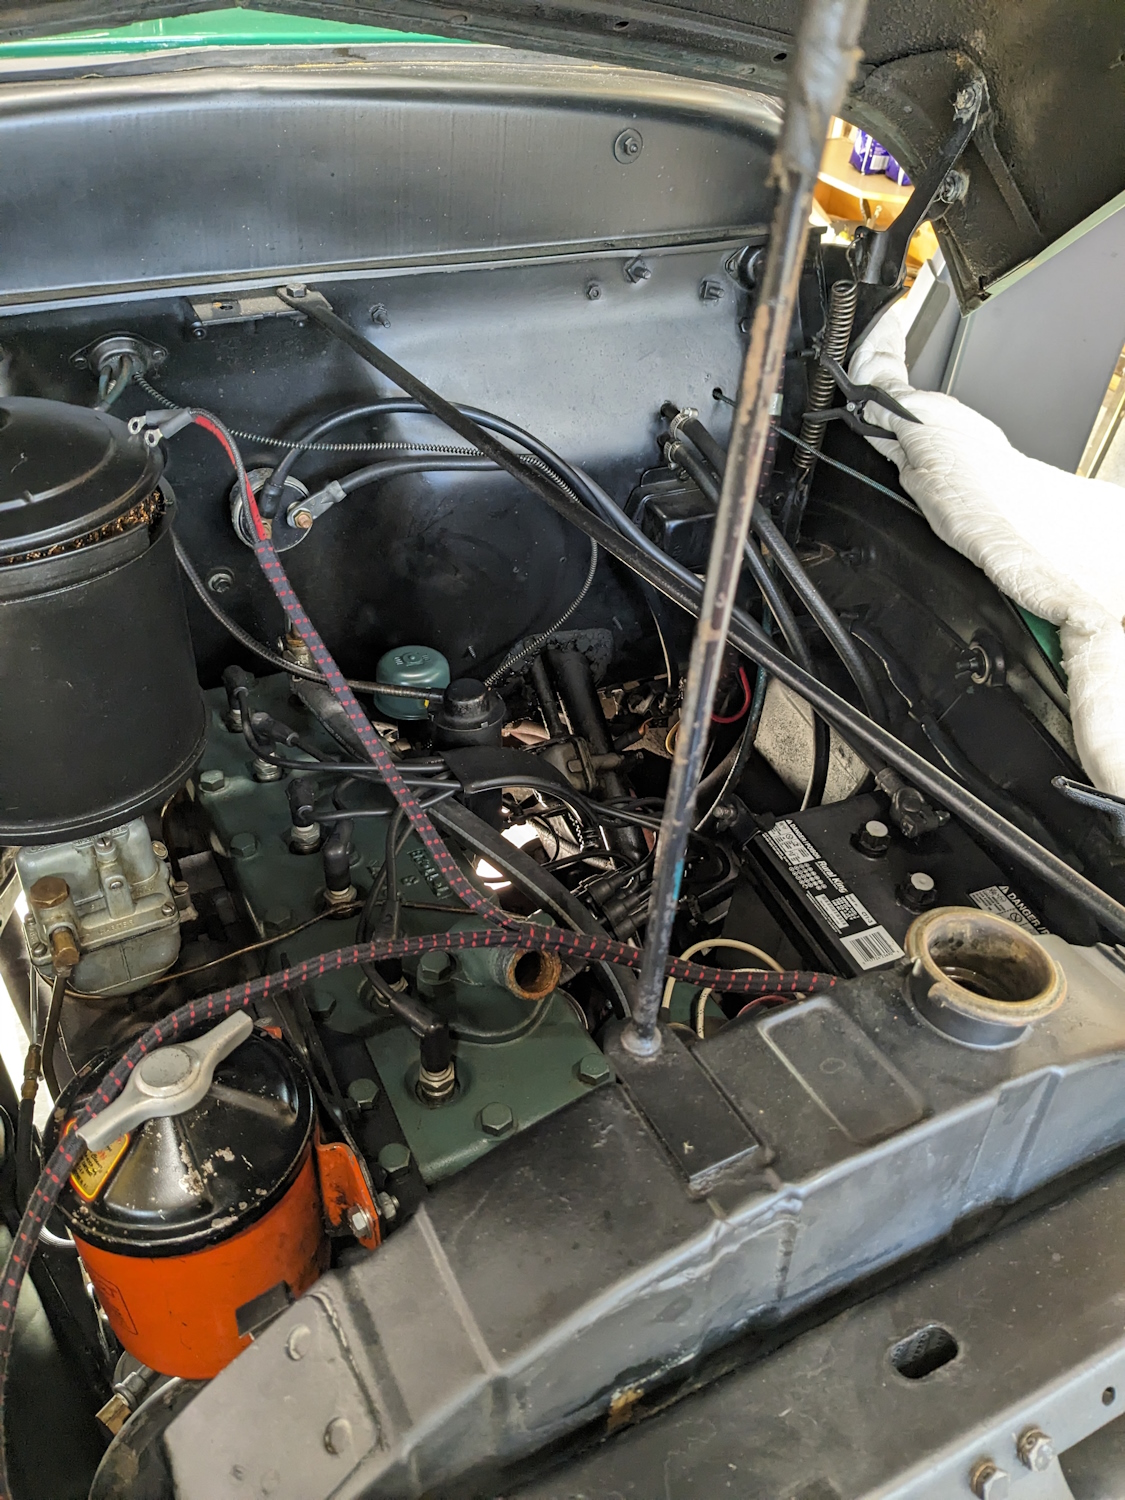
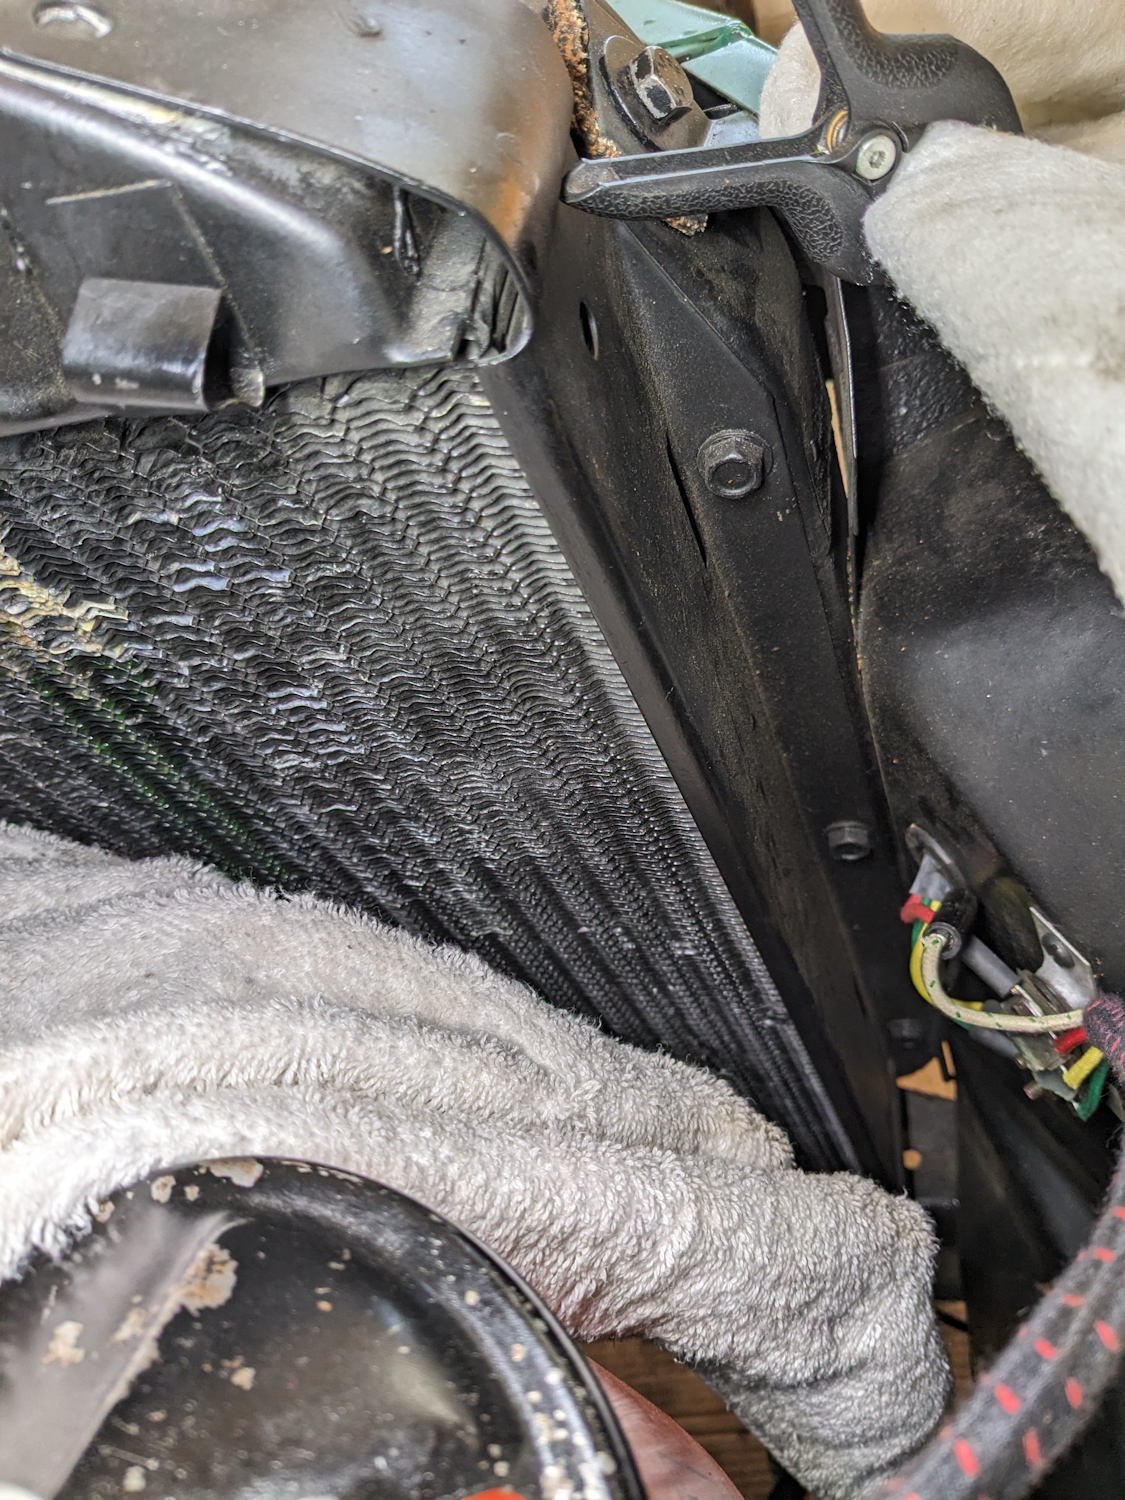
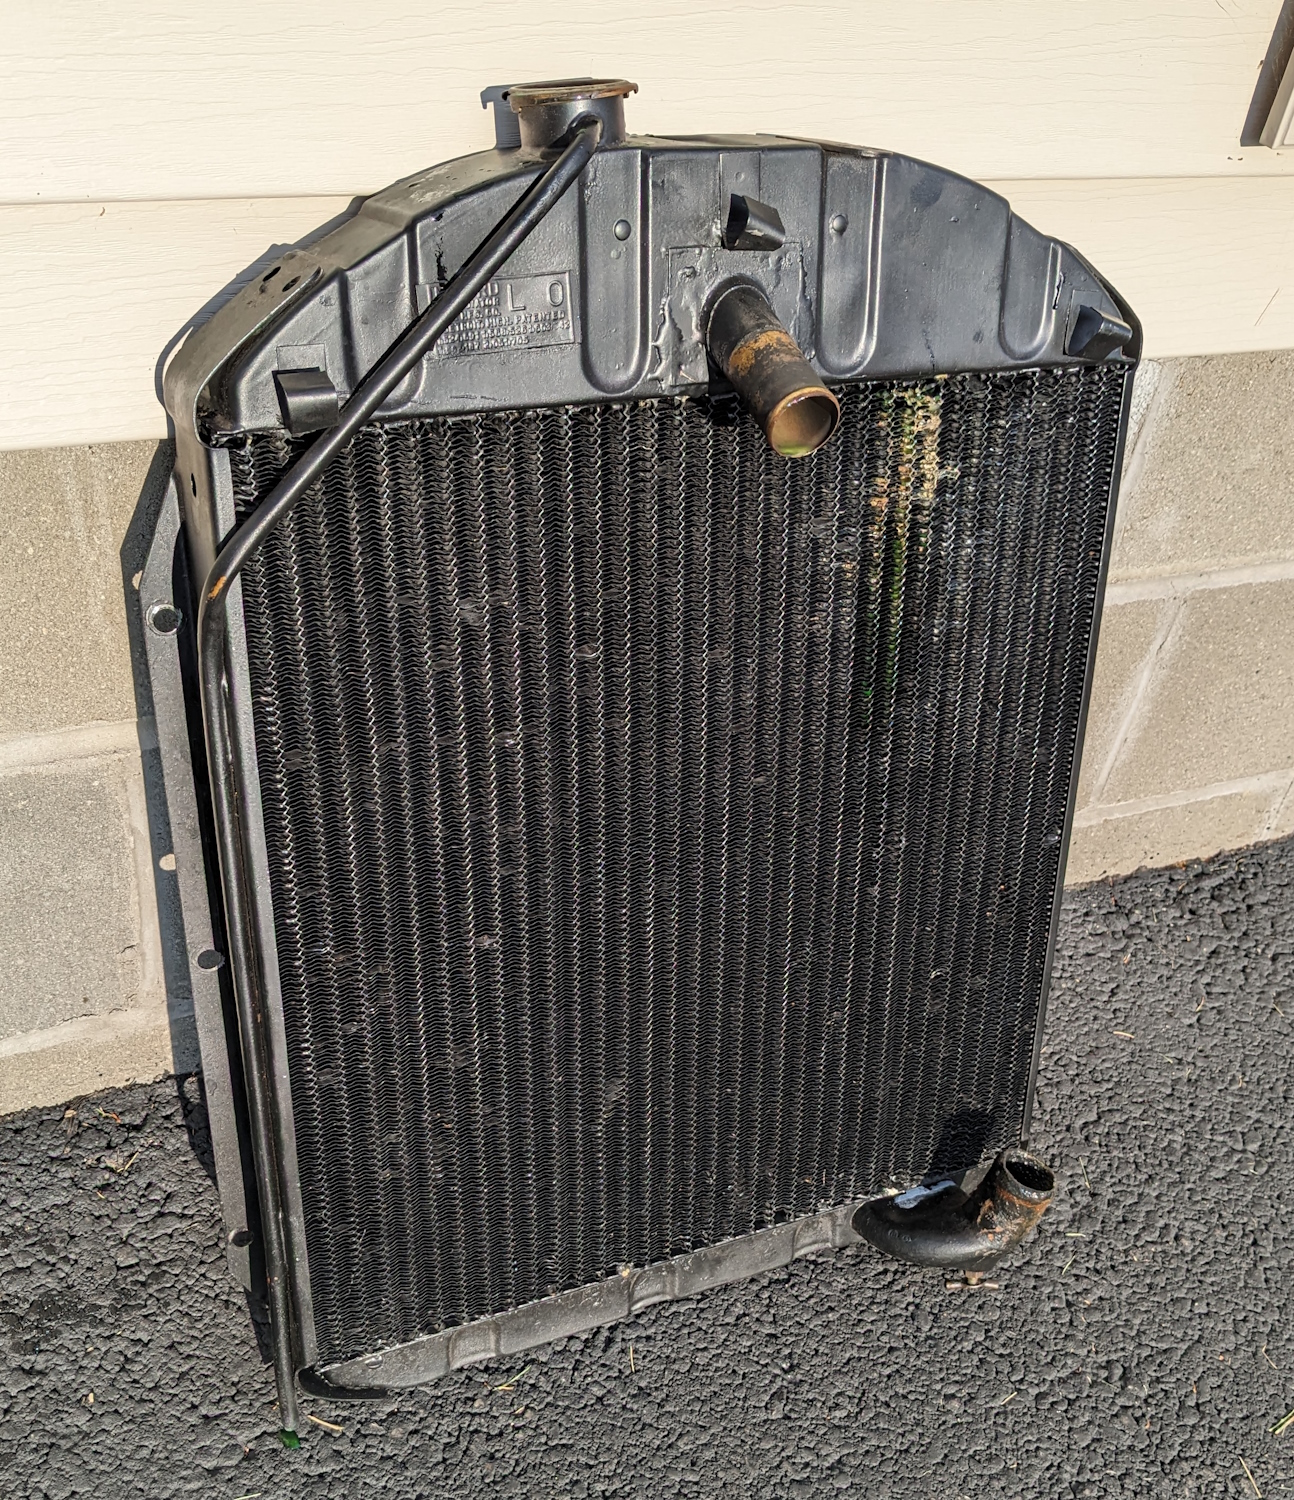
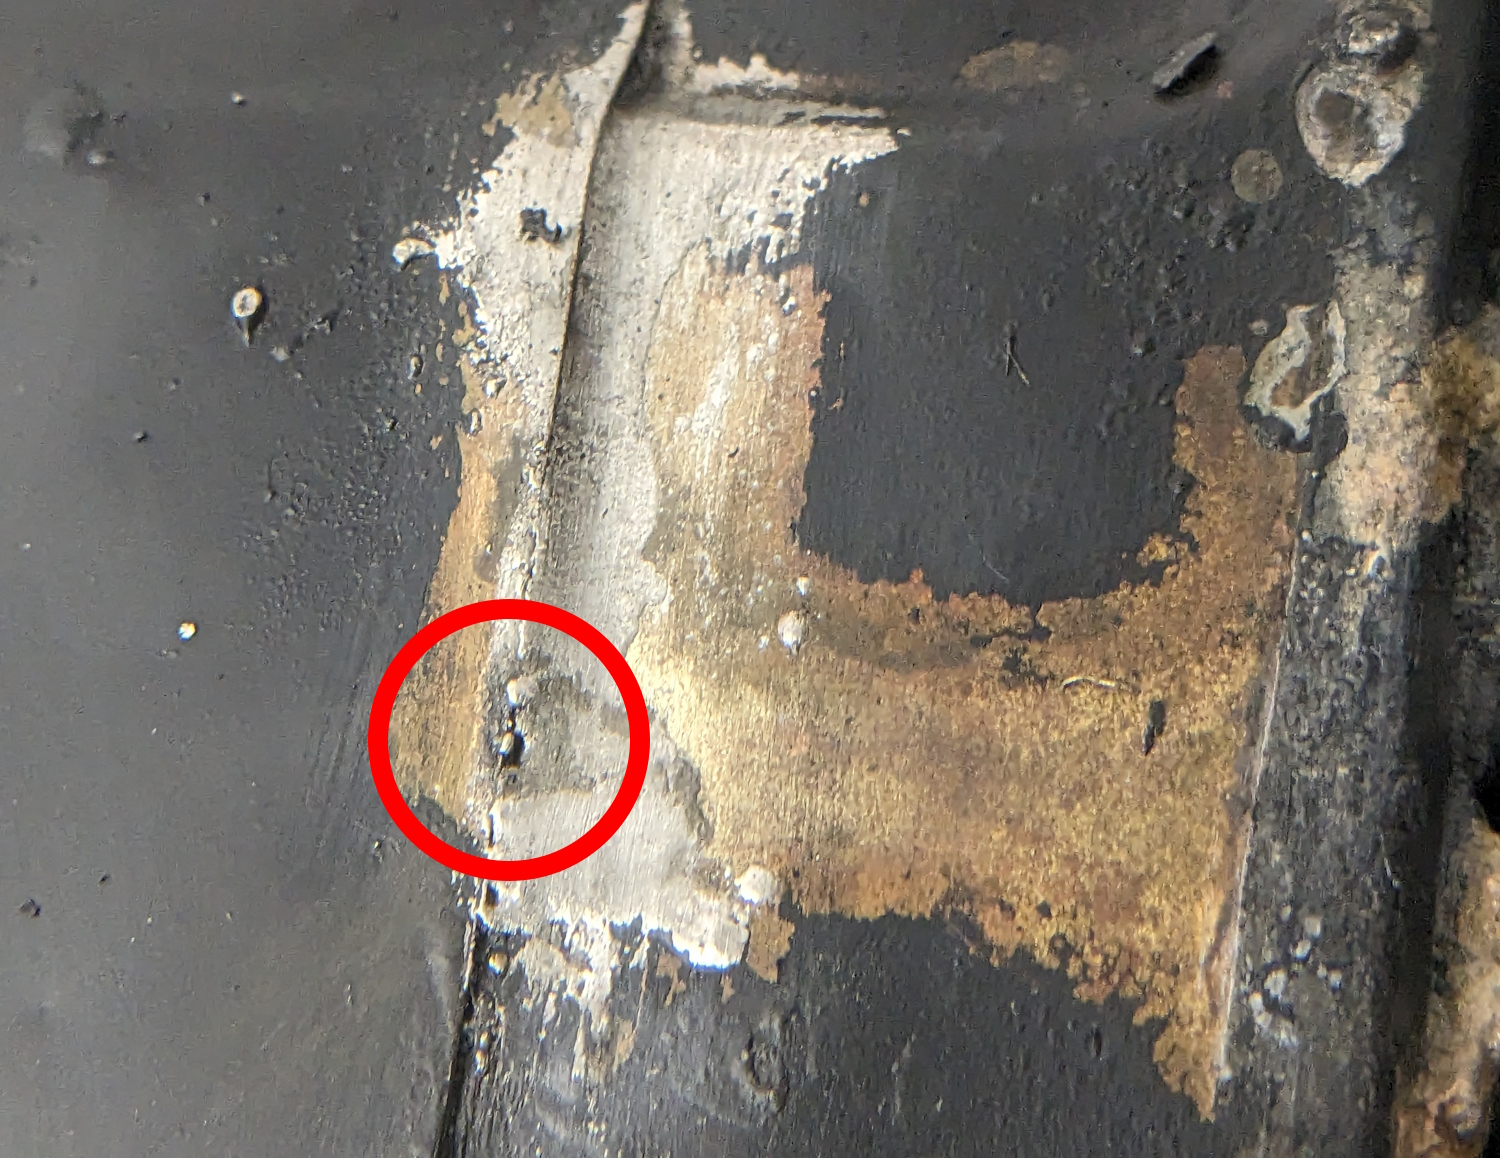
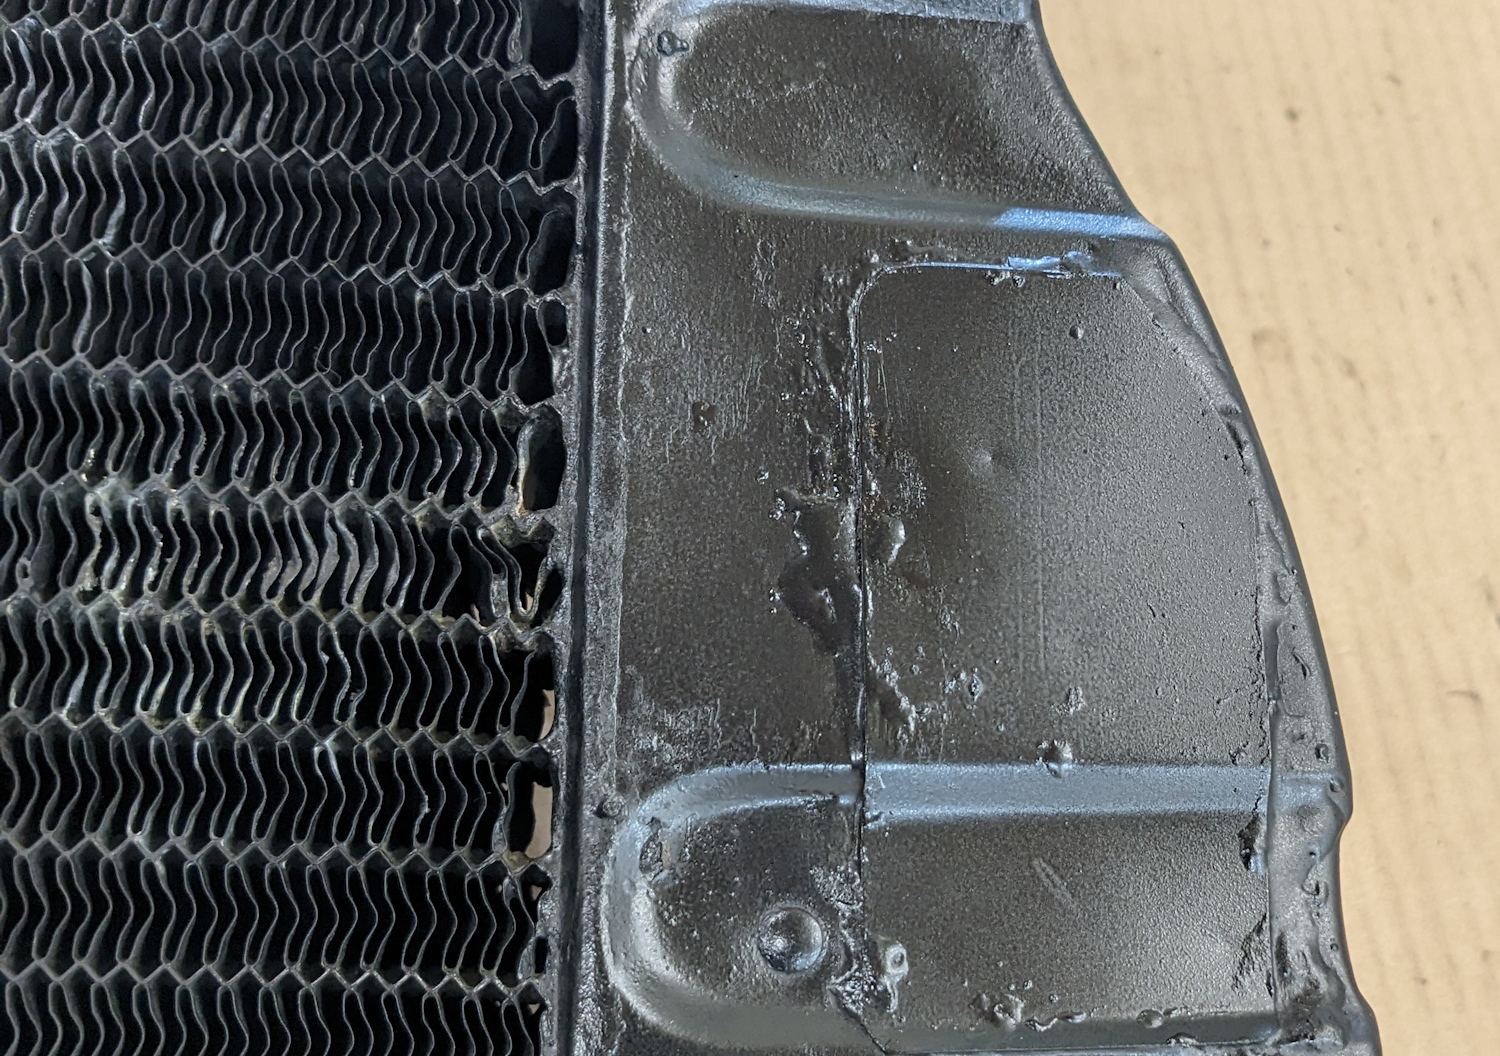
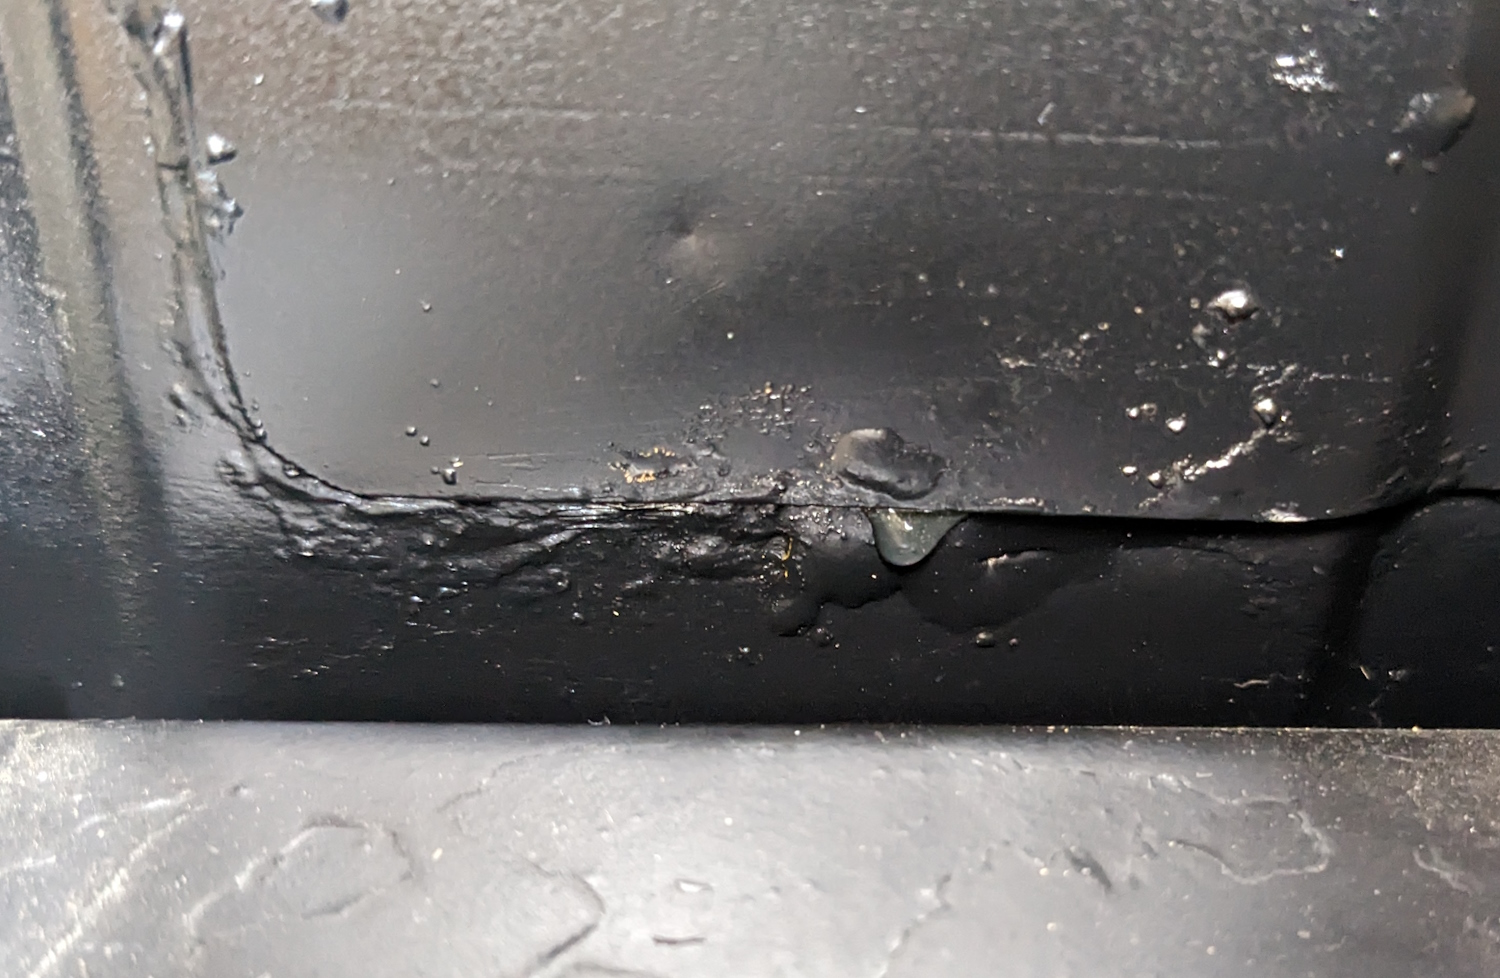
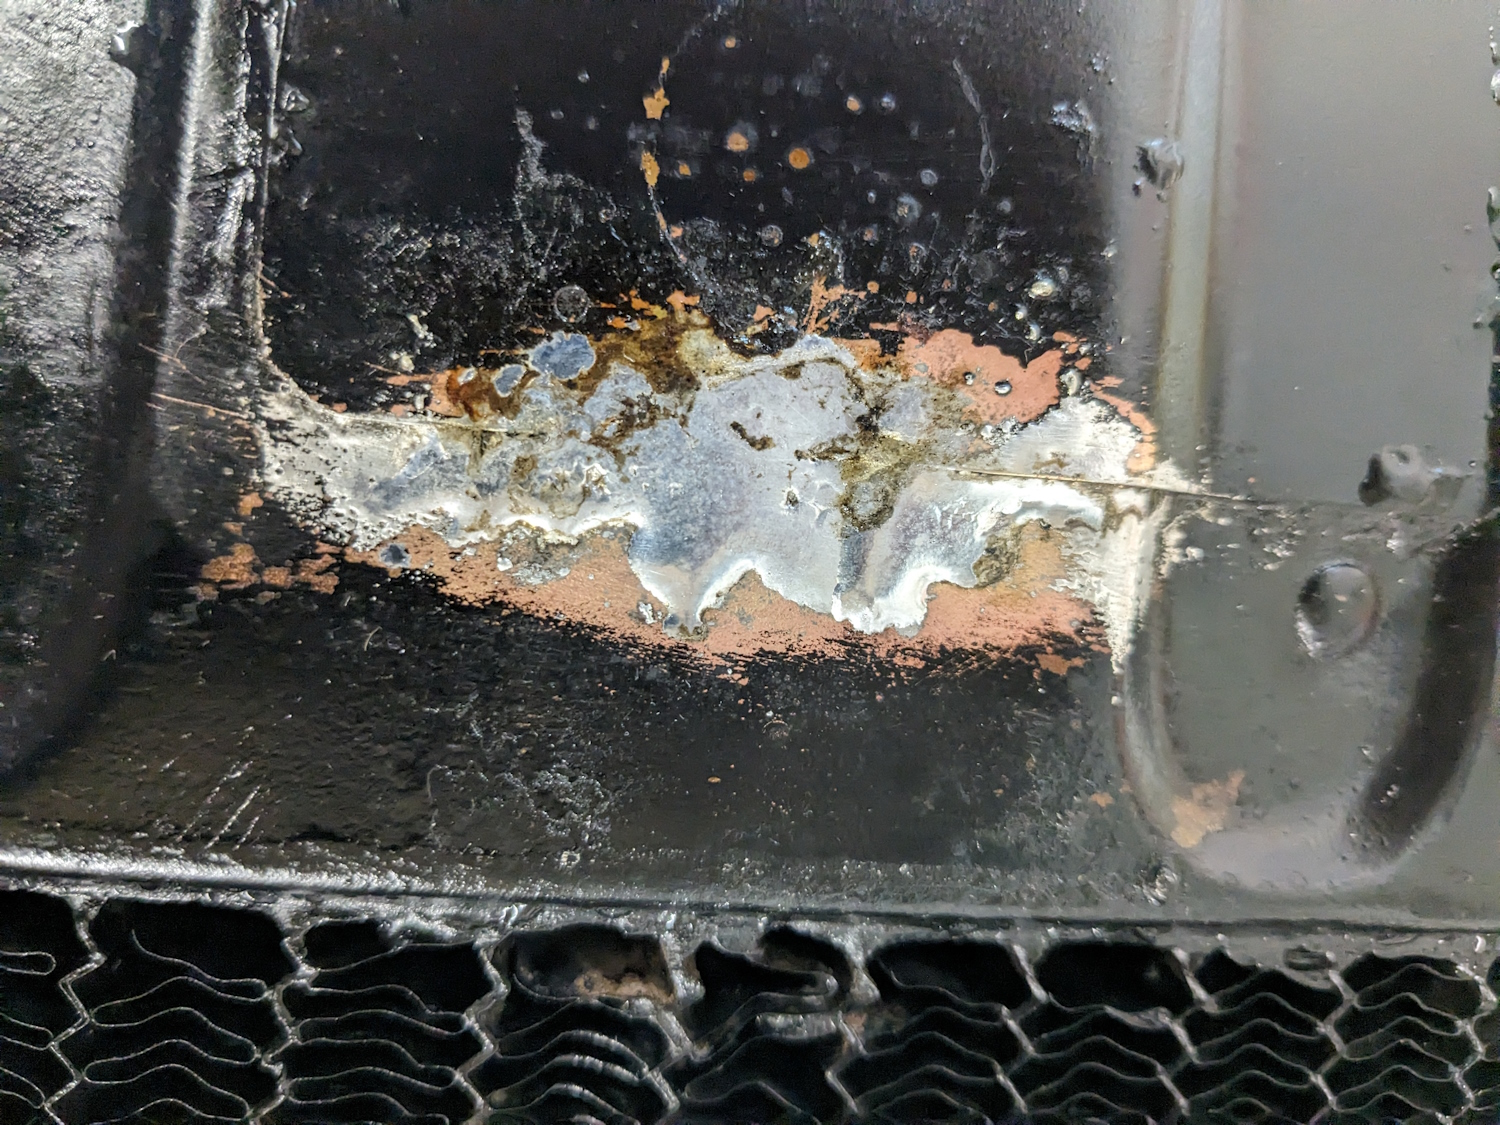
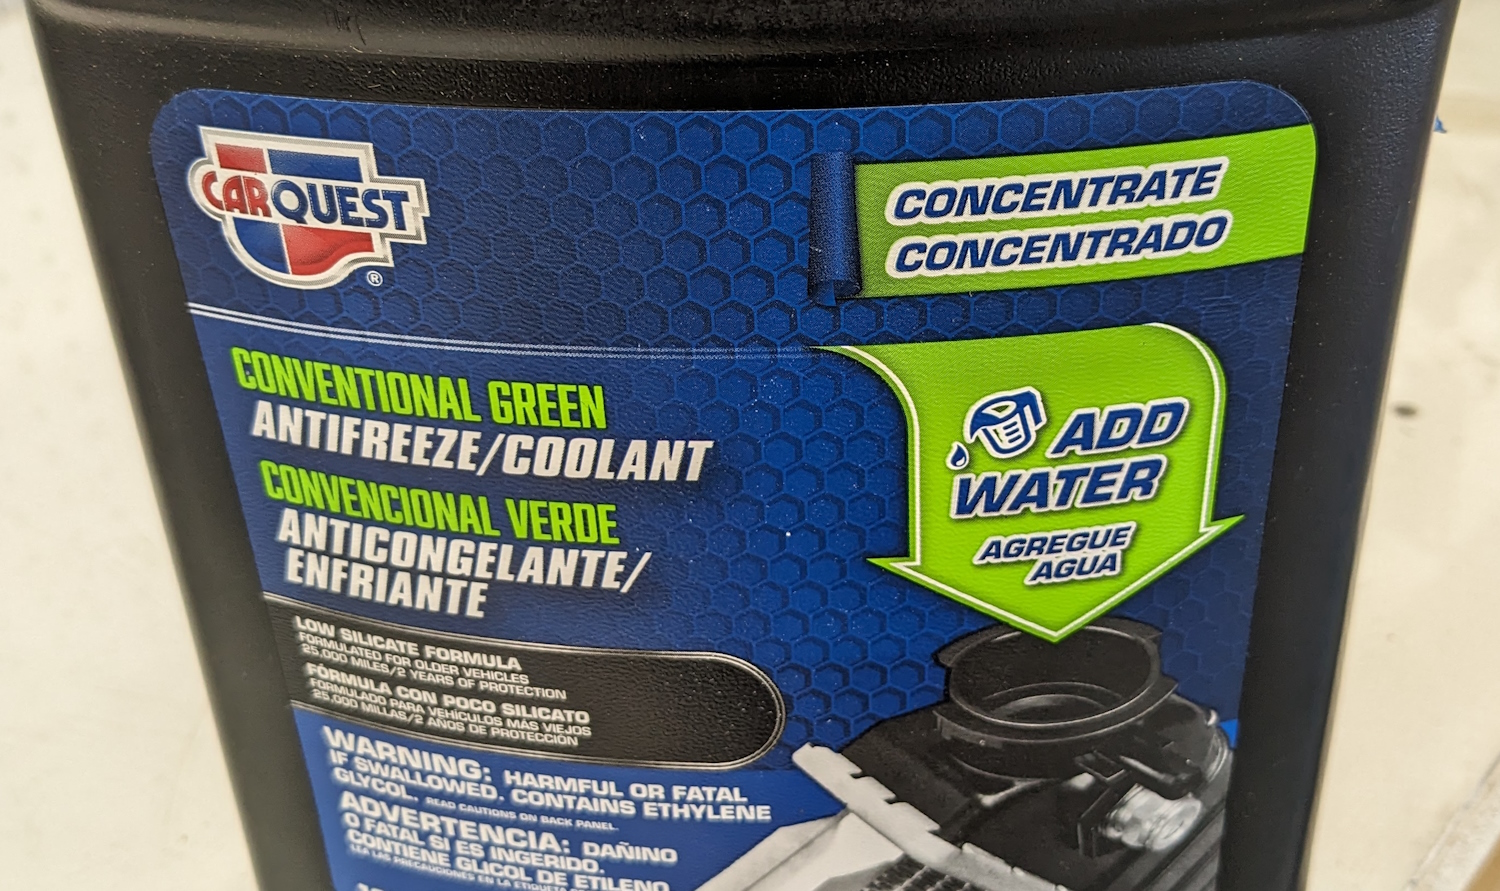
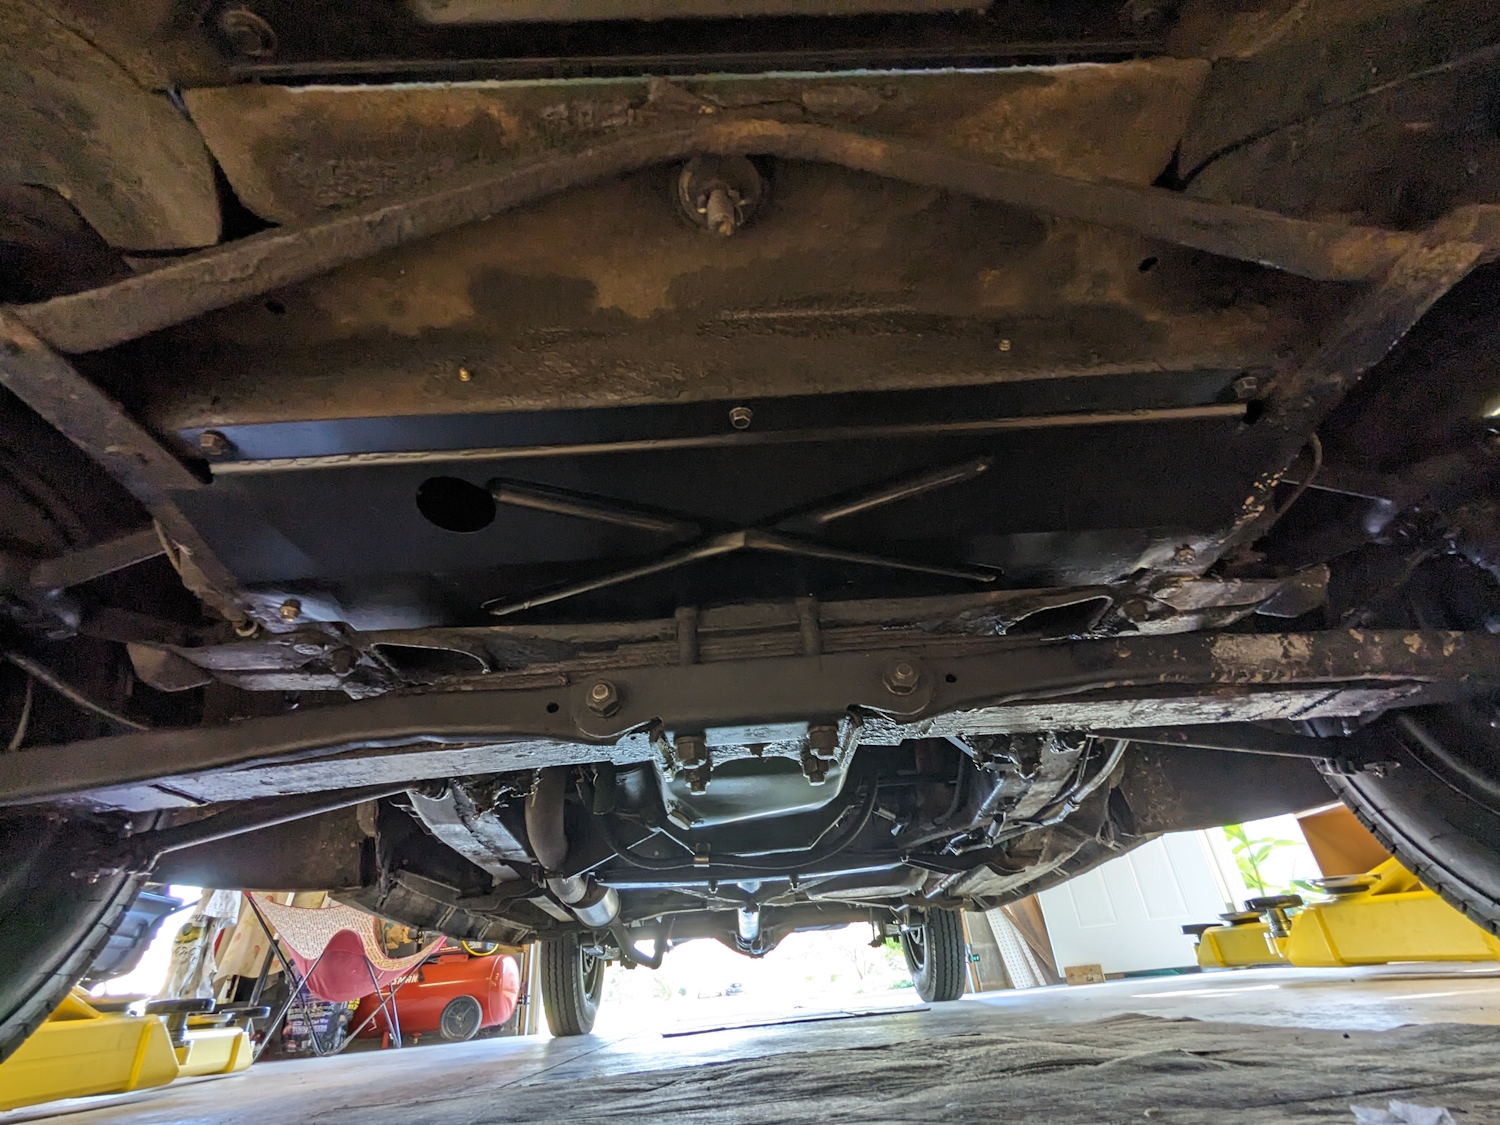
I have shown routine maintenance several times, so I will only go over stuff that was different this time. I have settled in on Valvoline Racing Oil 10W-30. Usually I get a Wix 1006 filter or the Napa Gold version (Wix makes NAPA filters). Besides changing the oil, I lubed the chassis, adjusted the brakes, checked the transmission and differential, cleaned the air filter and cleaned the breather in the dipstick cap. The dipstick did not go well…The breather cap is full of copper wool. It needs to be cleaned with a solvent, allowed to dry, then coated with oil to trap dirt. Stupidly, I used brake cleaner as the solvent and it melted the paint right off. I cleaned the damaged paint off, degreased it, and painted it green again. I just bought this Autel MP-808BT scan tool (love it!) and the dealer threw in an Autel battery tester for free. It works on 6V so I decided to test the battery. It was decidedly odd to hook a scan tool up to a Studebaker but it worked fine.The battery tested out fine. I was not sure what to enter for the cold cranking amps of the battery. The battery label has several different numbers and temperatures, so I used 725 (which is the rating at 0 degrees). The battery tested at over 1000, so that was probably wrong. I also wanted to lube the shifter and the steering box. To do this you have to pry off the round cap on the left side of the shifter housing.Here is that cap removed. A small screwdriver pops it right off.Some sources say use gear lube in the shifter and steering box. This is nonsense, it runs right out. And regular chassis grease will not flow enough to keep everything lubricated. This is my solution. I have no clue what a “corn head” is but this grease is very soft, slimy, and almost runny. It is also only a few bucks from a John Deere dealer. I keep some in a grease gun for lubing the steering box and shifter. Your mileage may vary. Most steering boxes I see have a pipe plug on top to add lubricant. Someone (probably my father) put a grease fitting on mine. So I just hook the Corn Head grease gun up and give it a couple pumps.Now on to the main event. I applied this patch to the radiator way back in 2004. Last year I noticed it was leaking a little bit. Not enough to leave puddles, but enough to get dried goopy coolant all over the radiator.Step one, drain the coolant. This much easier if you remove the front engine pan, which I did. The coolant is a few years old so I am just going to replace it. This is another job the lift makes much easier! I drained the radiator and the block but did not remove the thermostat since that is held in by two head bolts and seems to be working fine. Let sleeping dogs lie.Next, get stuff out of the way. The metal struts that run from the firewall to the upper front crossmember need to go. I also removed both radiator hoses. The headlight and horn wiring runs across the back of the radiator so I disconnected the horn relay and laid the harness back on the engine out of the way. By the way, those struts are not just for show. When I loosened them up the front of the car sagged a good 1/4″. This is the point at which it occurred to me that the hood is being held up by the very radiator I am about to unbolt. This bamboo pole has been sitting around forever. Turns out it is the perfect length and the tapered bottom fits right into the hood latch hole. The top seemed pretty secure but I used a large twist tie to make sure it can’t move. Once everything is out of the way, it is just 6 cap screws holding in the radiator. But you have to be aware of the fan. First, it is admirably positioned to tear up the radiator core. I put a thick towel between the fan and the radiator to prevent this. Second, the fan has an “X” shape (not a “+” shape). If you don’t position the X so the narrow part is at the top and bottom it blocks the radiator from being lifted out. Ask me how I learned this…Whew! The radiator is probably 20 or 25 pounds and very awkward but not difficult if the fan is positioned properly. Also the radiator is suspended by the cap screws on the flanges on the sides. I had to support it when taking out the last two screws. An extra person would have helped. You can see on the right top part of the core where coolant from the leak has been getting blown through the radiator. And there is the leak! it is just a pinhole in the solder joint. It did not leak for years. Maybe there was a thin layer of solder on it or maybe the paint just sealed it up. Here is my first attempt at a repair (ominous foreshadowing). The brass is very thin but too much for my largest soldering gun to heat up. So I used a propane torch that was way too hot. I cleaned everything carefully, fluxed the area, and went at it. Looked ugly but like it would probably work. After cleaning and painting it looks a little better. When the paint dried I put the radiator back in the car and put everything back together.I filled the car up with just plain water and ran it up to temperature. I thought I had it at first but then I saw water seeping. Which means I have to start all over again. Arrrgghh!The only good thing is I get better with practice. I got the radiator out much faster the second time. I heated up the seam and got as much solder as I could out. I realized the patch had warped or flexed when I heated it, pulling it away from the radiator and leaving a gap solder was not going to fill. I shaped the brass to try and get it tight. That helped but the real solution was a C-clamp. You can see the circle where I put the clamp. Obviously I had a large block on the back to spread the load and I did not go crazy with the pressure. The clamp held the patch in place while I laid enough lead in there to for three joints. This is going to work! Once more I painted, put everything together, and tested with plain water. Success!Here is the coolant I used. The system holds a little more than two gallons so I used about 5 quarts of coolant and 5 quarts of distilled water.Now to finish putting things together. The harness still needs clipped to the radiator and I have to put the upper cover over the horn relay and horns.I forgot to take pictures but I cleaned and repainted the front engine pan. My first paint job did not hold up very well. This time I primed it first. Hopefully, that works better. You can see the tiny hole you are supposed to use to get to the radiator petcock. It is much easier to just remove the thing.